Work with REST APIs in Flutter (WeatherApp example)
‘What is REST API and how does it work?' is a commonly asked question.
REST determines the structure of an API. Developers oblige to a specific set of rules when designing an API. Every URL is known as a Request, whereas the data returned is known as Response. A REST API uses the following HTTP requests:
- GET request to fetch data
- PUT request to alter the state of data (such as an object, file, or block)
- POST request to create data
- DELETE request to eliminate it
To better understand what is RESTful API, what is api used for, how it works, and the definition of Rest API, lets consider an example. We are going to explain it on the simple example WeatherApp. So, for our app we need some weather data. We will use OpenWeather data - current weather data for any location on Earth including over 200,000 cities. The OpenWeather provides weather data and forecasts on its website OpenWeatherMap https://openweathermap.org for retrieval. The data can be integrated into your own applications.
Using the example of OpenWeatherMap, we'll show the use of FlutLab RESTClient and show how to
- retrieve weather data from OpenWeatherMap
- JSON weather data are processed
- convert JSON weather data to Dart Model classes
- use weather data in the Flutter app
Let's go!
OpenWeatherMap
Go to https://openweathermap.org/appid . To start using OpenWeatherMap APIs, you need to sign up and get the API key (APPID).
The API key is all you need to call any of weather APIs request. Once you sign up using your email, the API key (APPID) will be sent to you in a confirmation email.
Example of API calls:
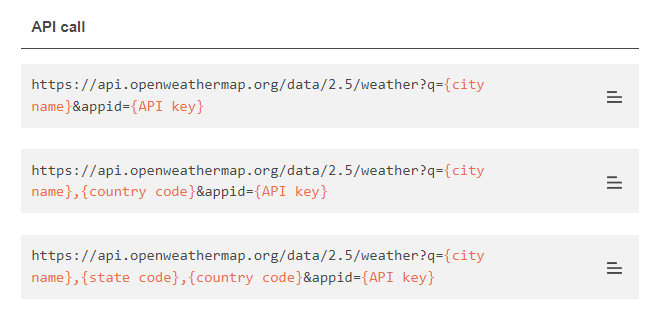
We are going to use first one for our app.
FlutLab RESTClient
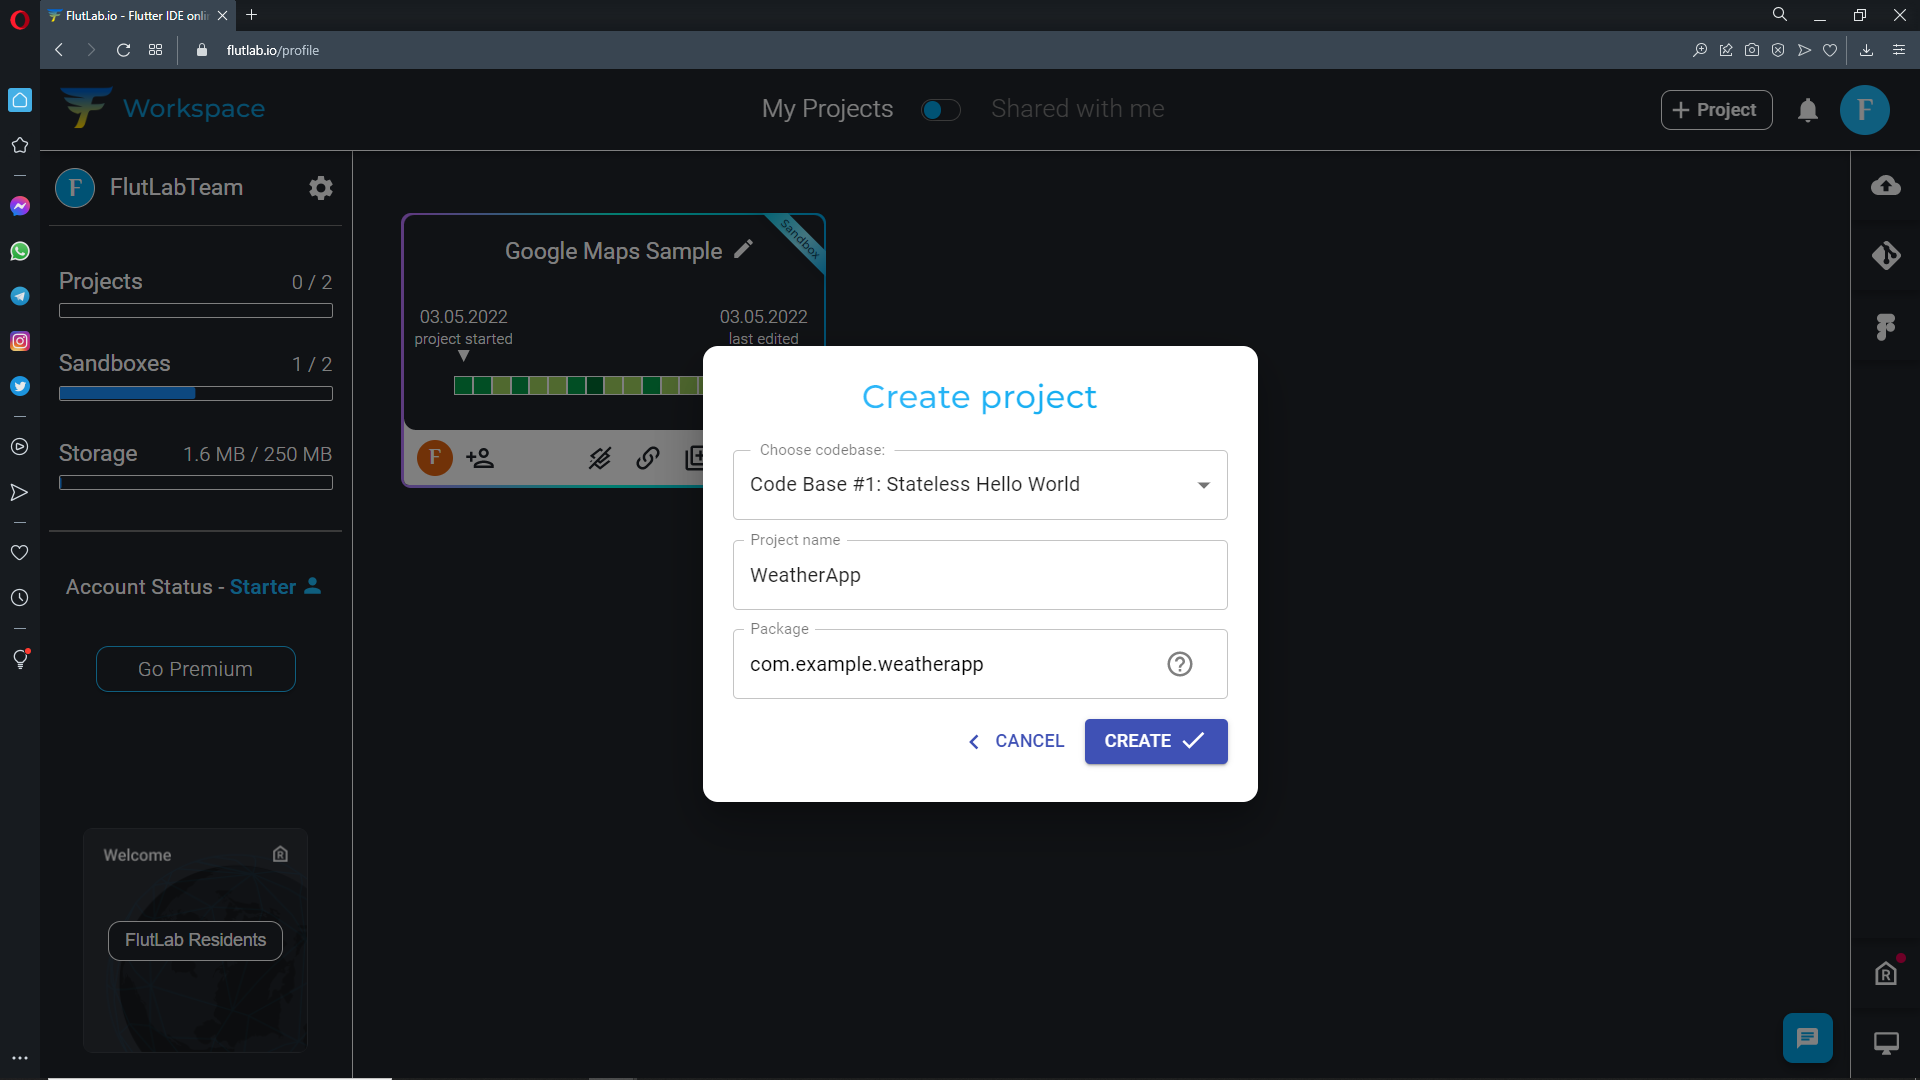
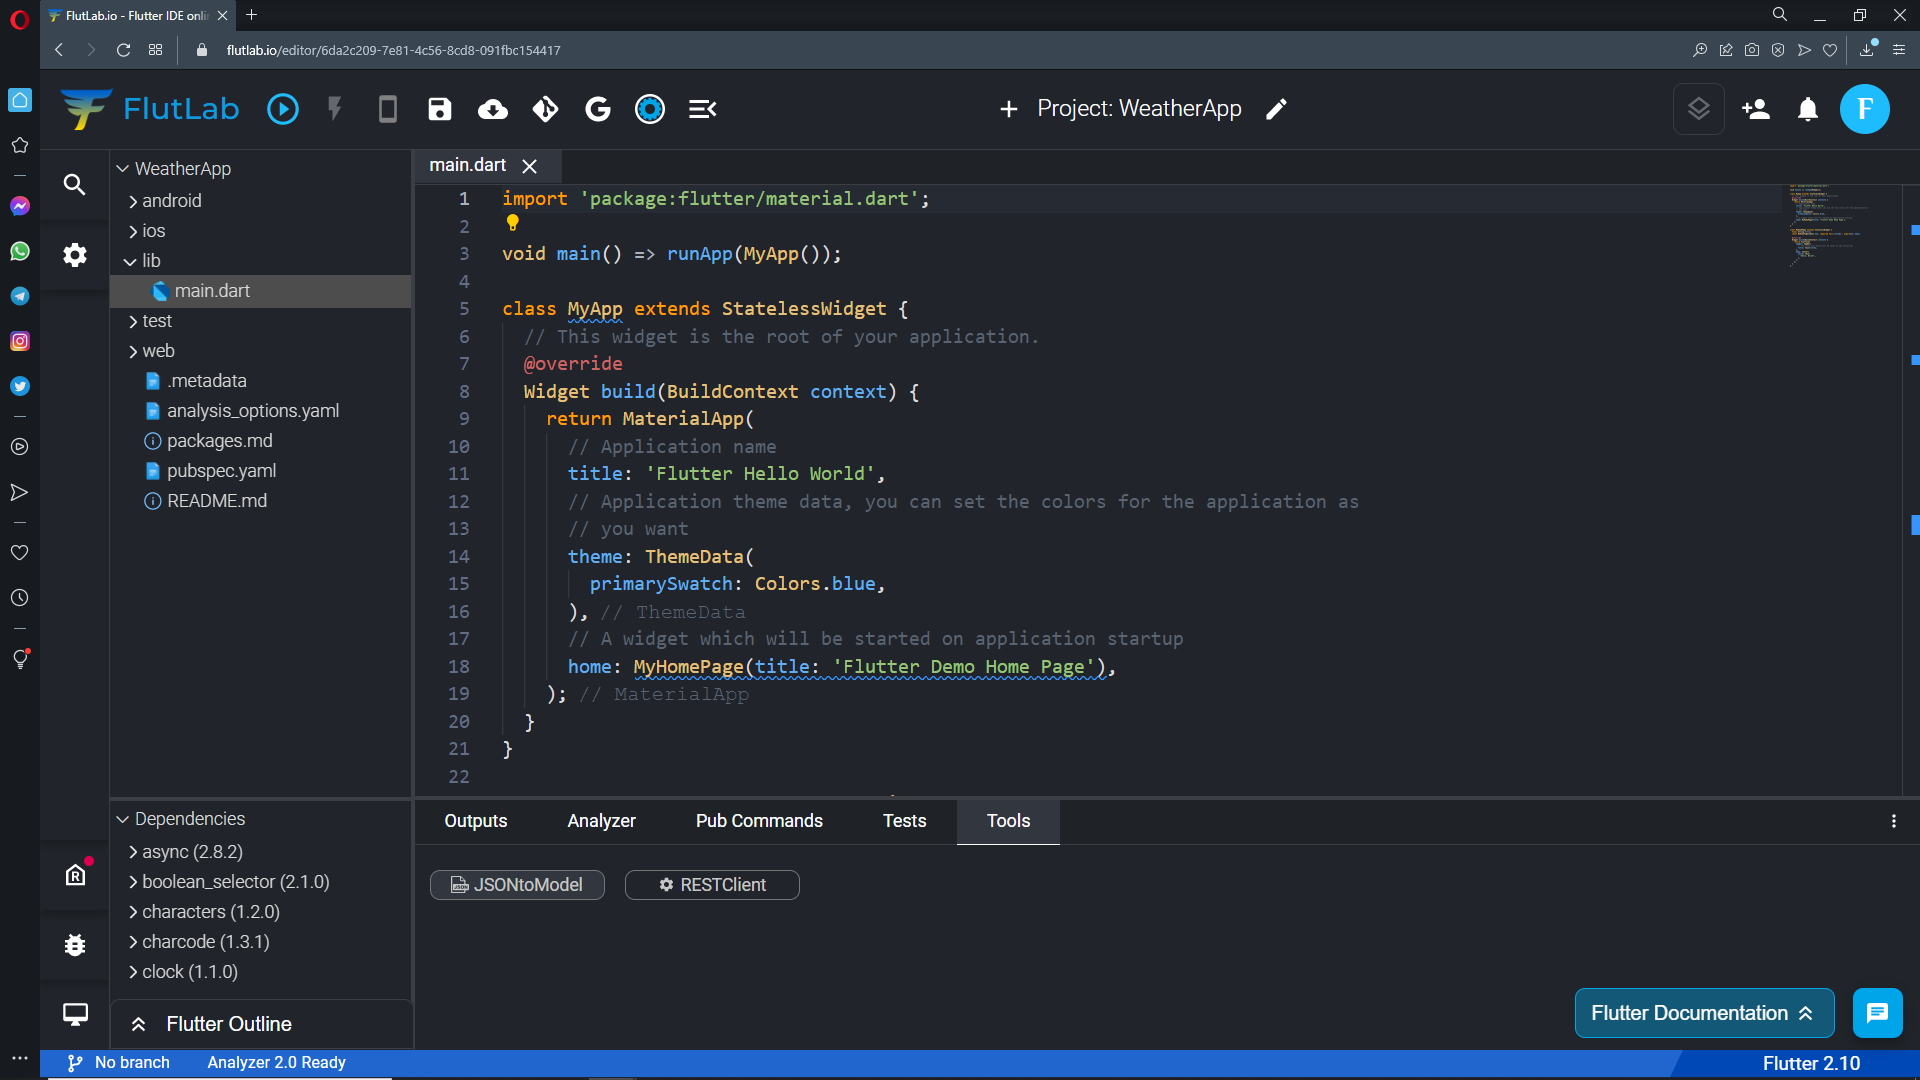
Open flutlab.io and create new project - "WeatherApp".
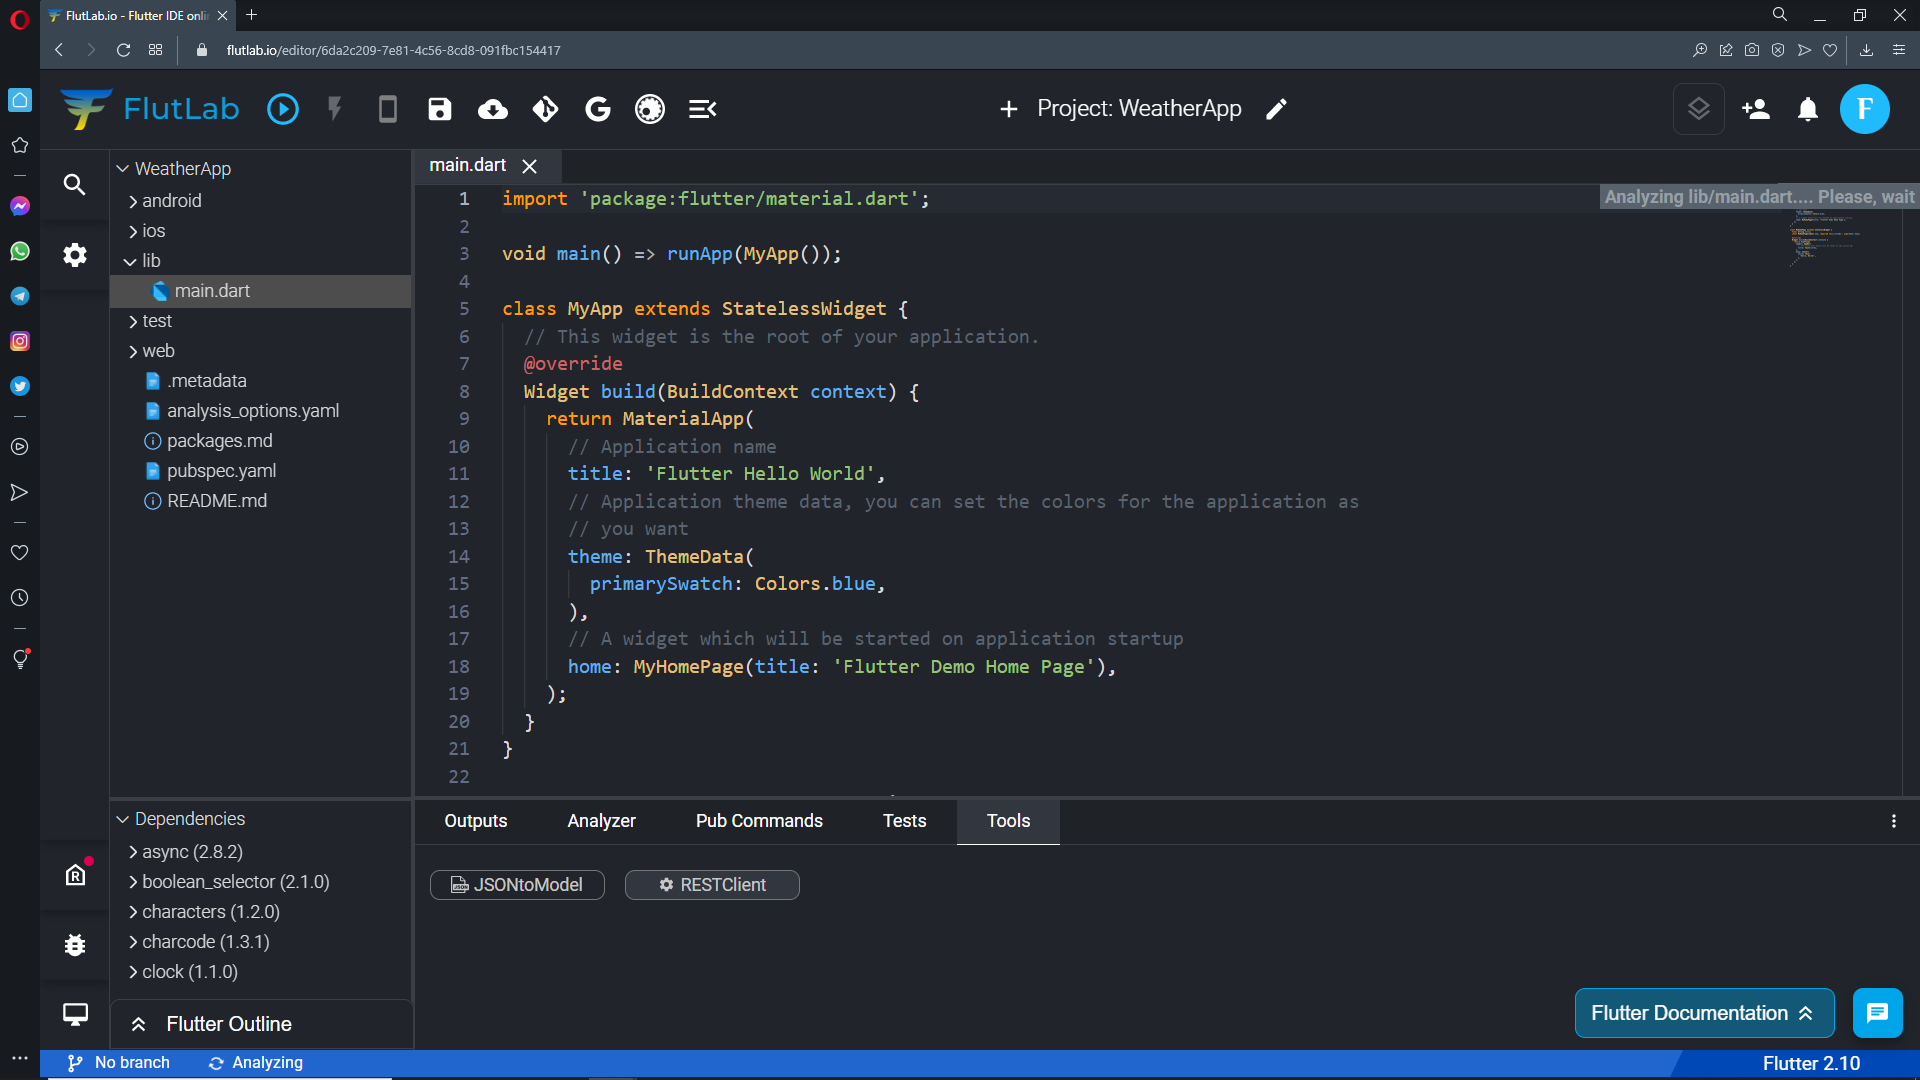
Go to your project. In the bottom of FlutLab IDE open the "Tools" tab and click the RESRClient button.
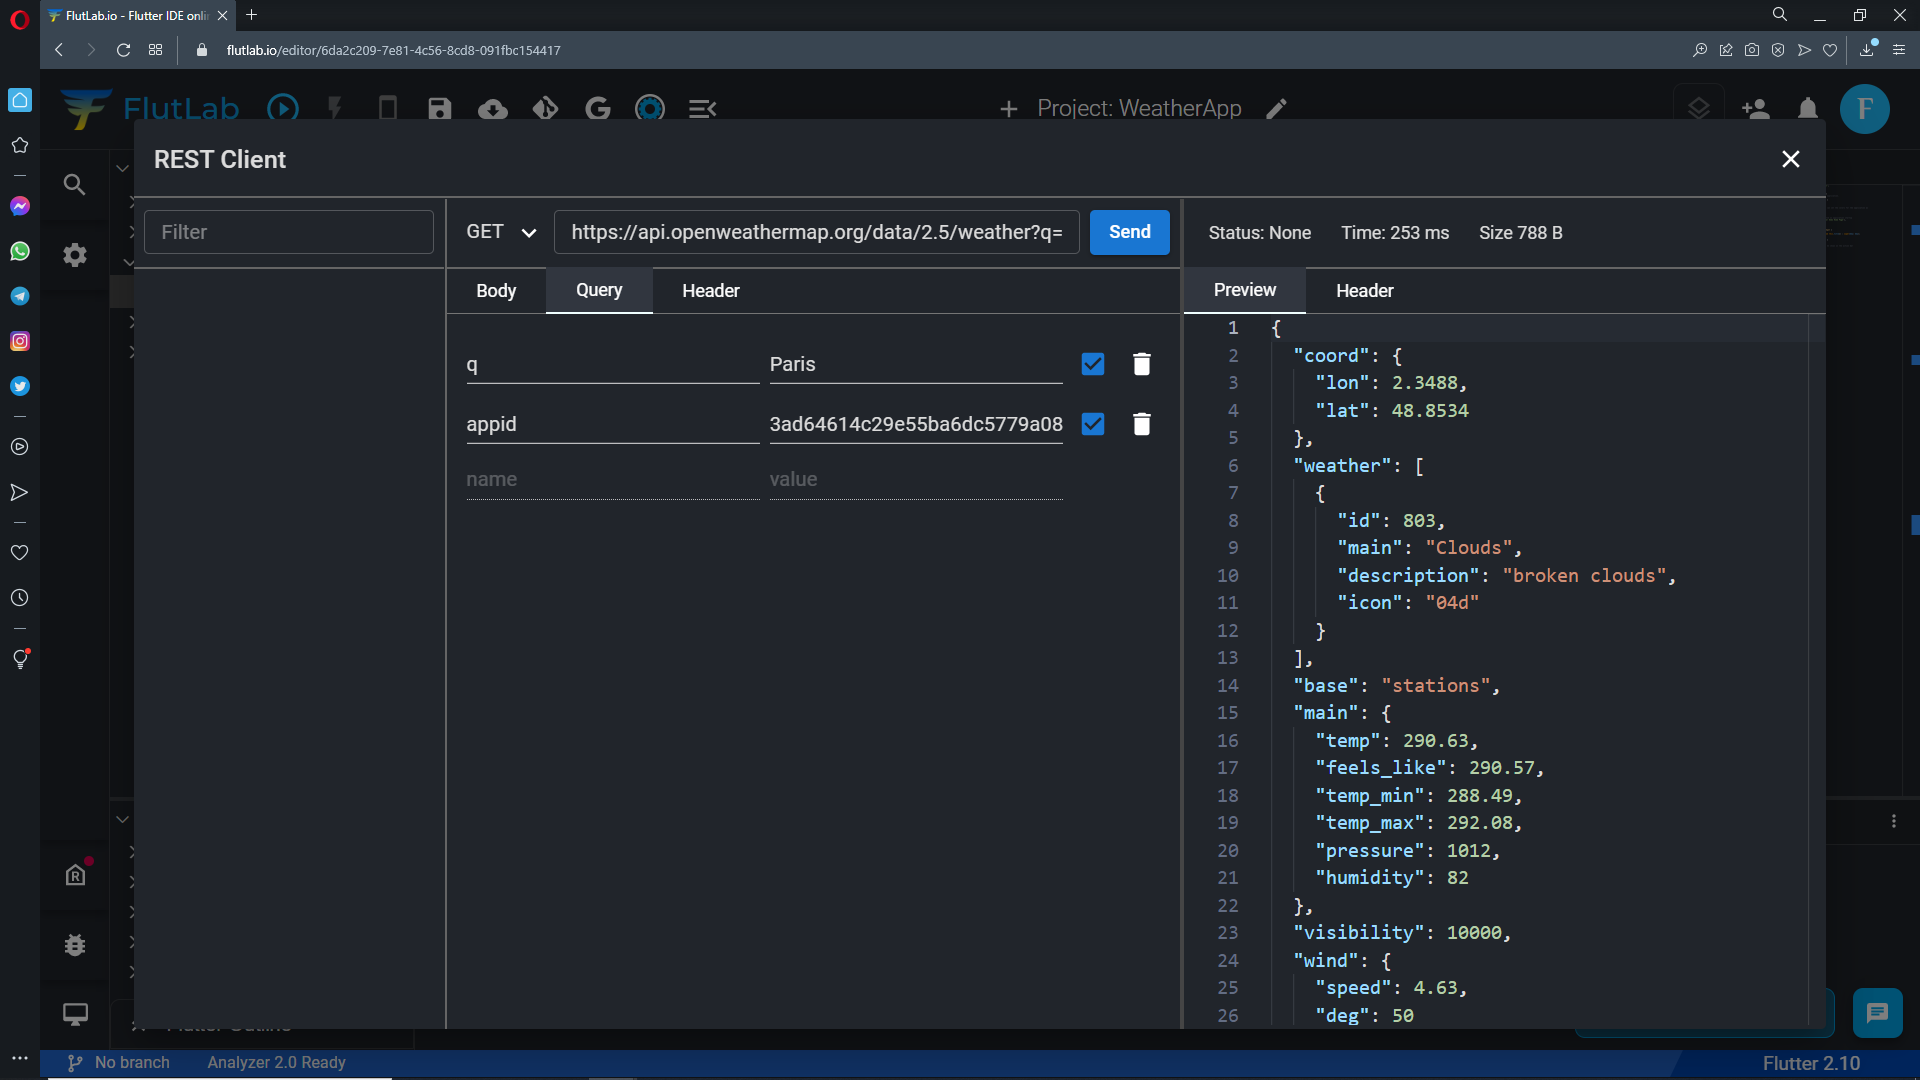
Copy this link (https://api.openweathermap.org/data/2.5/weather?q=Paris&appid=<your API key>). It is an API request by city name
Put this endpoint to the GET Request line. Change <your API key> to your real API key and press a "Send" button.
You'll get some JSON data:
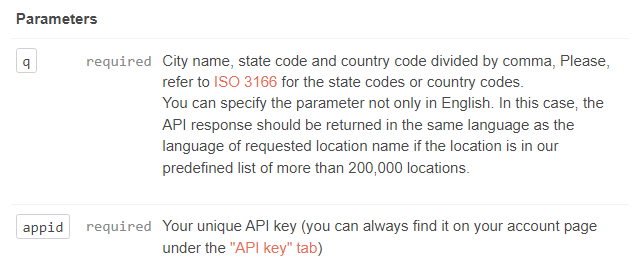
Description of the API response fields:
coordcoord.lonCity geo location, longitudecoord.latCity geo location, latitude
weather(more info Weather condition codes)weather.idWeather condition idweather.mainGroup of weather parameters (Rain, Snow, Extreme etc.)weather.descriptionWeather condition within the group. You can get the output in your language.weather.iconWeather icon id
baseInternal parametermainmain.tempTemperature. Unit Default: Kelvin, Metric: Celsius, Imperial: Fahrenheit.main.feels_likeTemperature. This temperature parameter accounts for the human perception of weather. Unit Default: Kelvin, Metric: Celsius, Imperial: Fahrenheit.main.pressureAtmospheric pressure (on the sea level, if there is no sea_level or grnd_level data), hPamain.humidityHumidity, %main.temp_minMinimum temperature at the moment. This is minimal currently observed temperature (within large megalopolises and urban areas). Unit Default: Kelvin, Metric: Celsius, Imperial: Fahrenheit.main.temp_maxMaximum temperature at the moment. This is maximal currently observed temperature (within large megalopolises and urban areas). Unit Default: Kelvin, Metric: Celsius, Imperial: Fahrenheit.main.sea_levelAtmospheric pressure on the sea level, hPamain.grnd_levelAtmospheric pressure on the ground level, hPa
visibilityVisibility, meter. The maximum value of the visibility is 10kmwindwind.speedWind speed. Unit Default: meter/sec, Metric: meter/sec, Imperial: miles/hour.wind.degWind direction, degrees (meteorological)wind.gustWind gust. Unit Default: meter/sec, Metric: meter/sec, Imperial: miles/hour
cloudsclouds.allCloudiness, %
dtTime of data calculation, unix, UTCsyssys.typeInternal parametersys.idInternal parametersys.messageInternal parametersys.countryCountry code (GB, JP etc.)sys.sunriseSunrise time, unix, UTCsys.sunsetSunset time, unix, UTC
timezoneShift in seconds from UTCidCity IDnameCity namecodInternal parameter
This simple JSON represents a map of key-value pairs where:
- the keys are strings
- the values can be any primitive type (such as a boolean, number, or string), or a collection (such as a list or map)
Copy JSON and let's go ahead in our journey.
FlutLab JSONtoModel
When a JSON response is sent, the entire payload is encoded as a string. But we don't want to manually extract the data from a string inside our Flutter apps...
Now, it’s time to parse JSON to Dart file. Open "Tools" and click the "JSONtoModel" button.
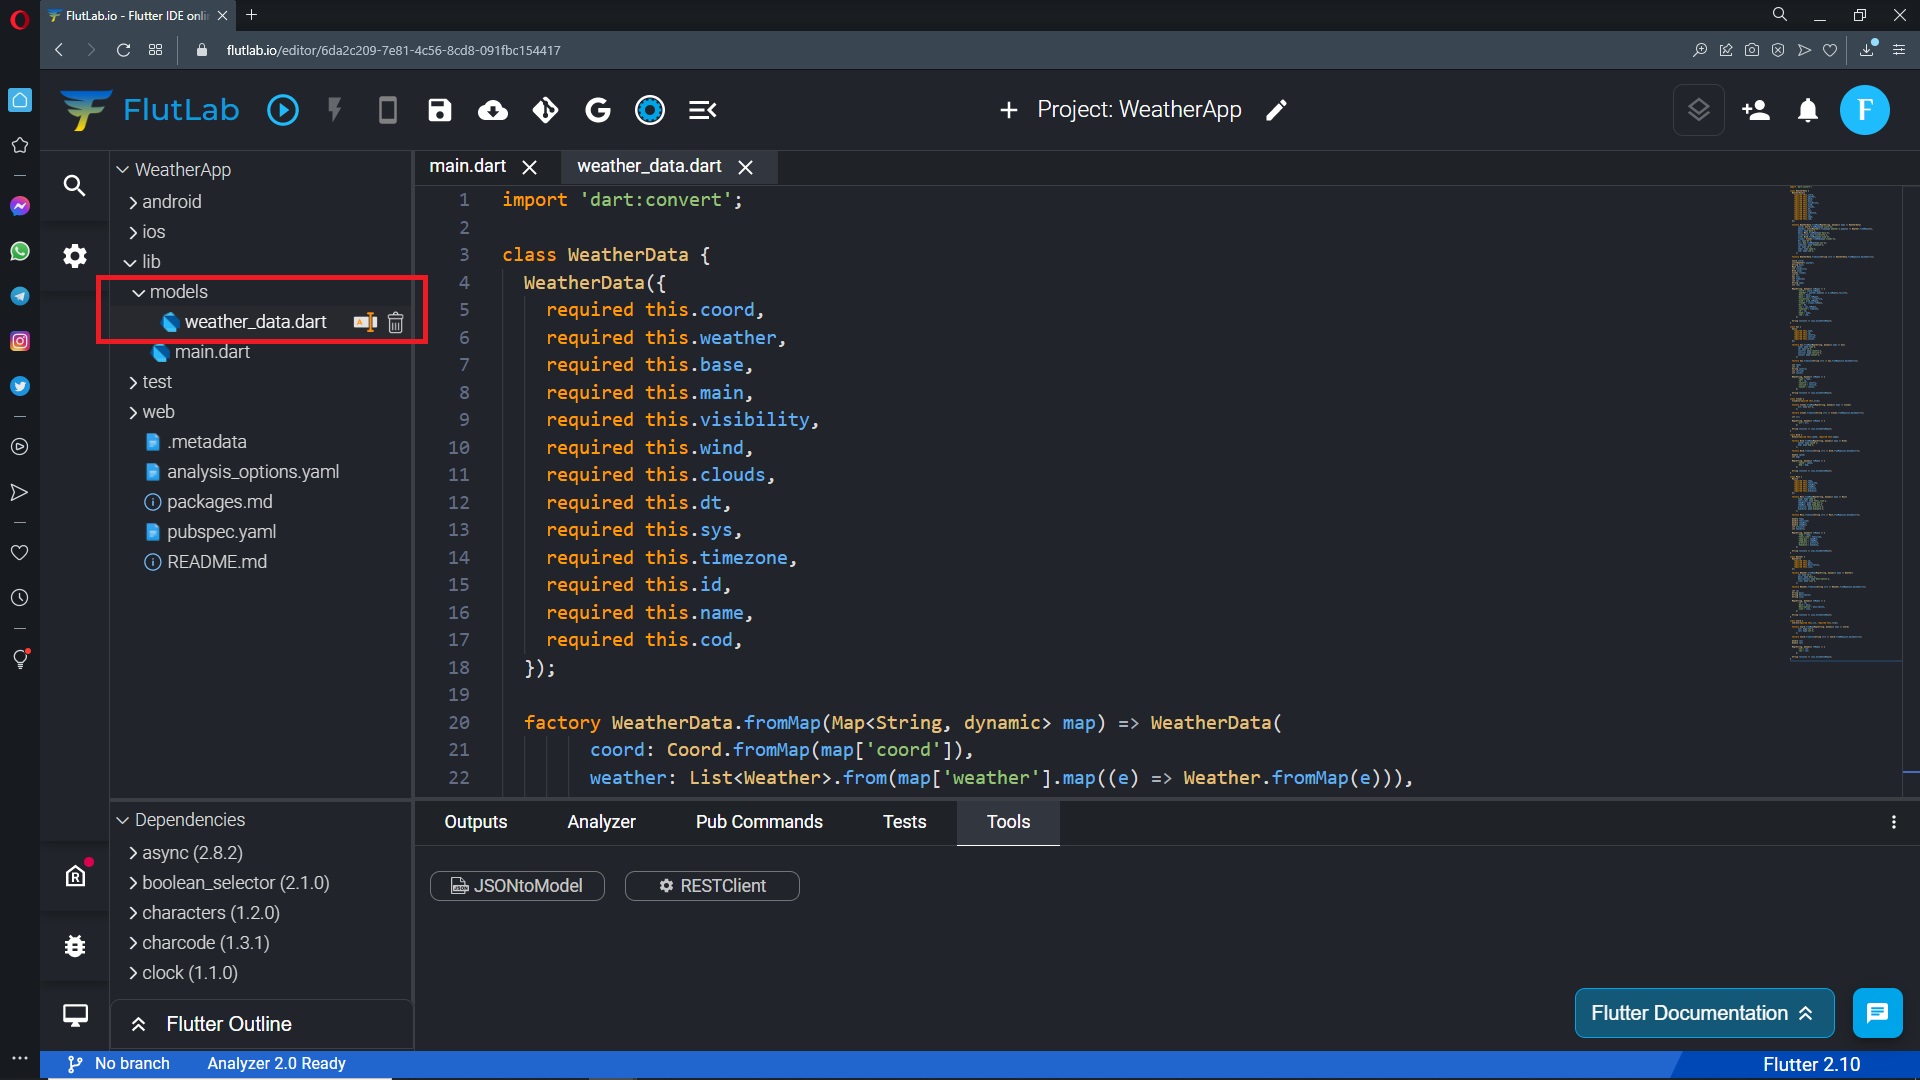
Put your JSON to the left part of window. FlutLab converts this JSON to the Dart class. After that, select "Create fromJson/toJson methods", give a name to your class, and press the "Create button.
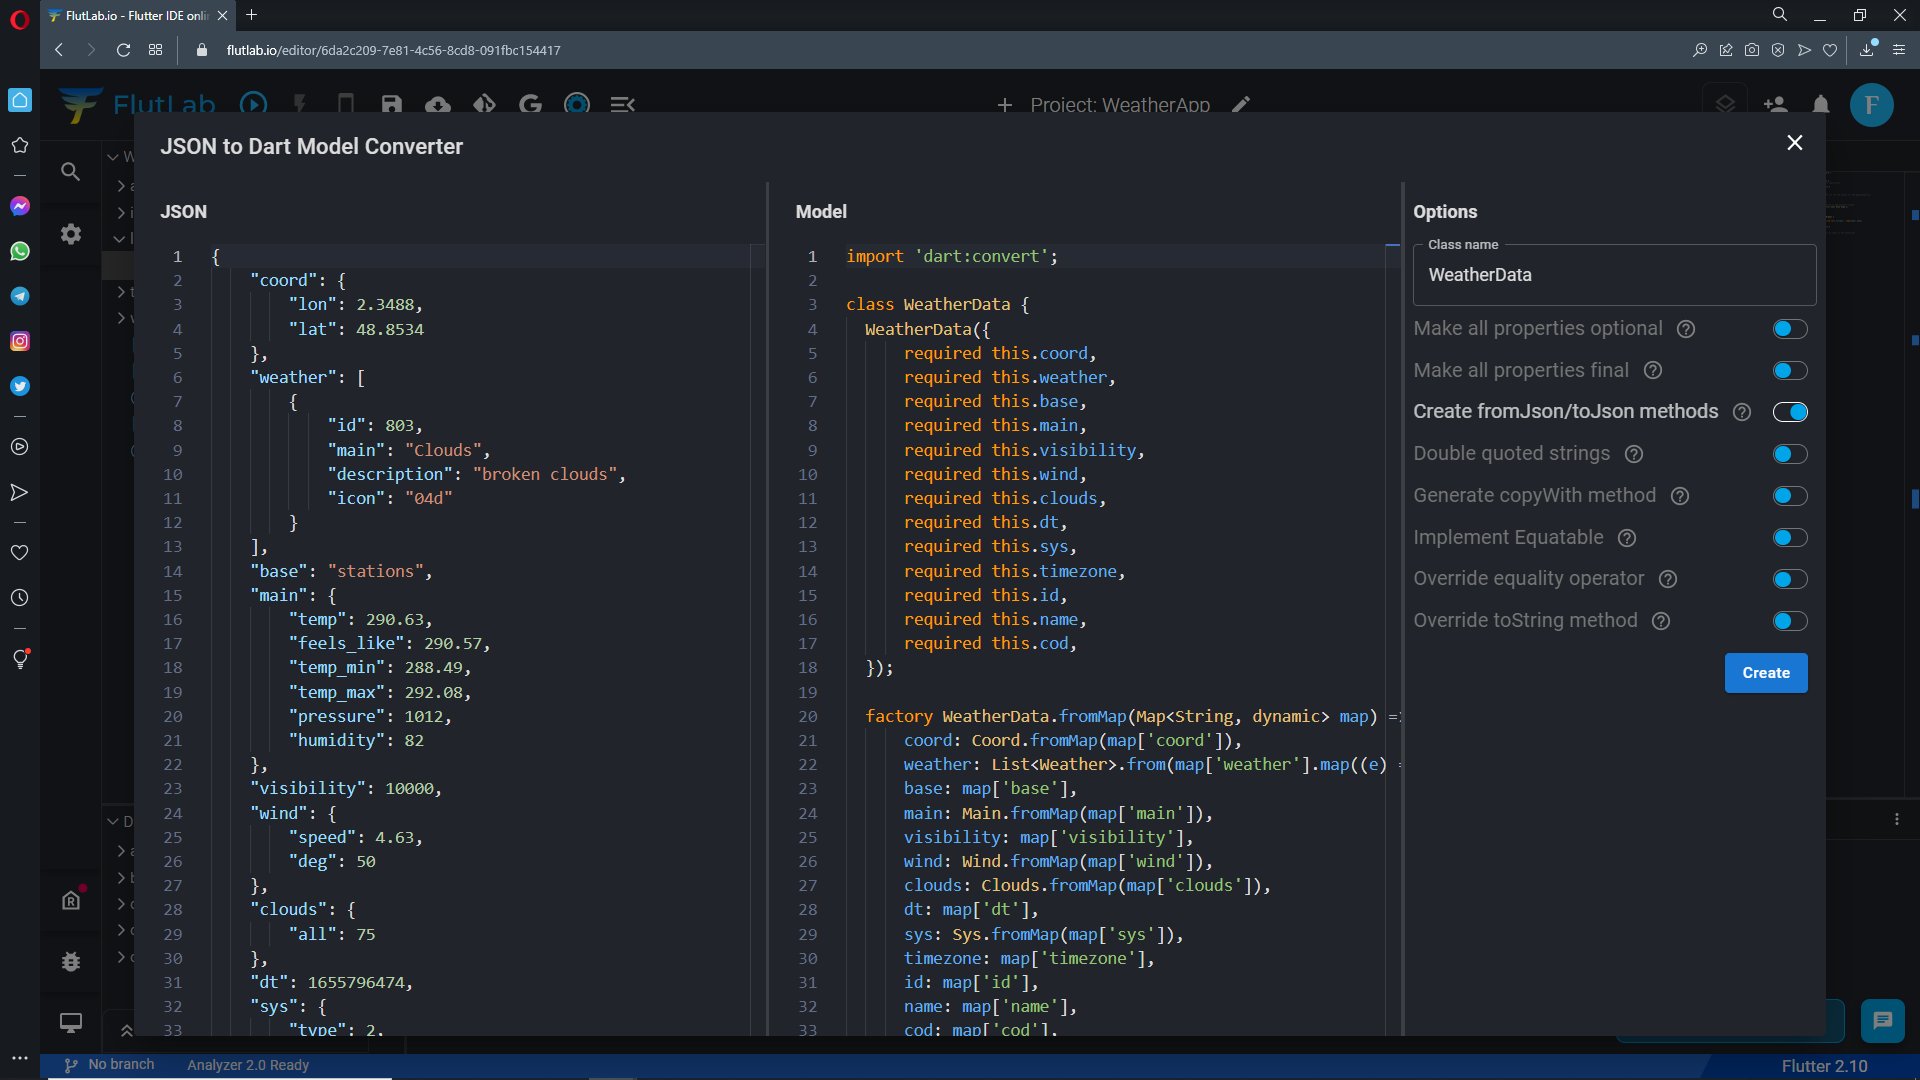
"JSONtoModel Converter" created the "models" folder and dart file inside your project's files tree. That's cool, isn't it?
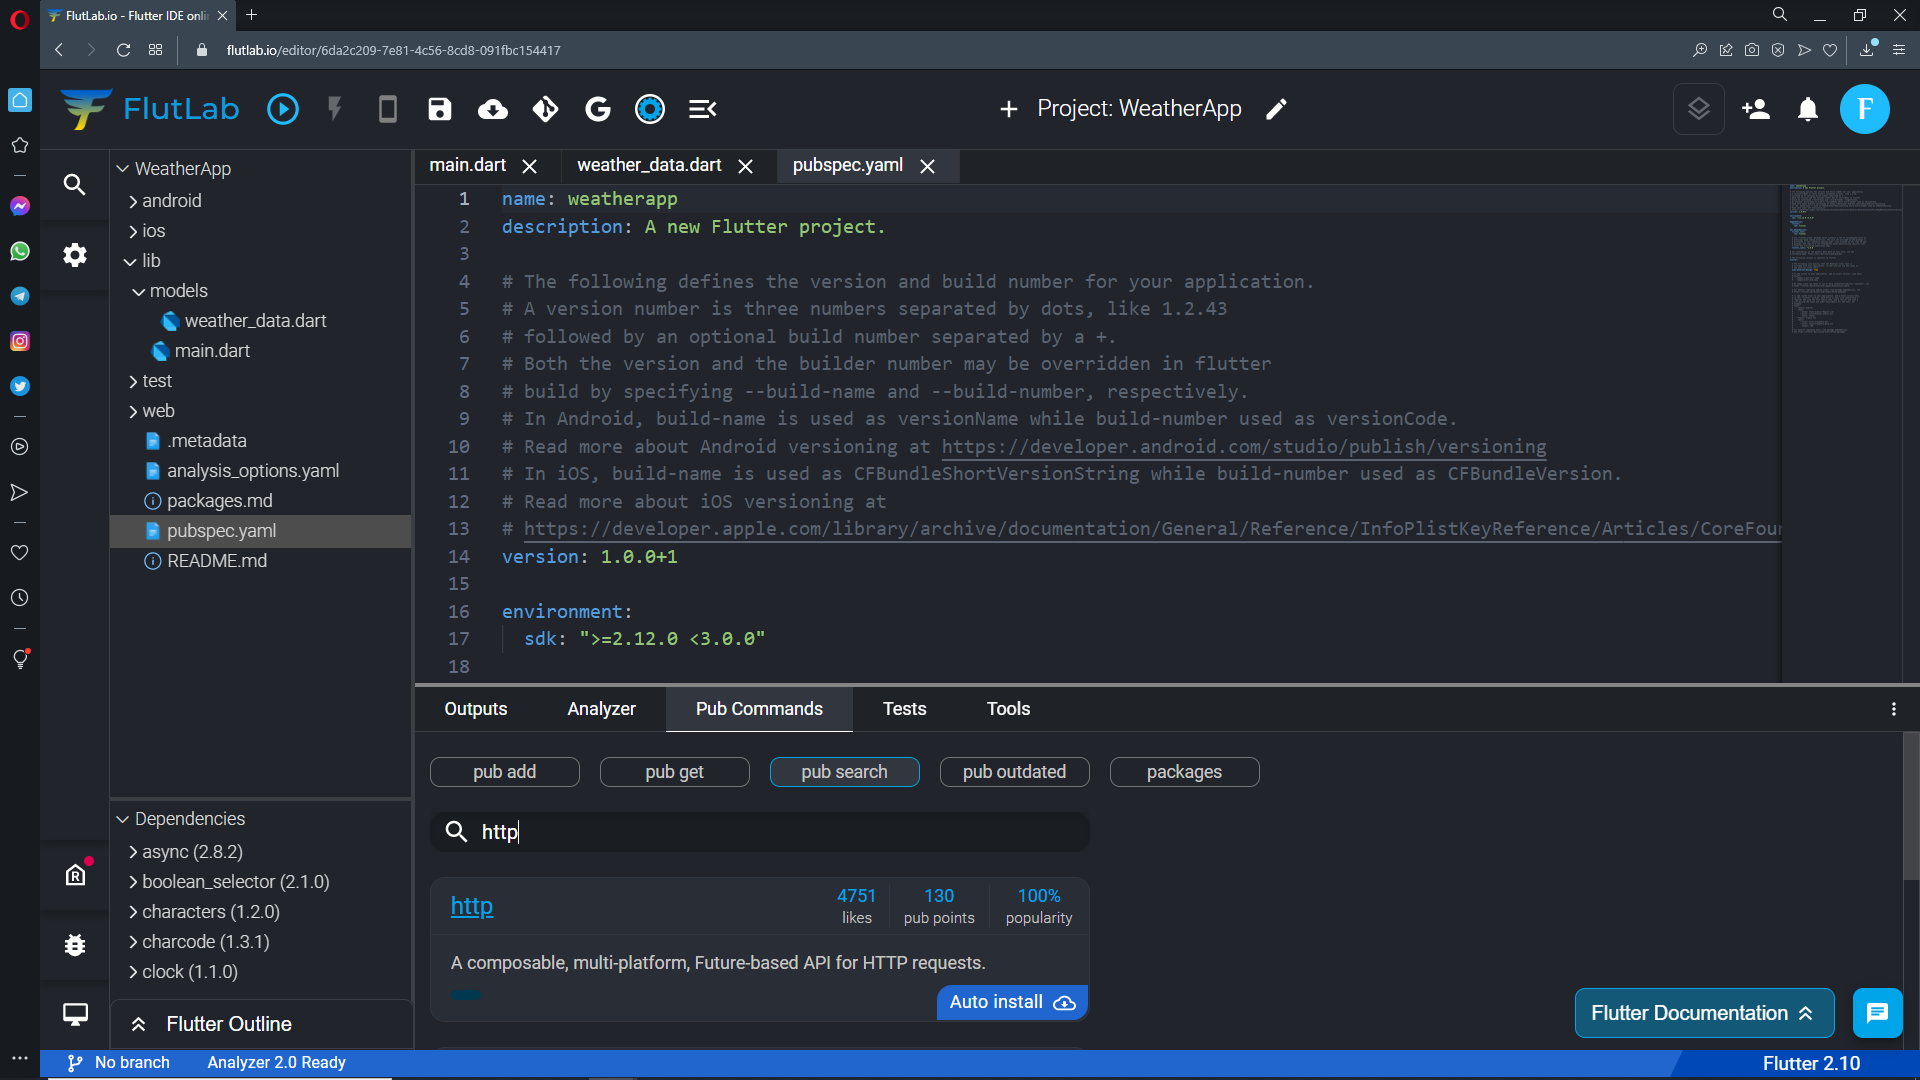
There are many packages available in pub.dev that we can use to integrate APIs in Flutter. We are goint to use http, because http is the most basic and easy one to use. So,
- open pubspec.yaml file or click the "Pub Commands" tab.
- press the pub search button.
- type http in the input field.
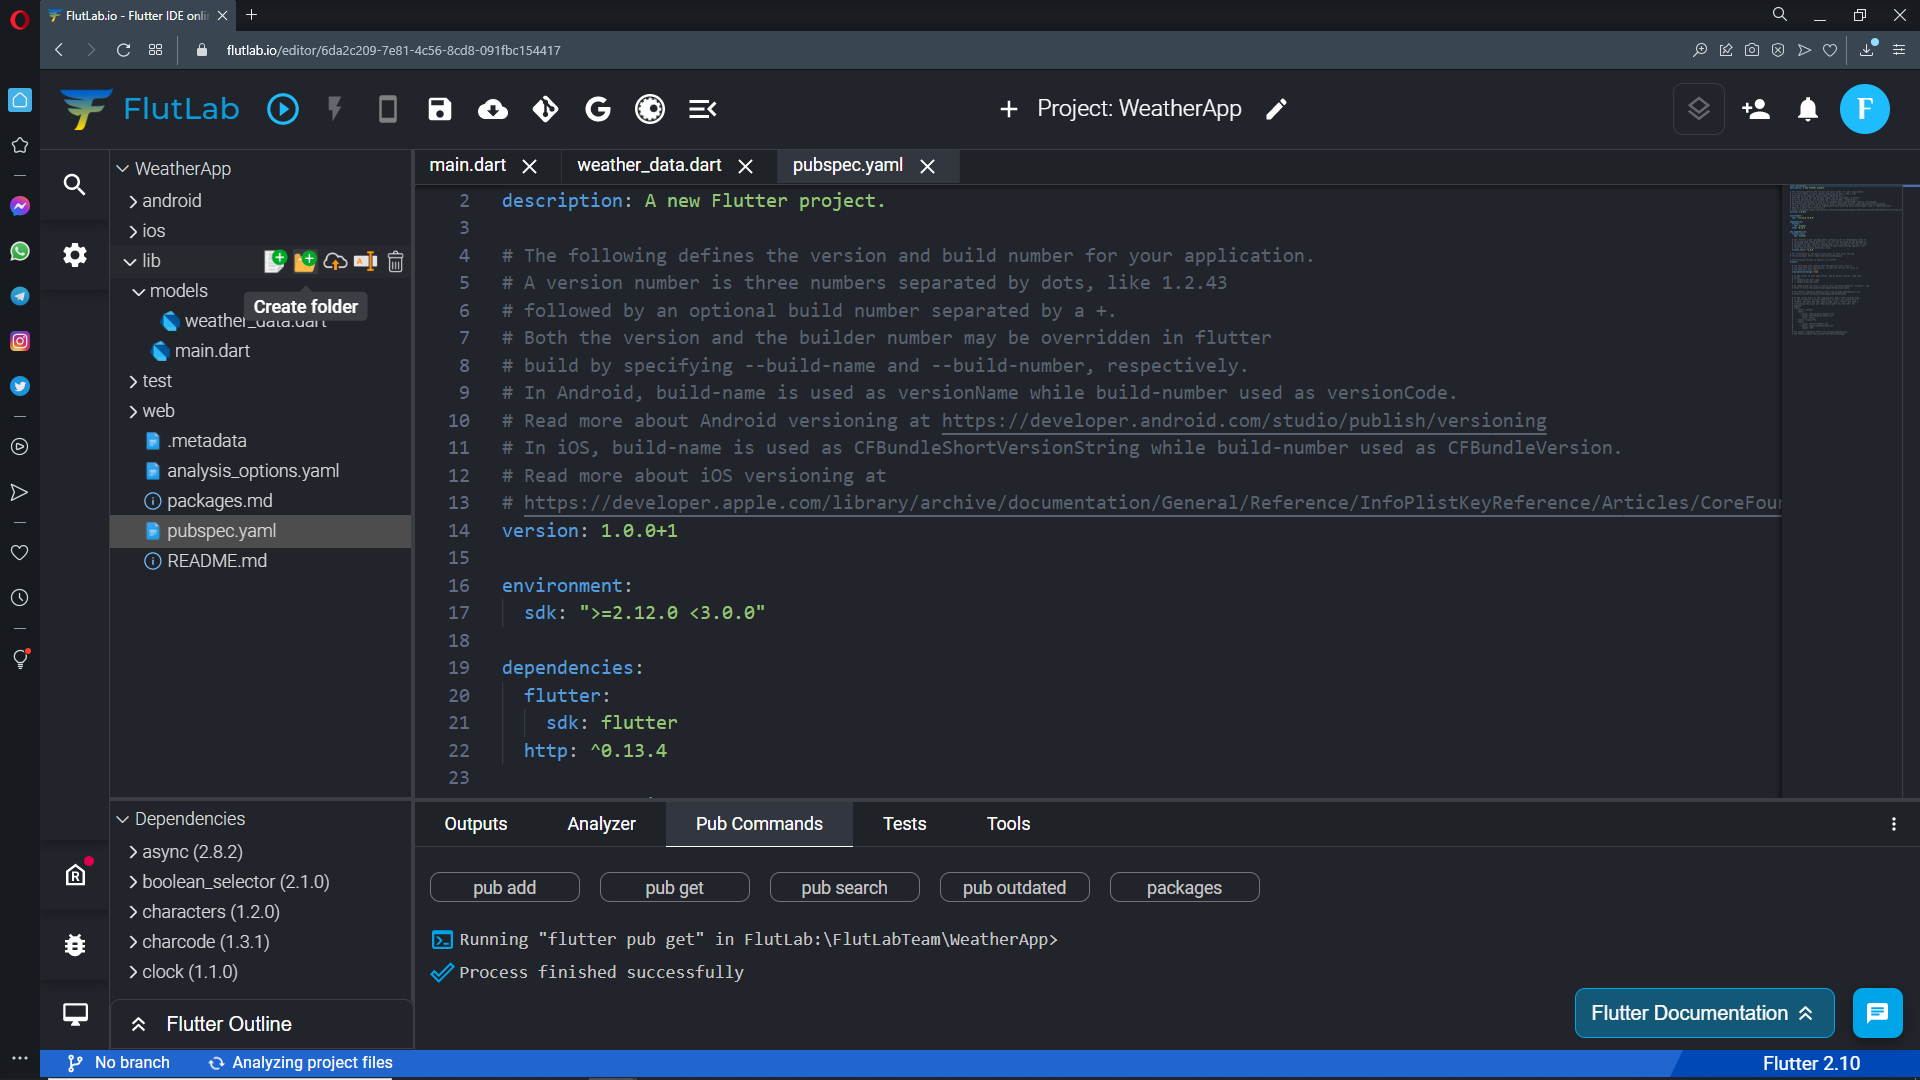
- click Auto Install.
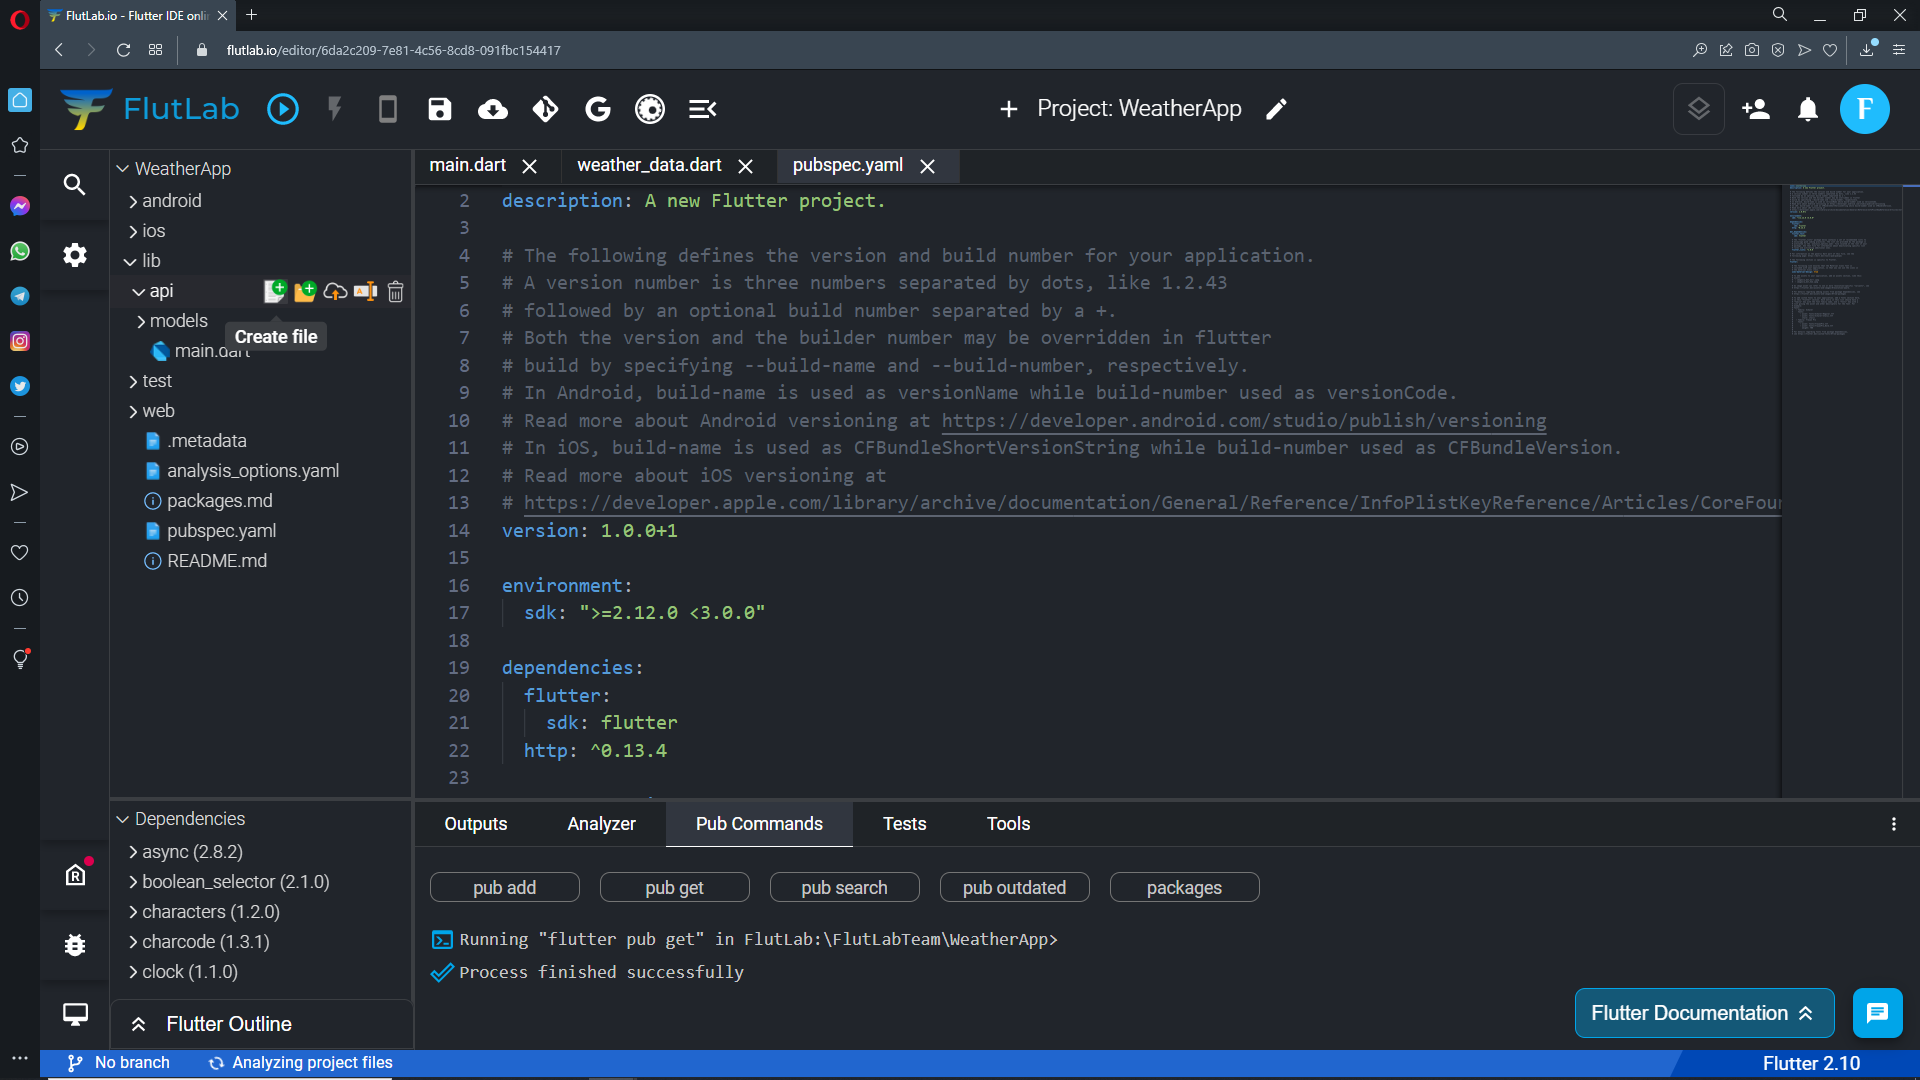
Create the "api" folder in the "lib" folder.
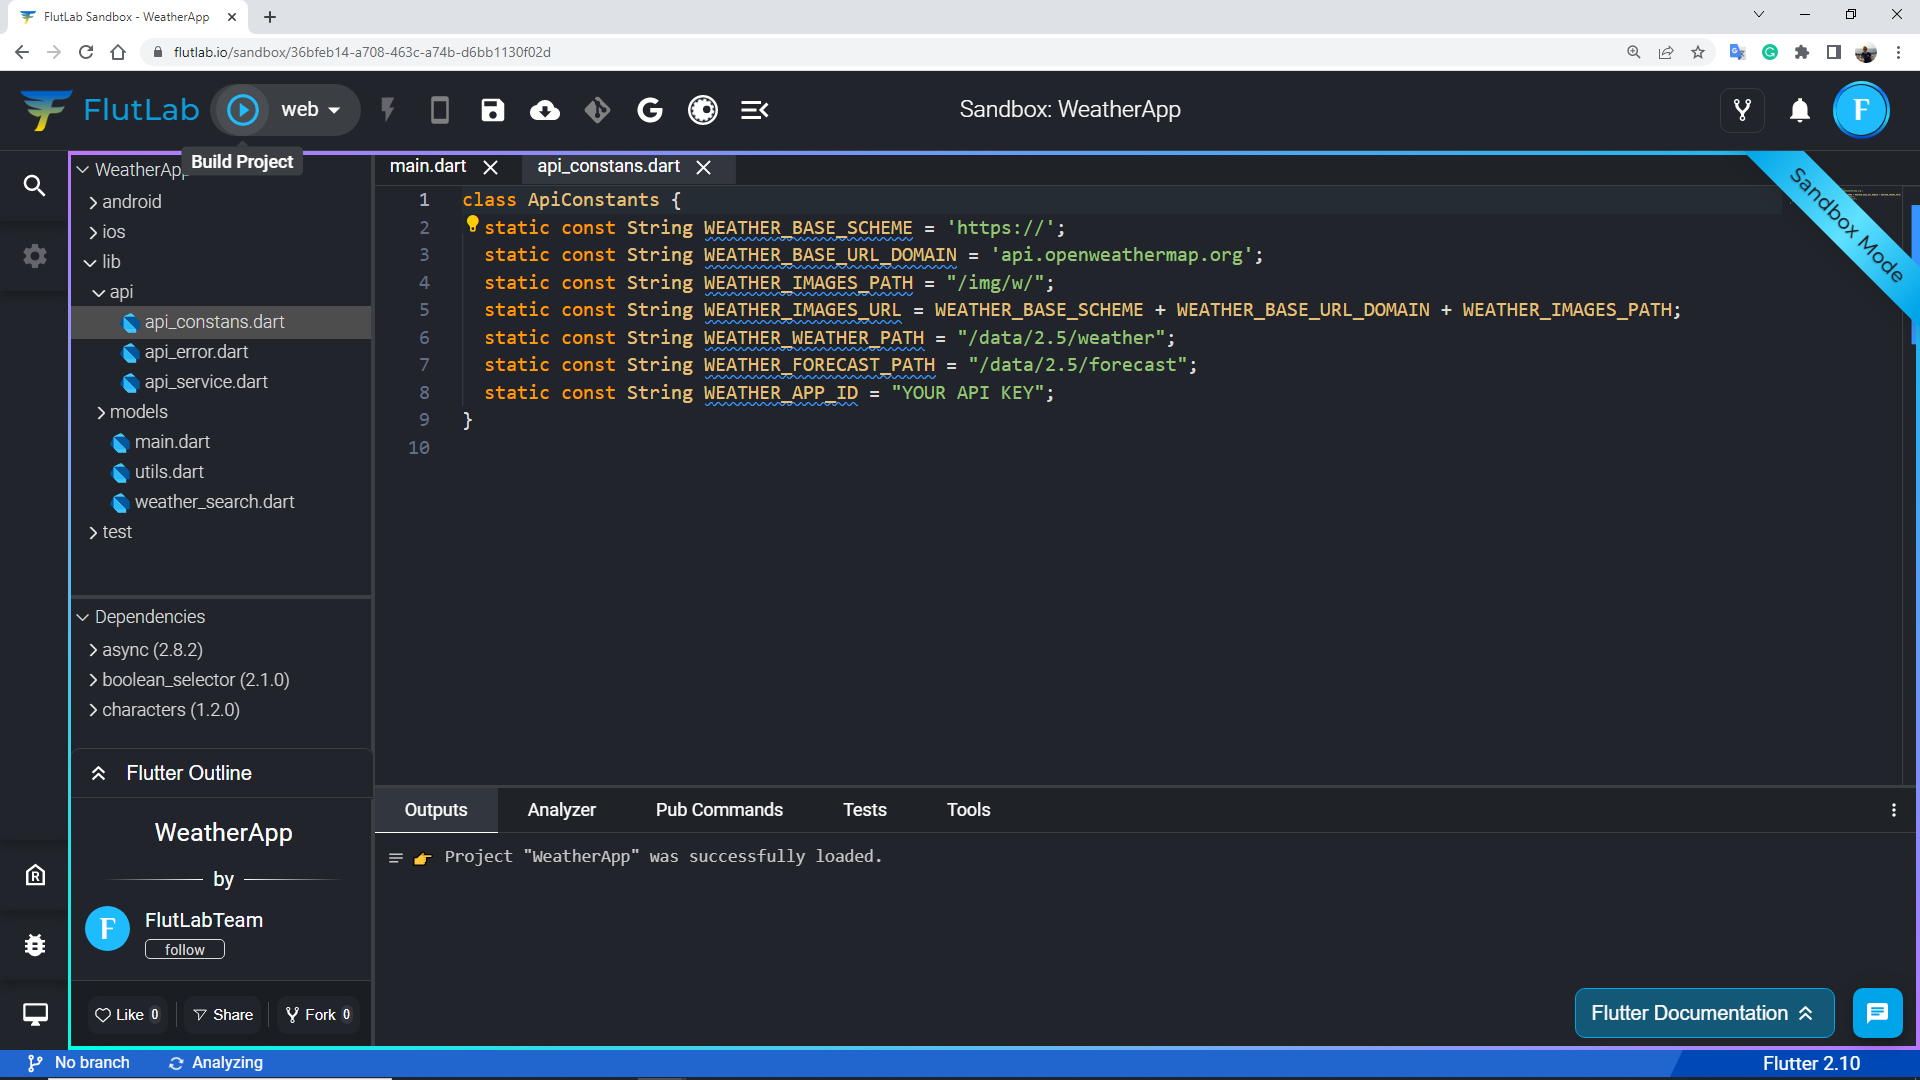
Create the "api_constans.dart" file in the "api" folder
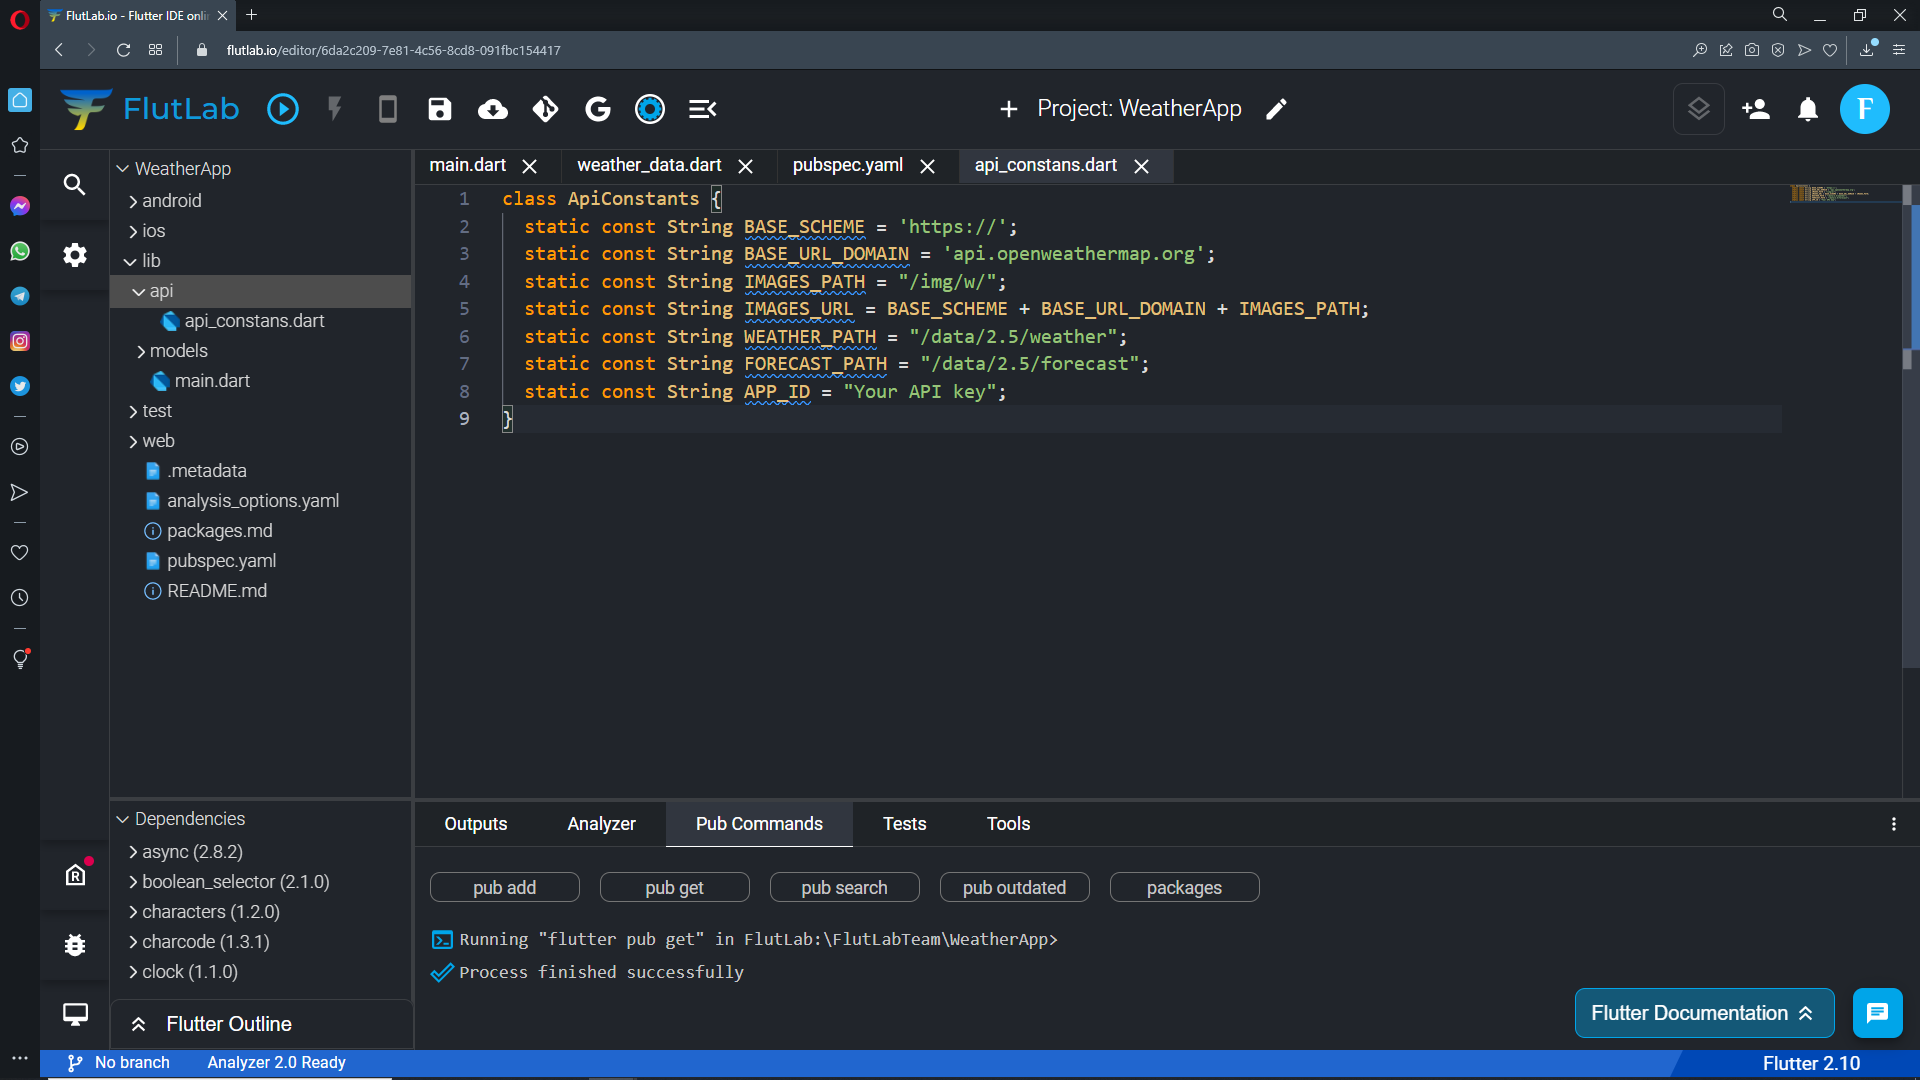
Open the "api_constans.dart" file and add this code:
class ApiConstants { static const String BASE_SCHEME = 'https://'; static const String BASE_URL_DOMAIN = 'api.openweathermap.org'; static const String IMAGES_PATH = "/img/w/"; static const String IMAGES_URL = BASE_SCHEME + BASE_URL_DOMAIN + IMAGES_PATH; static const String WEATHER_PATH = "/data/2.5/weather"; static const String FORECAST_PATH = "/data/2.5/forecast"; static const String APP_ID = "Your API key";}Add your API key (to the 8th line).
Only 1/3 of the real app is covered in this tutorial. To understand the full functionality - play with the "ready to use" app in the WeatherApp Sandbox. Don't forget to change the line 8th in the "api_constans.dart" file in the sandbox too:
https://flutlab.io/sandbox/36bfeb14-a708-463c-a74b-d6bb1130f02d
Press the Build Project button