
How to create BDD tests in FlutLab
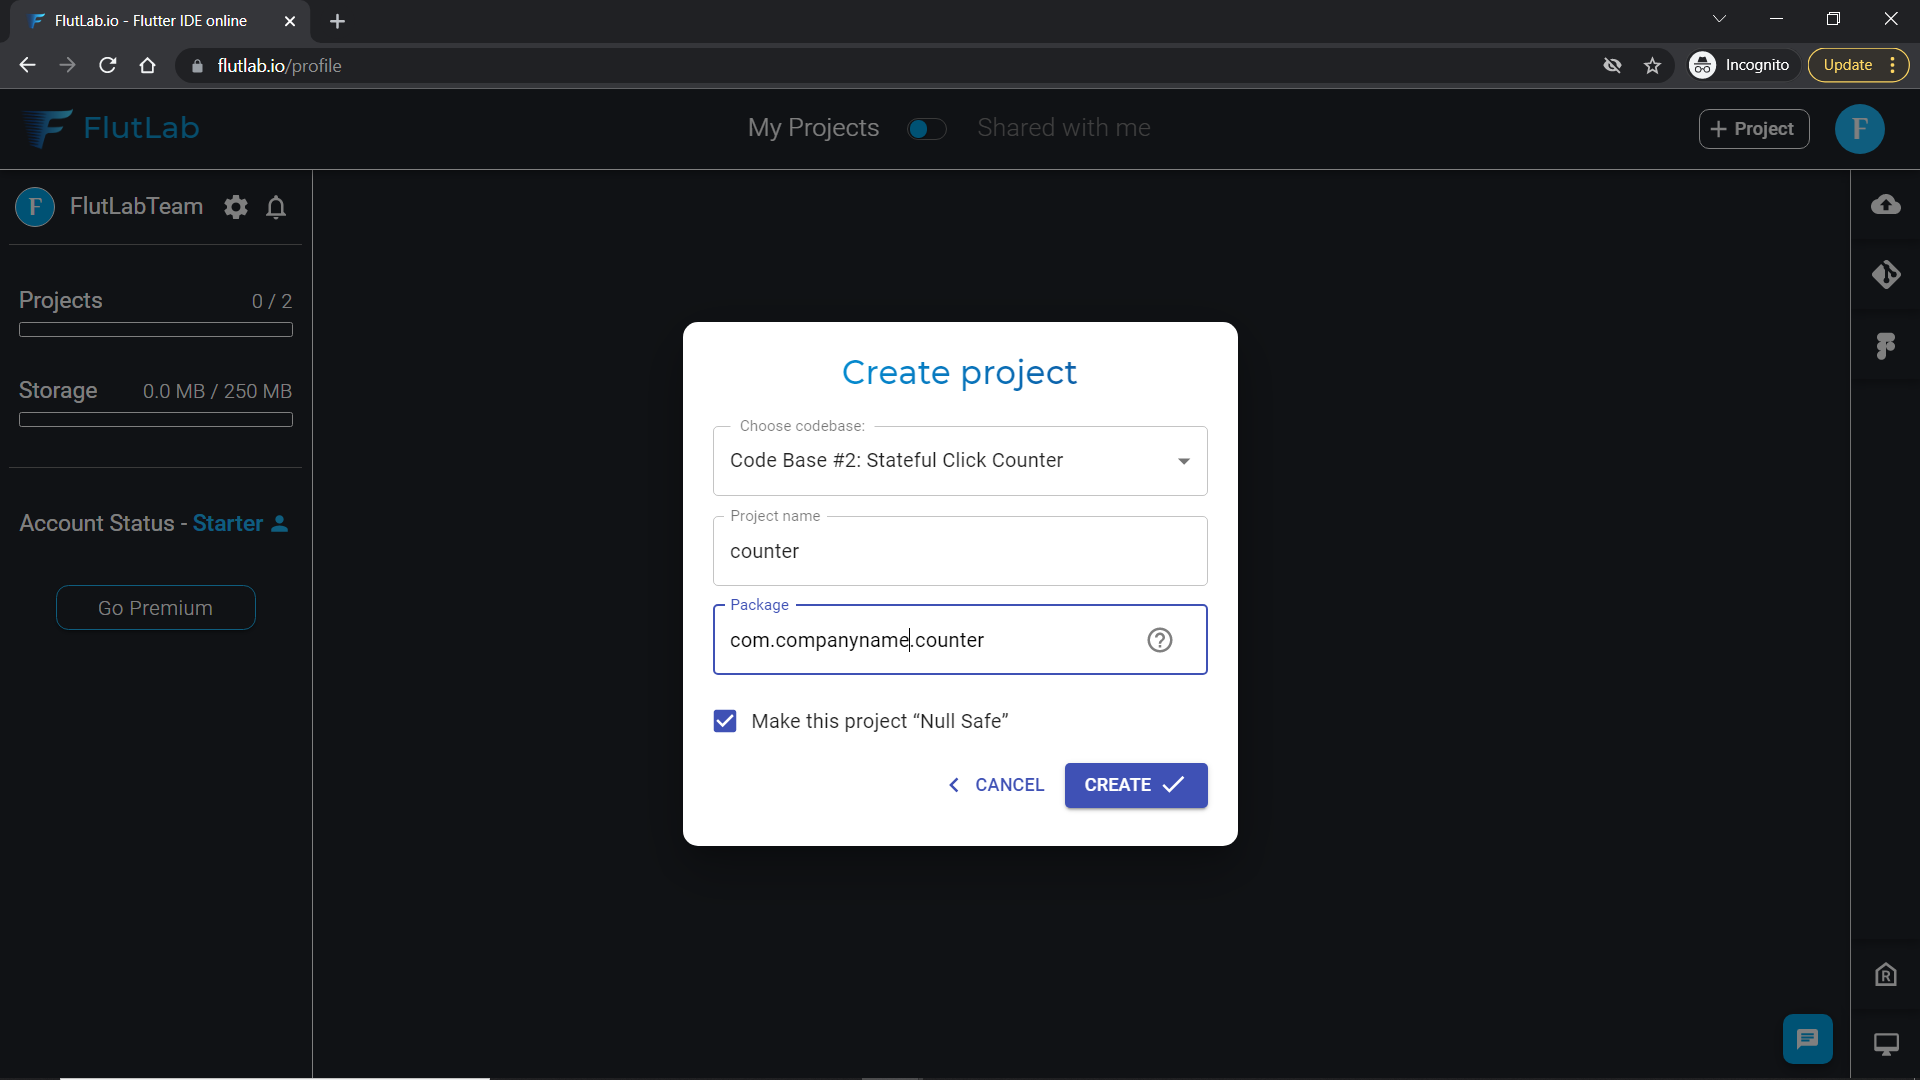
1. Create a new project from Codebase ("Stateful click counter" for example).
2. Click the Tests tab in the bottom panel.
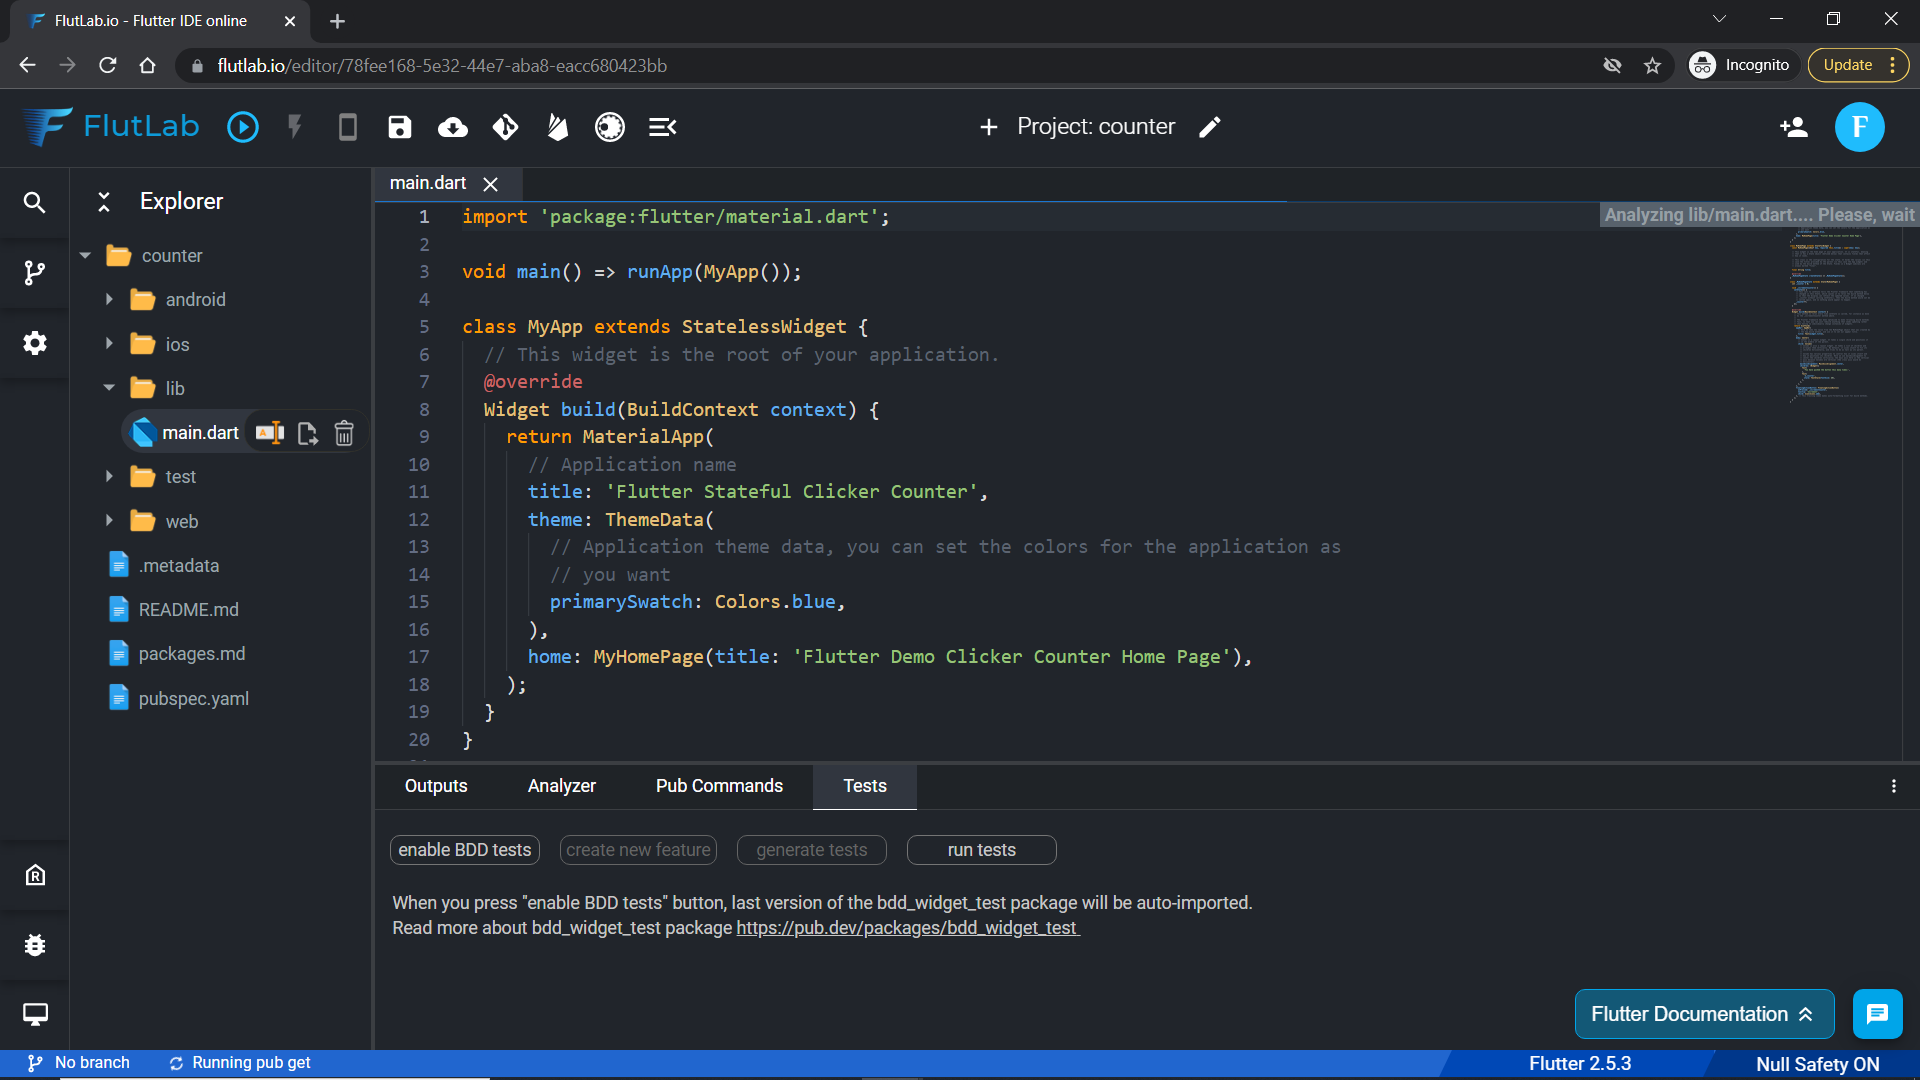
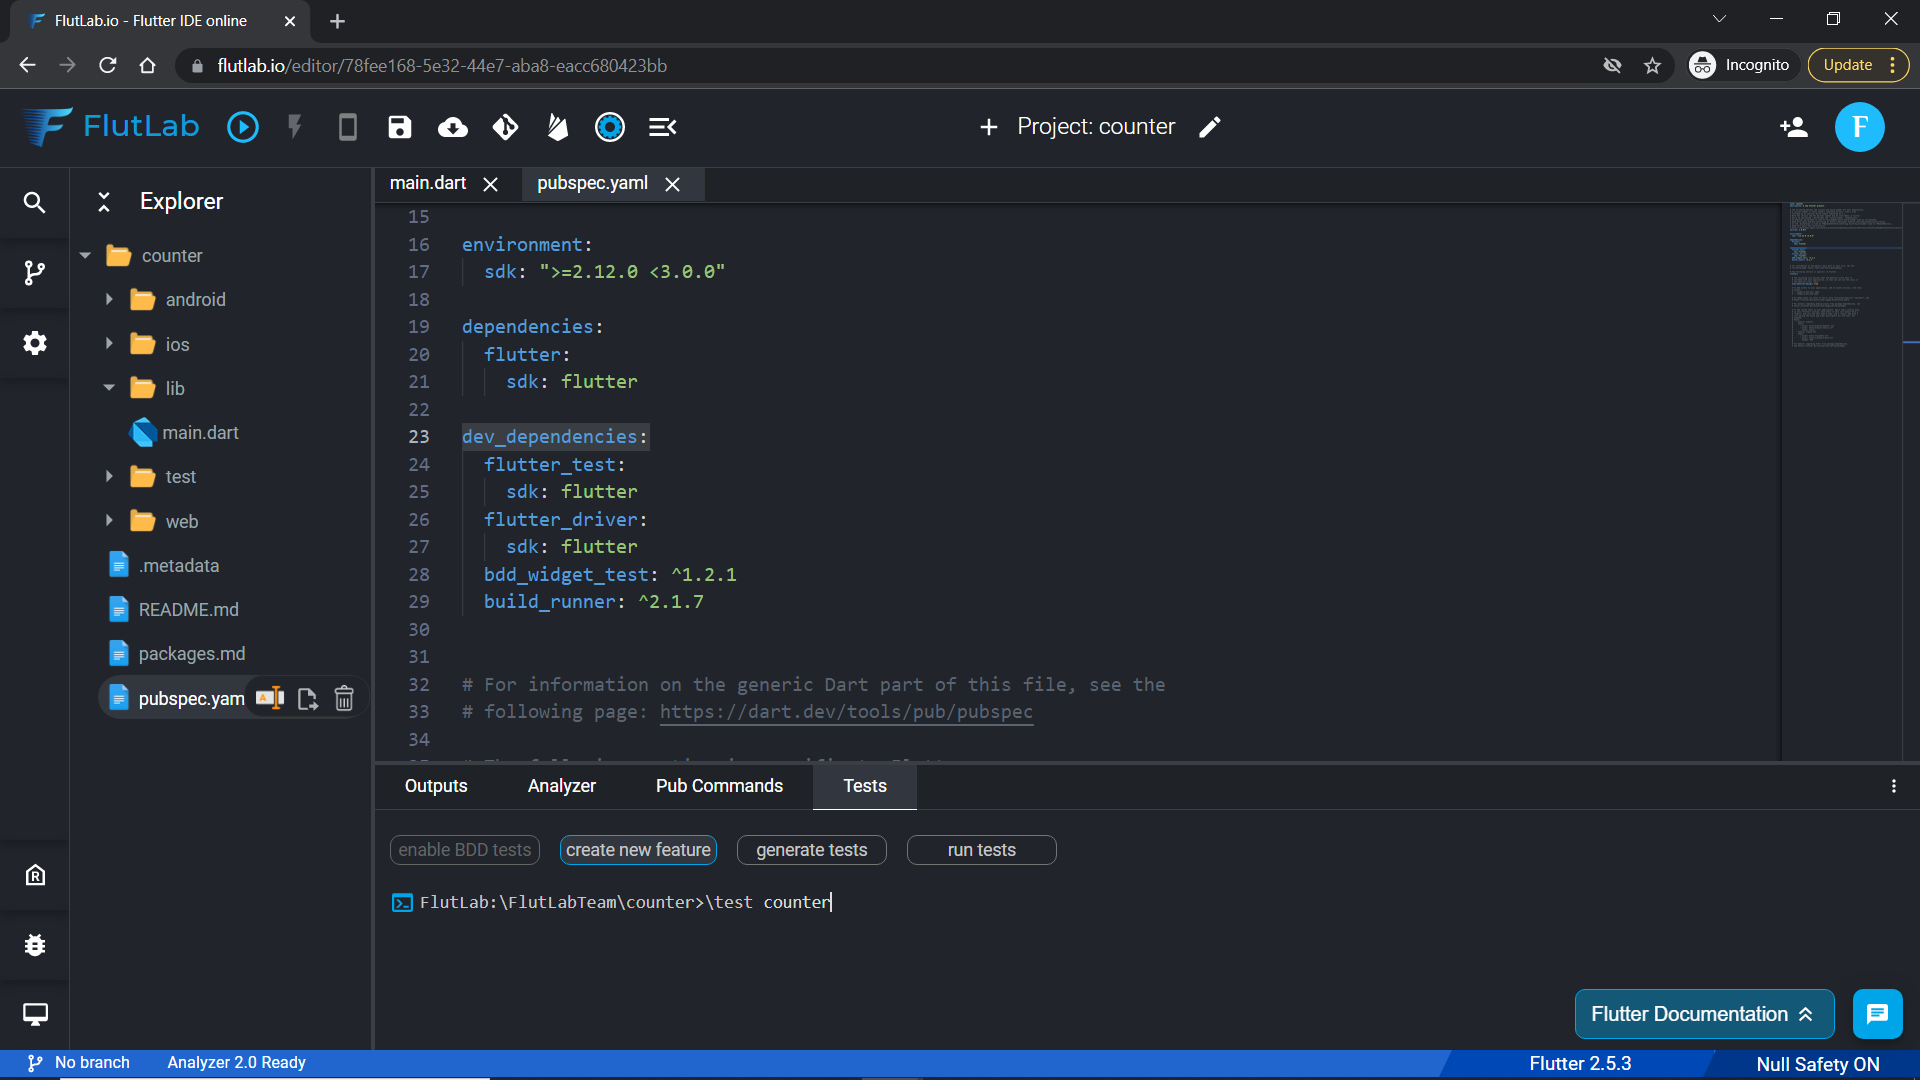
3. We are going to create BDD widget tests. We will use bdd_widget_test package for this ( https://pub.dev/packages/bdd_widget_test ). Press "enable Bdd tests" button and the last version of the bdd_widget_test package will be auto-imported into your project.
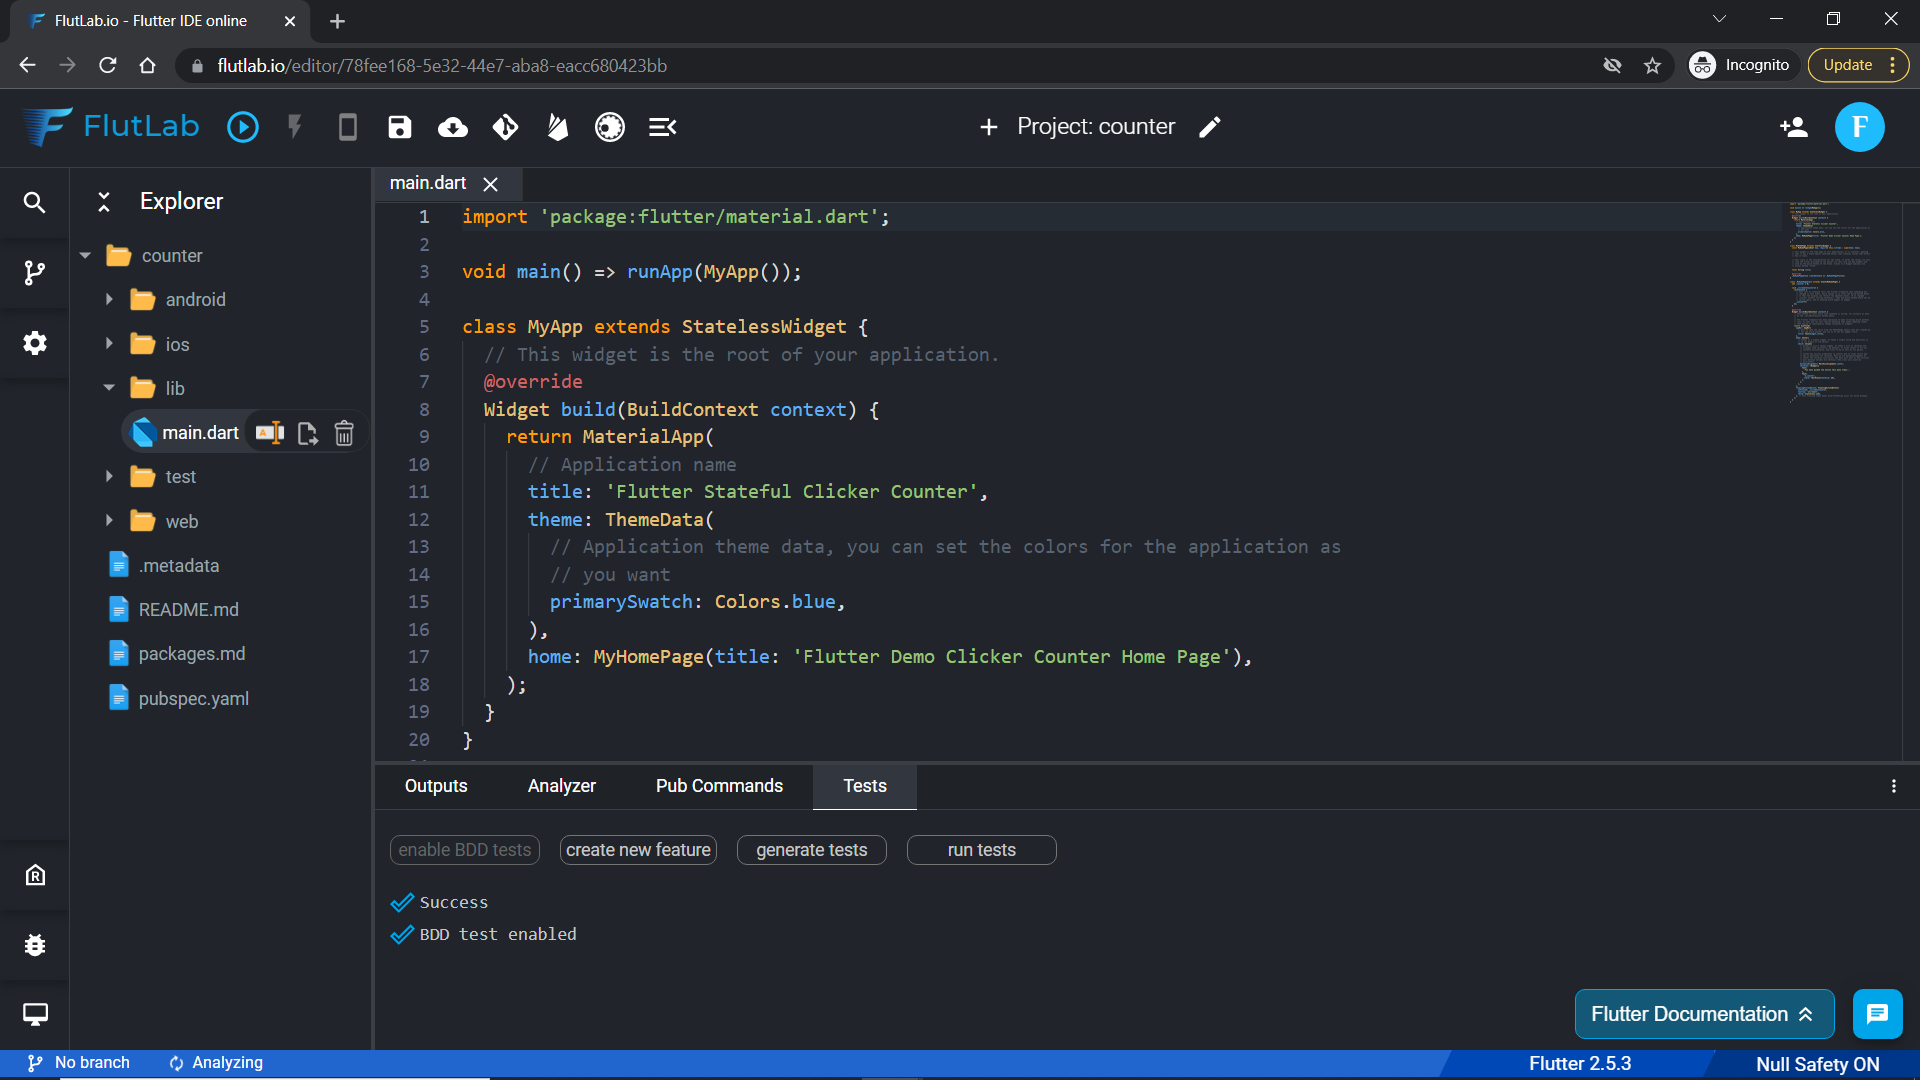
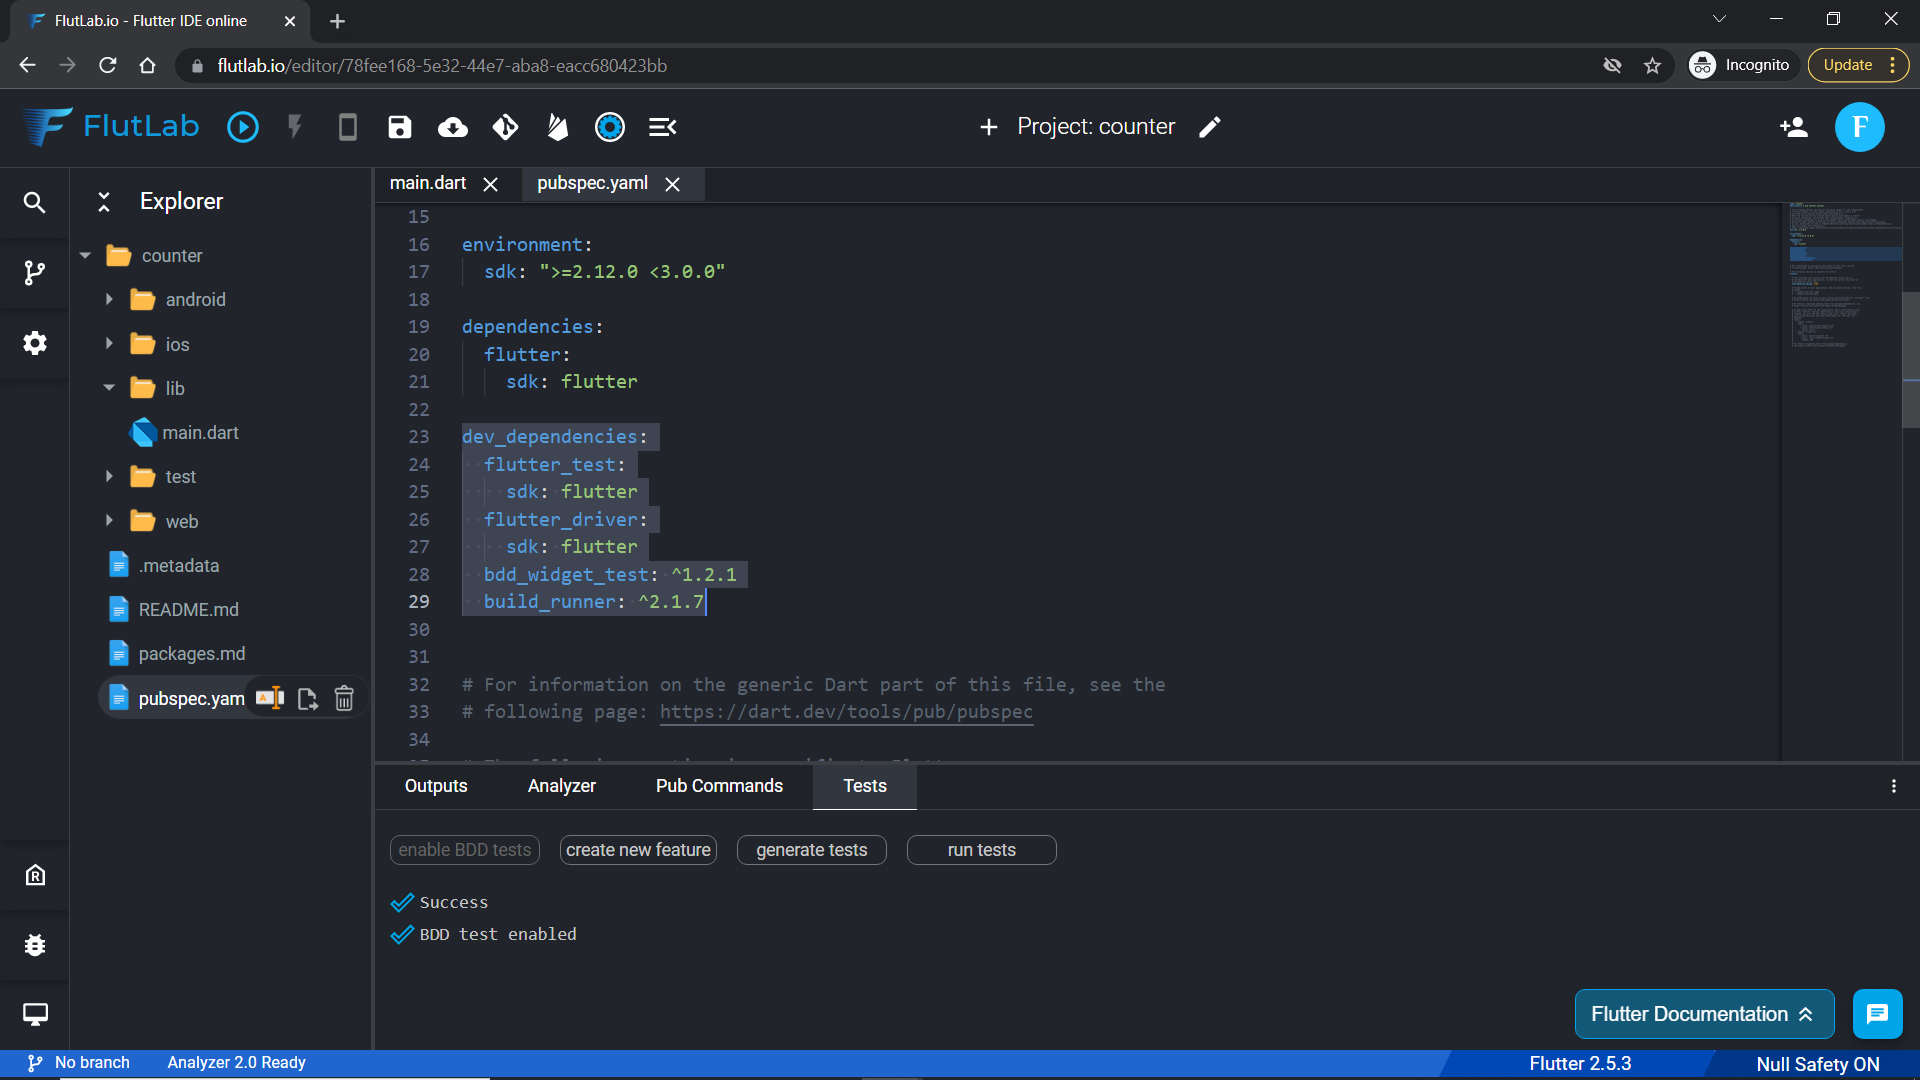
4. Open pubspec.yaml file and check what was added to your file inside the "dev_dependencies: " section.
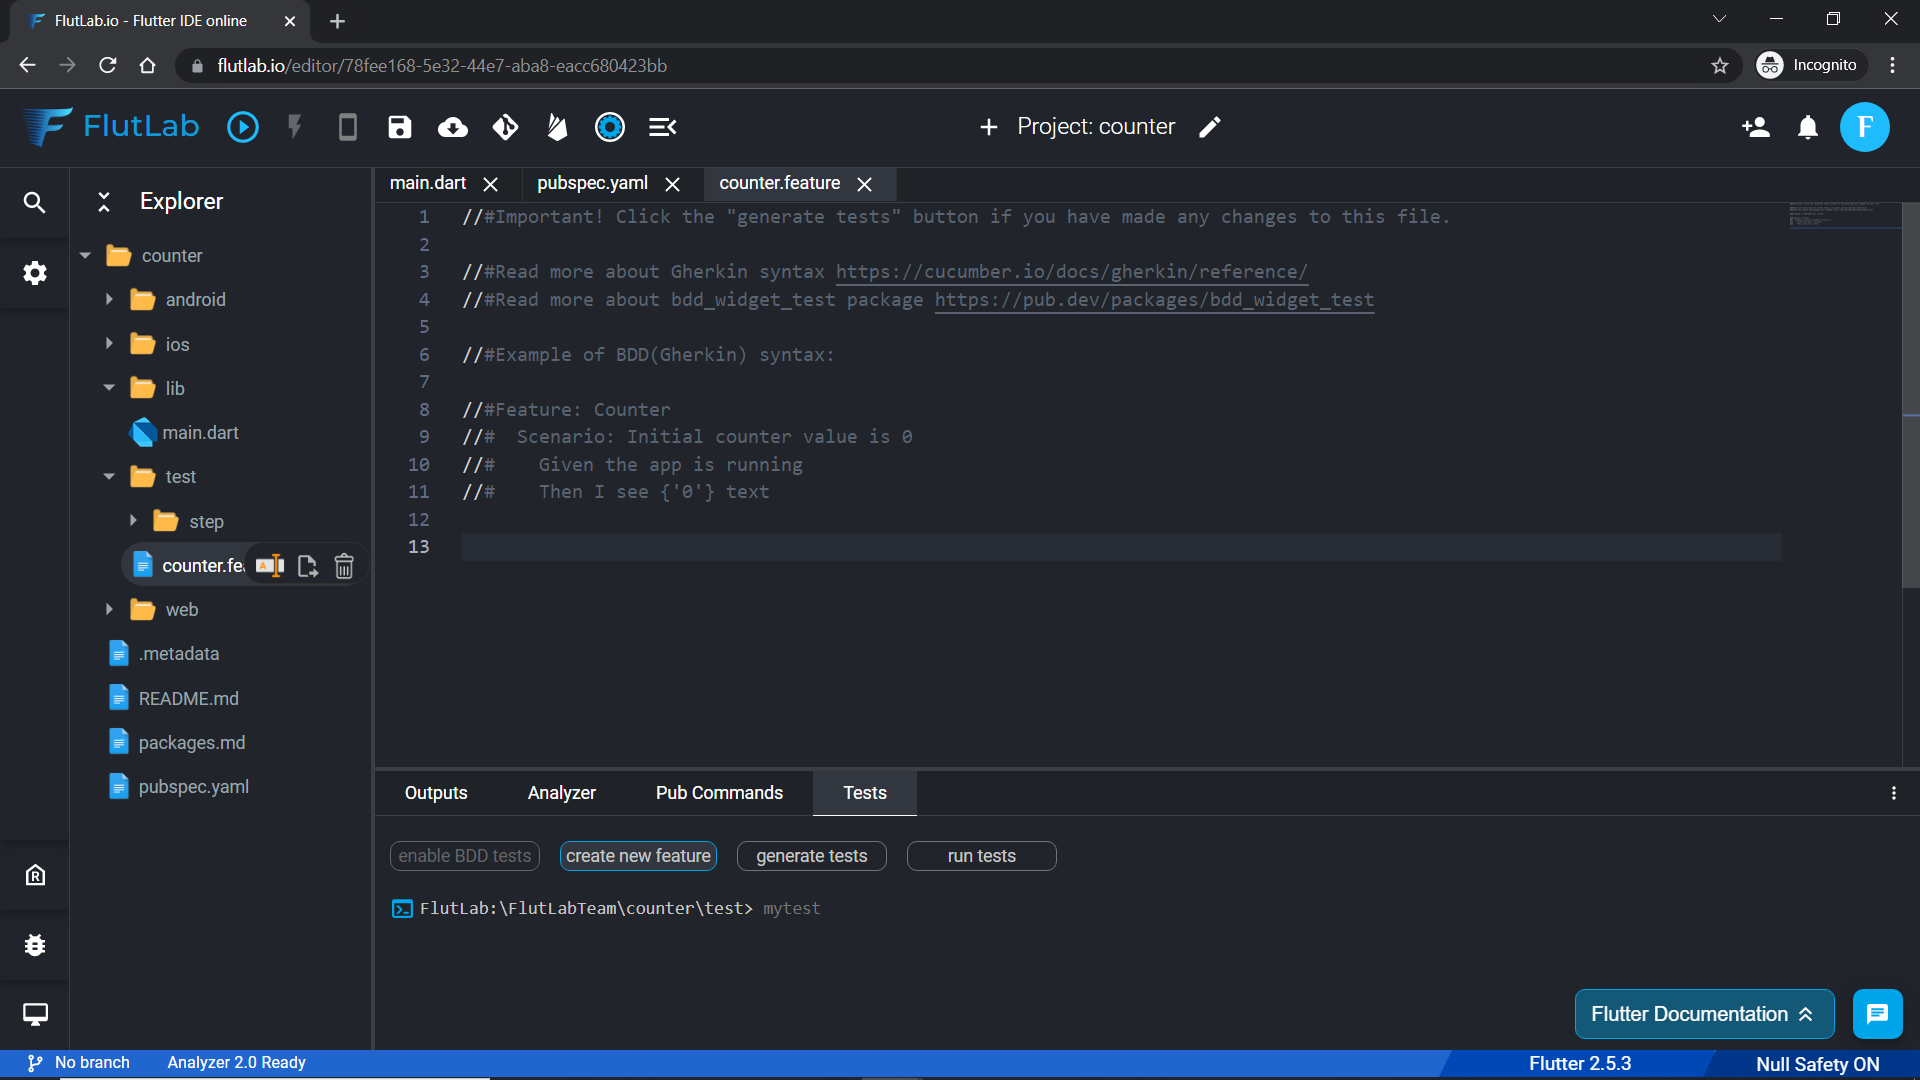
5. Back to "Tests" tab and click the "create new feature" button. Write the name of the feature and press Enter (for example - "counter").
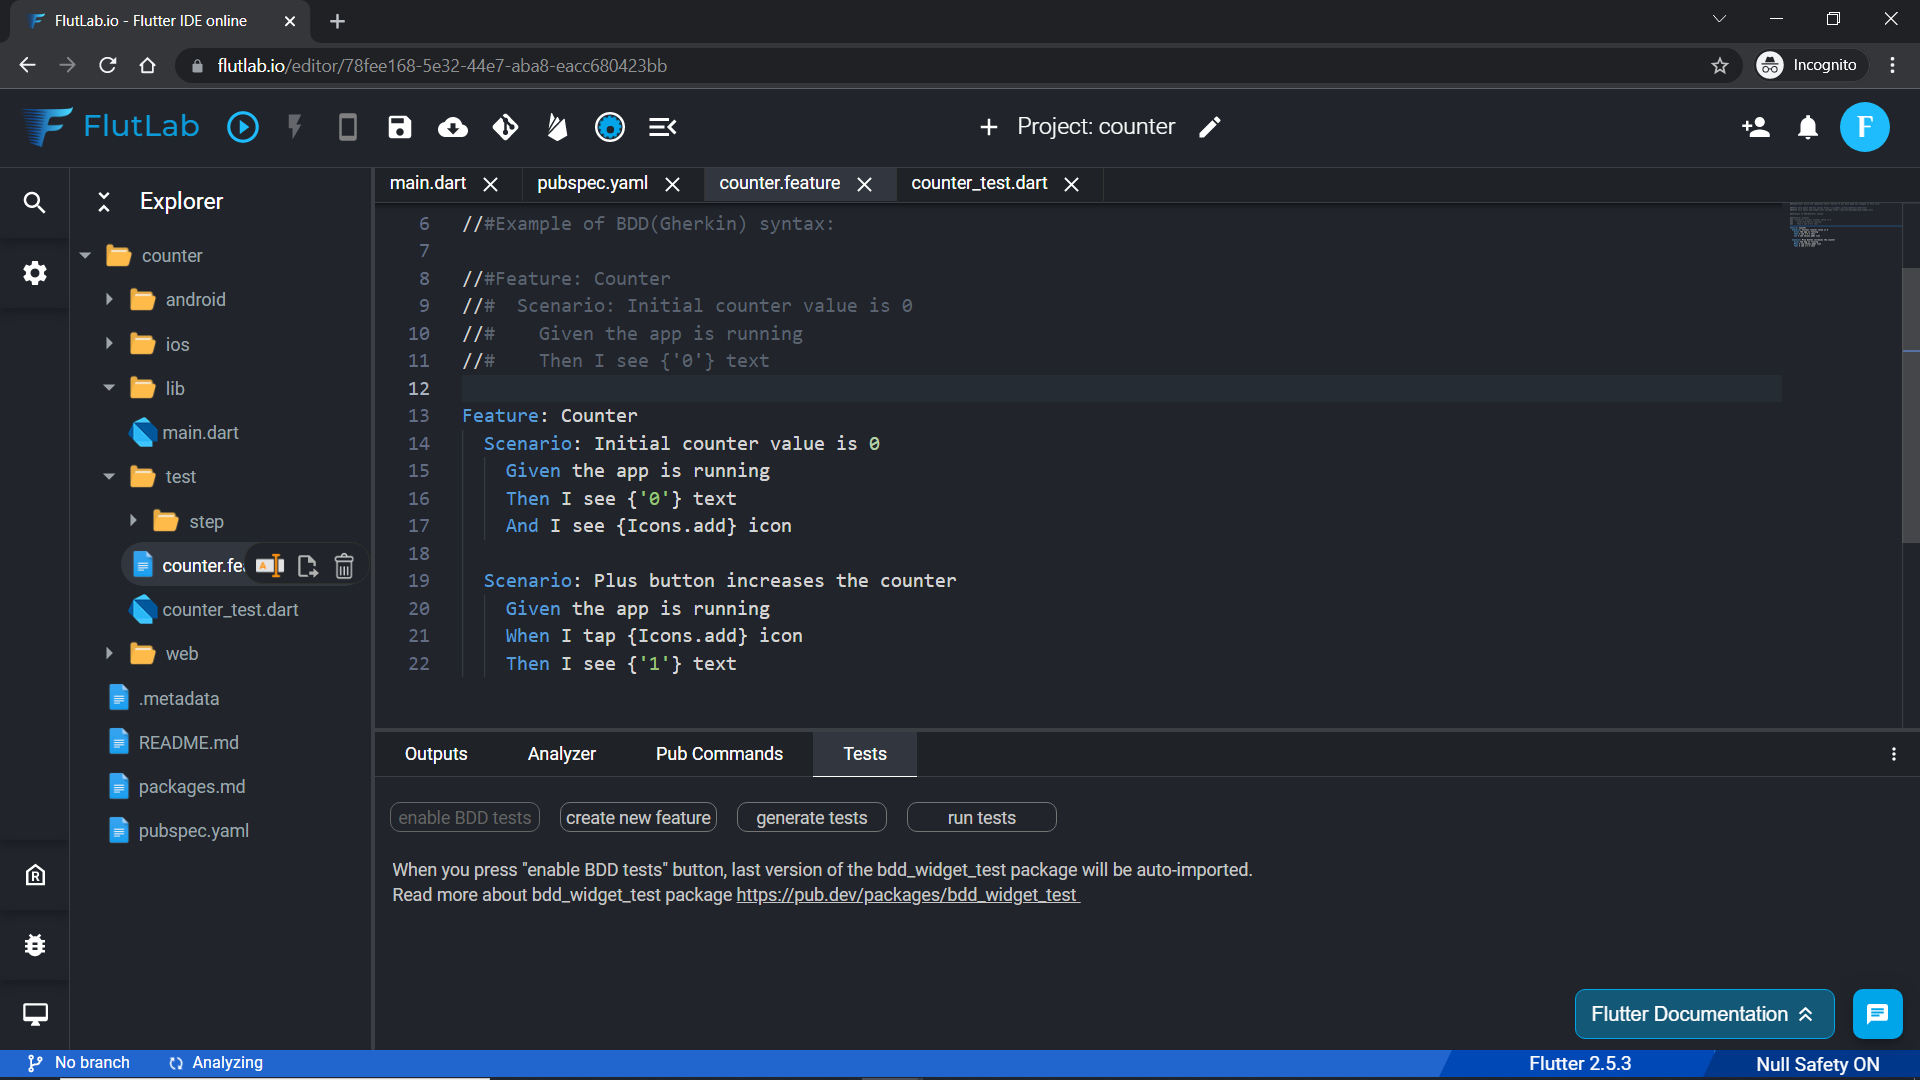
6. We created a counter.feature file with an example of BDD(Gherkin - https://cucumber.io/docs/gherkin/reference/ ) syntax.
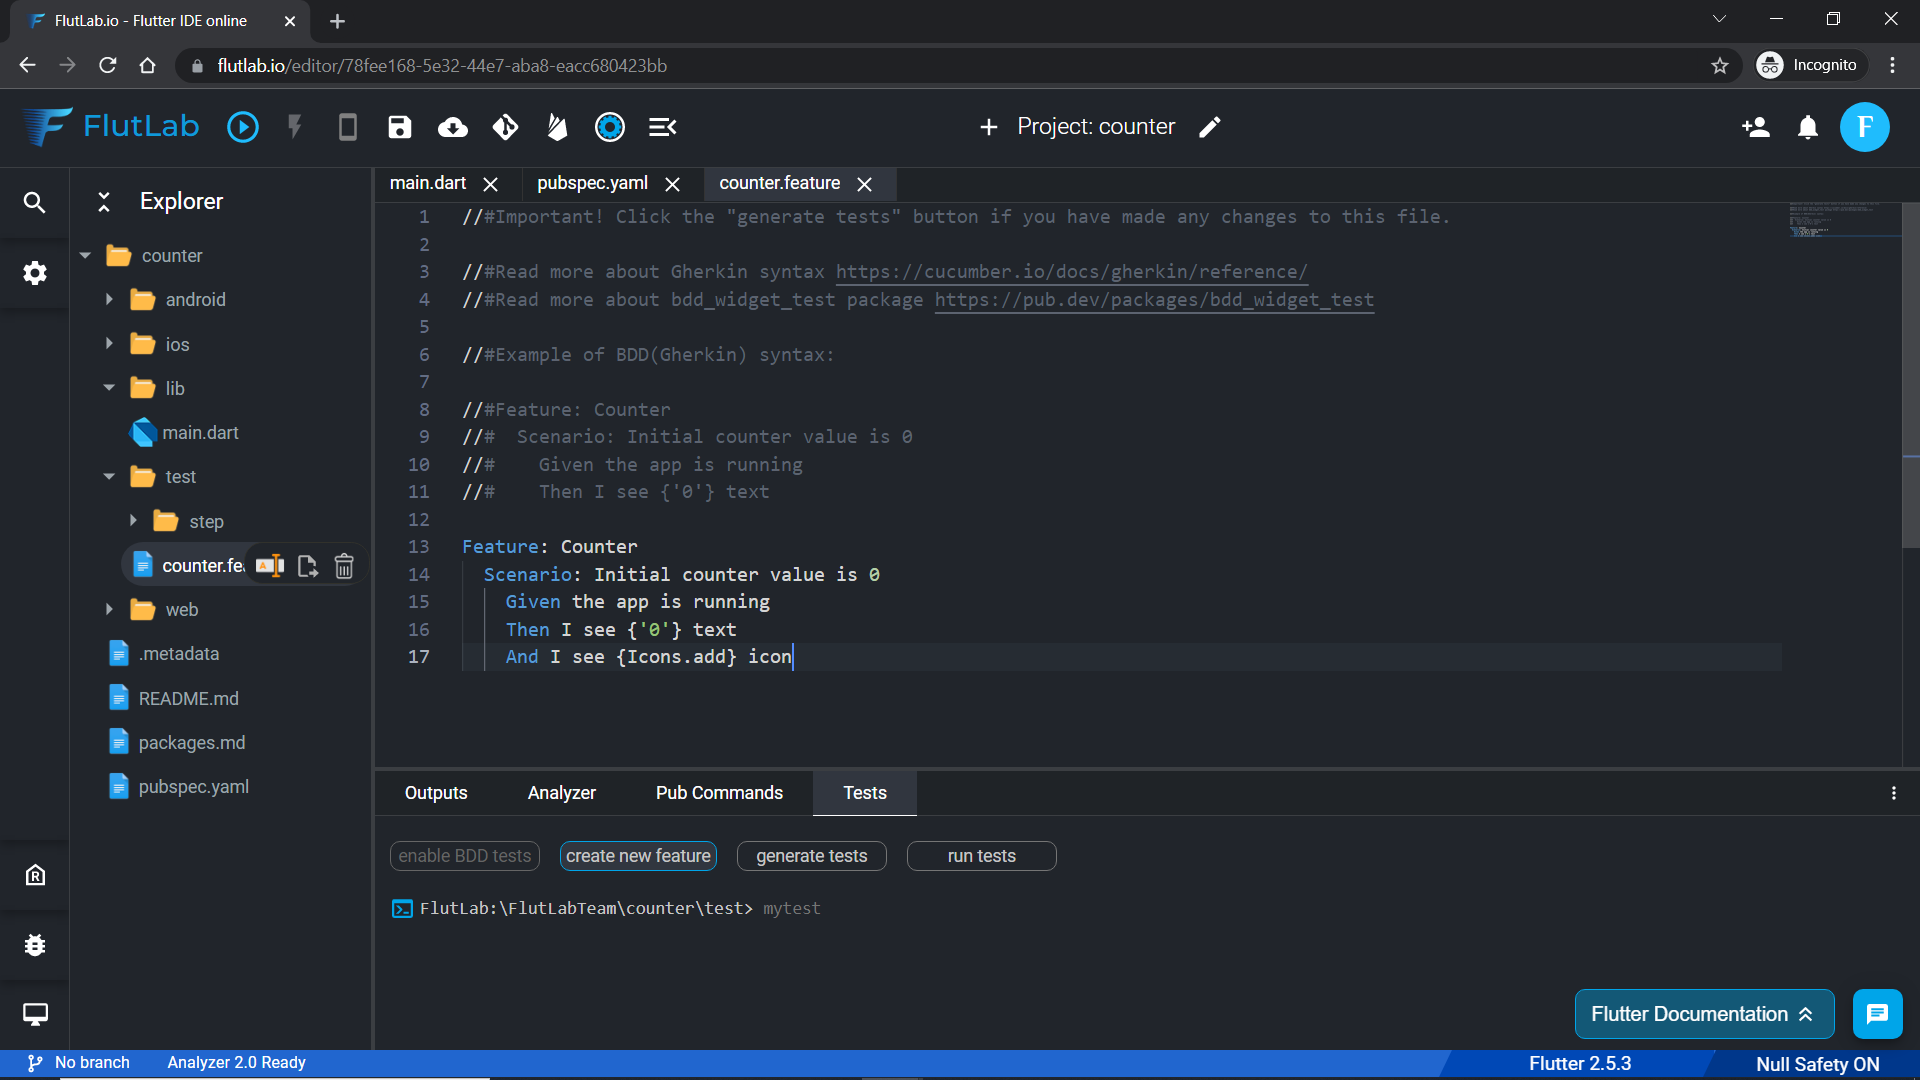
7. Add your first Scenario to the counter.feature file:
Feature: Counter Scenario: Initial counter value is 0 Given the app is running Then I see {'0'} text And I see {Icons.add} icon
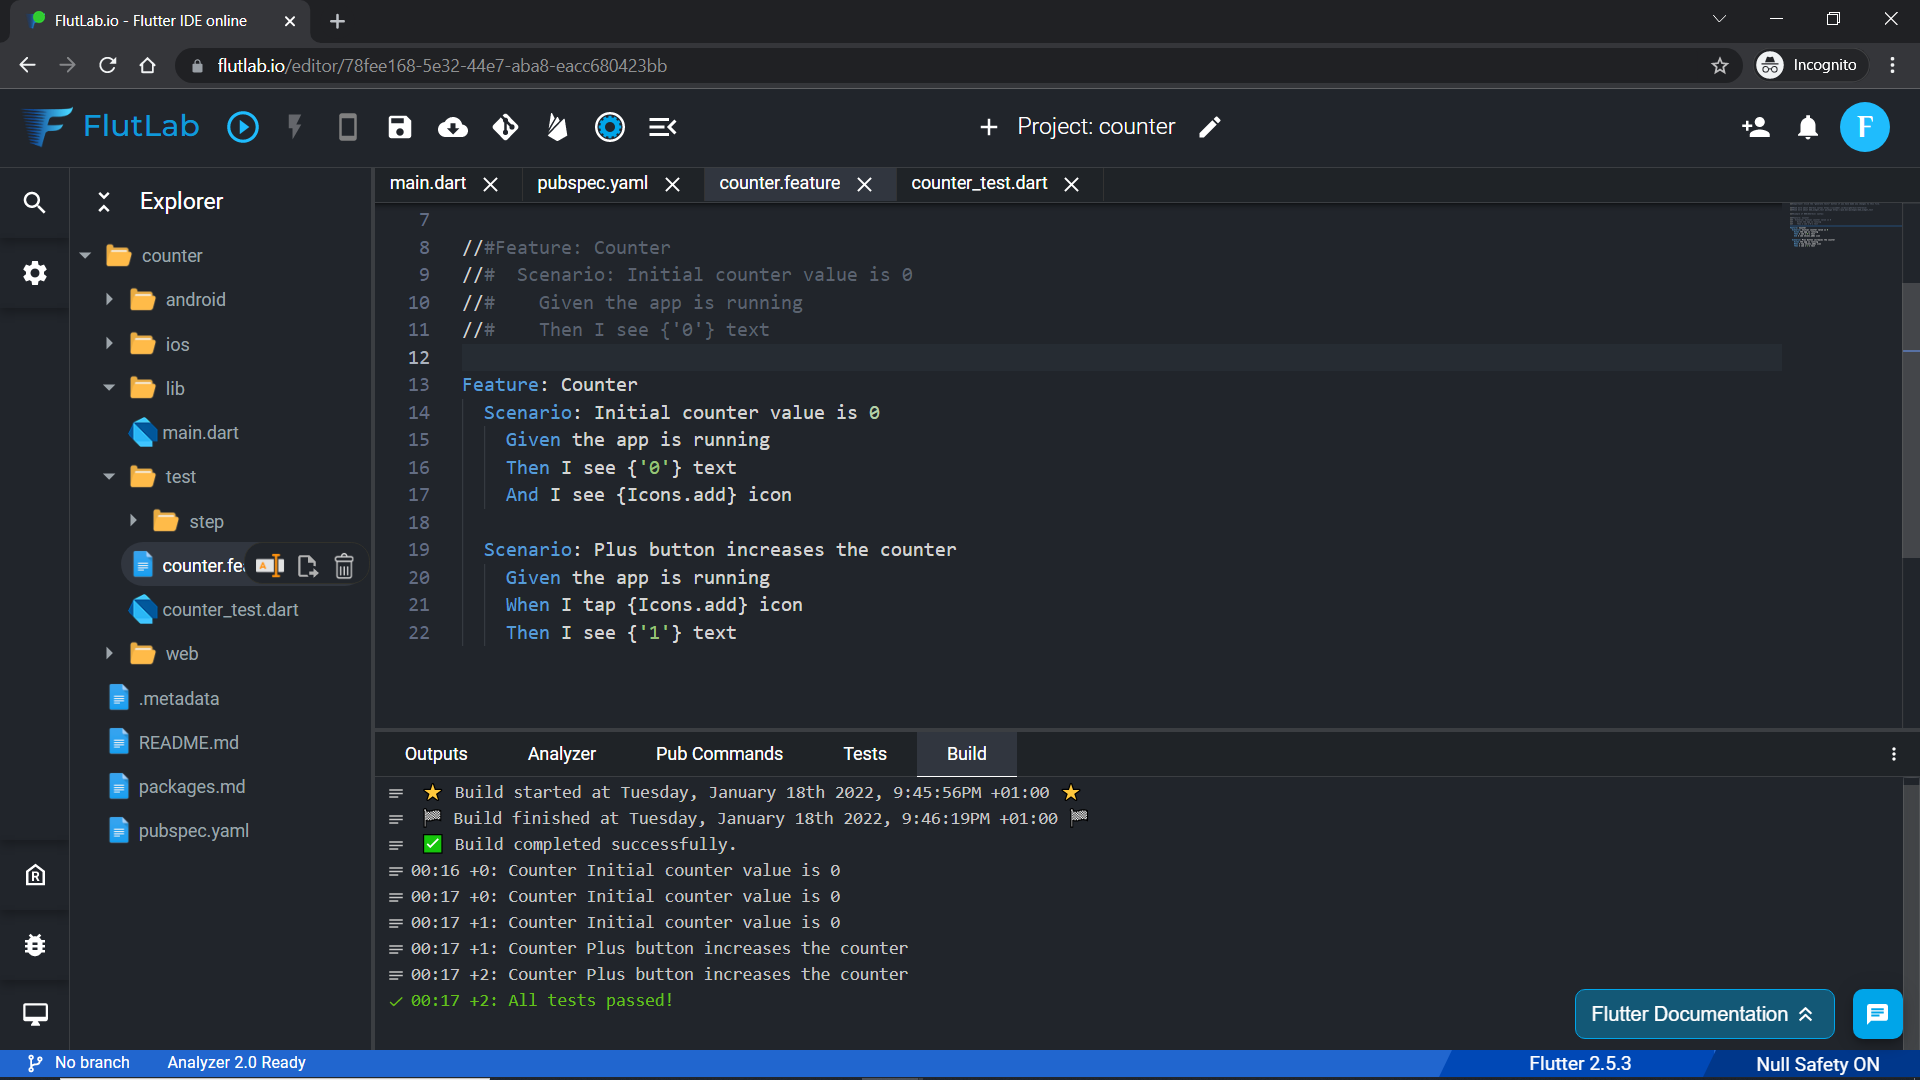
8. Click the "generate tests" button in the Tests tab. After that, the corresponding dart file will be generated for each of your feature files. During feature-to-dart generation additional "steps" folder will be created. It will contain all steps required to run the scenario.
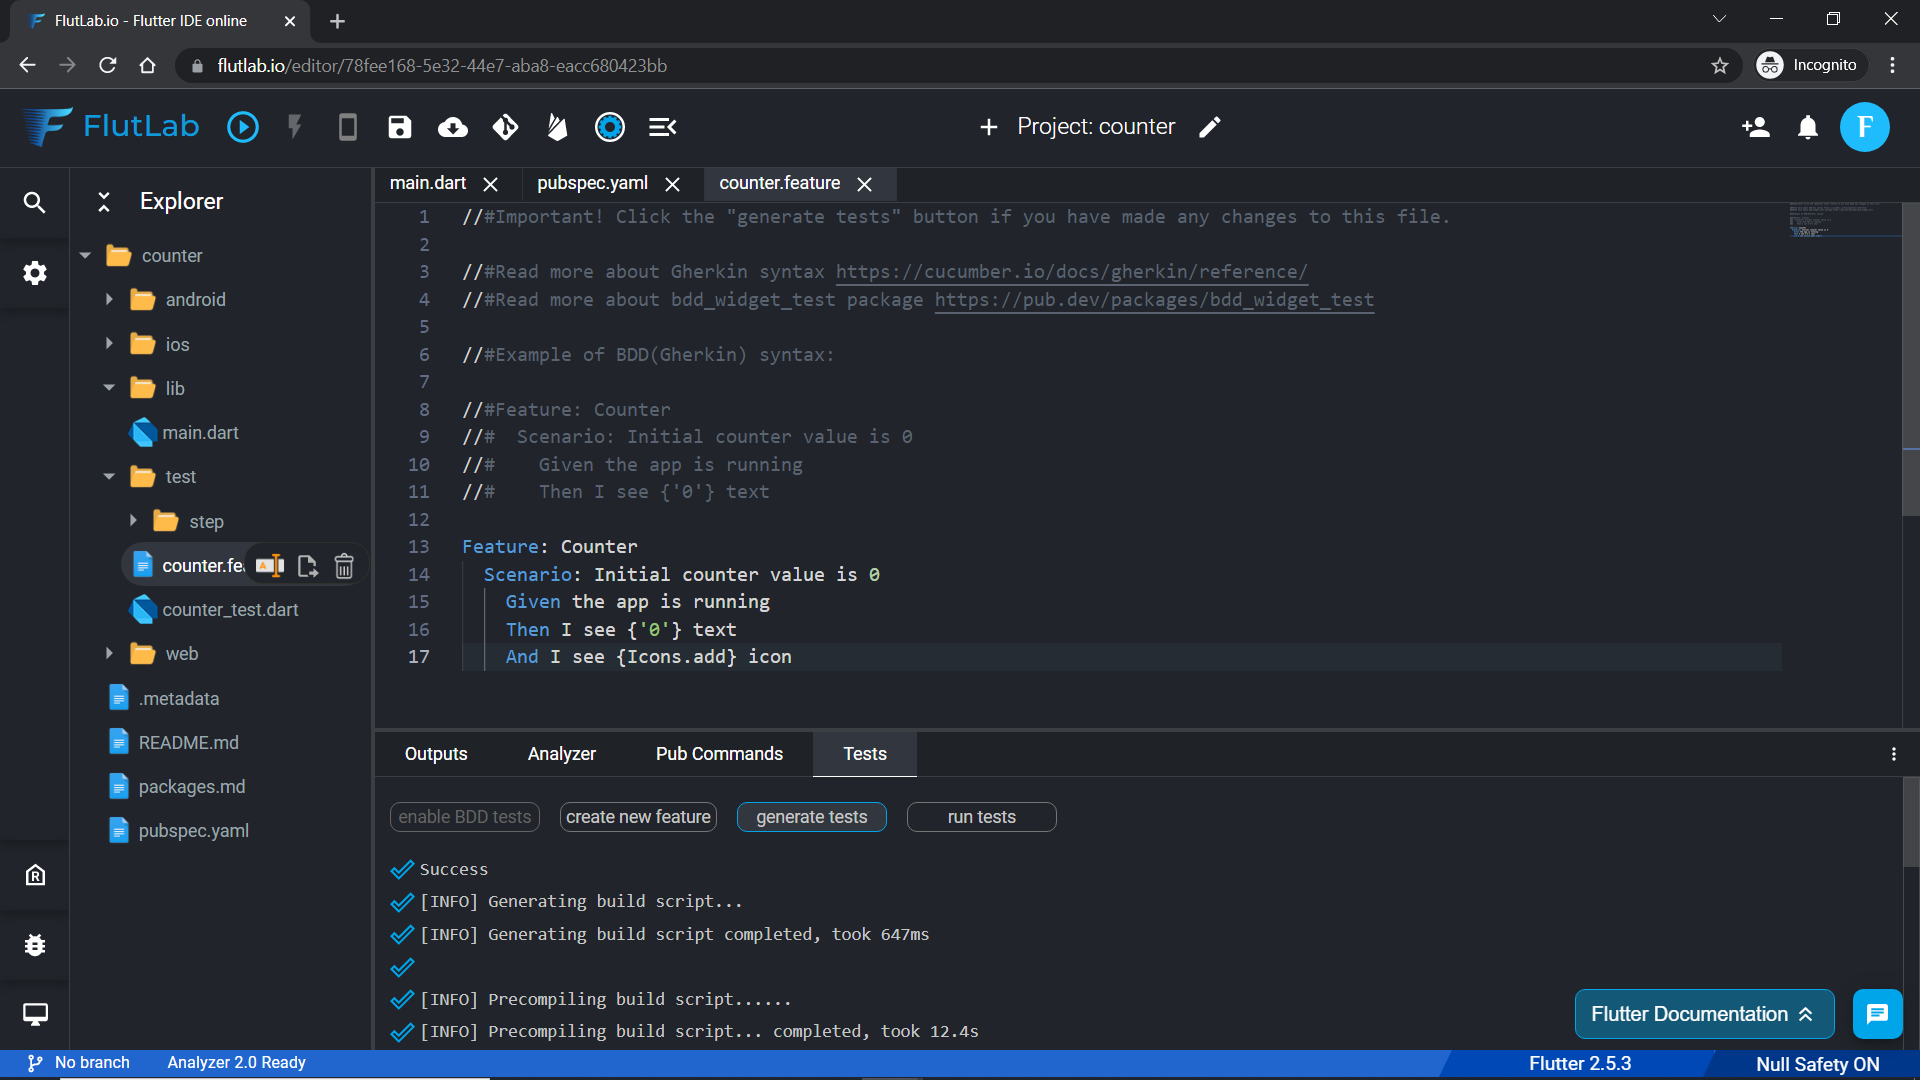
9. Check what do you have inside the "counter_test.dart" file.
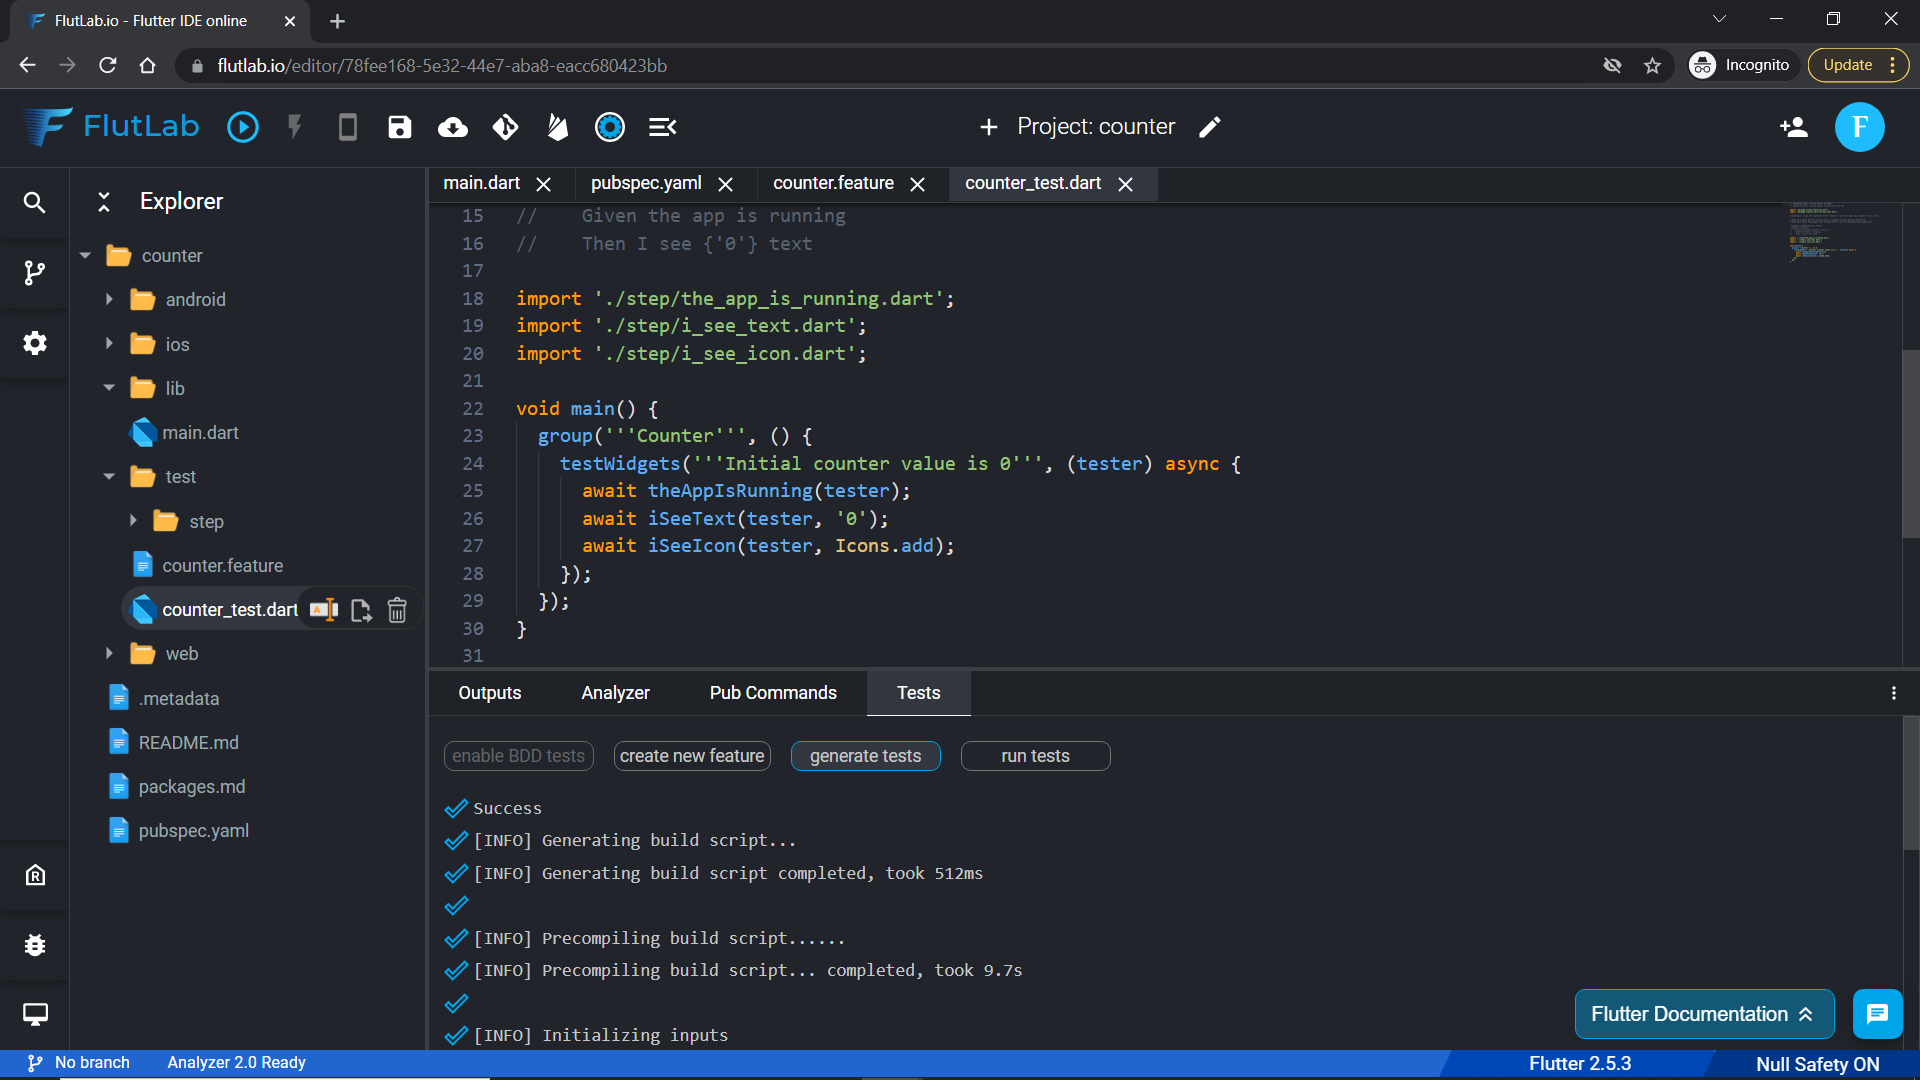
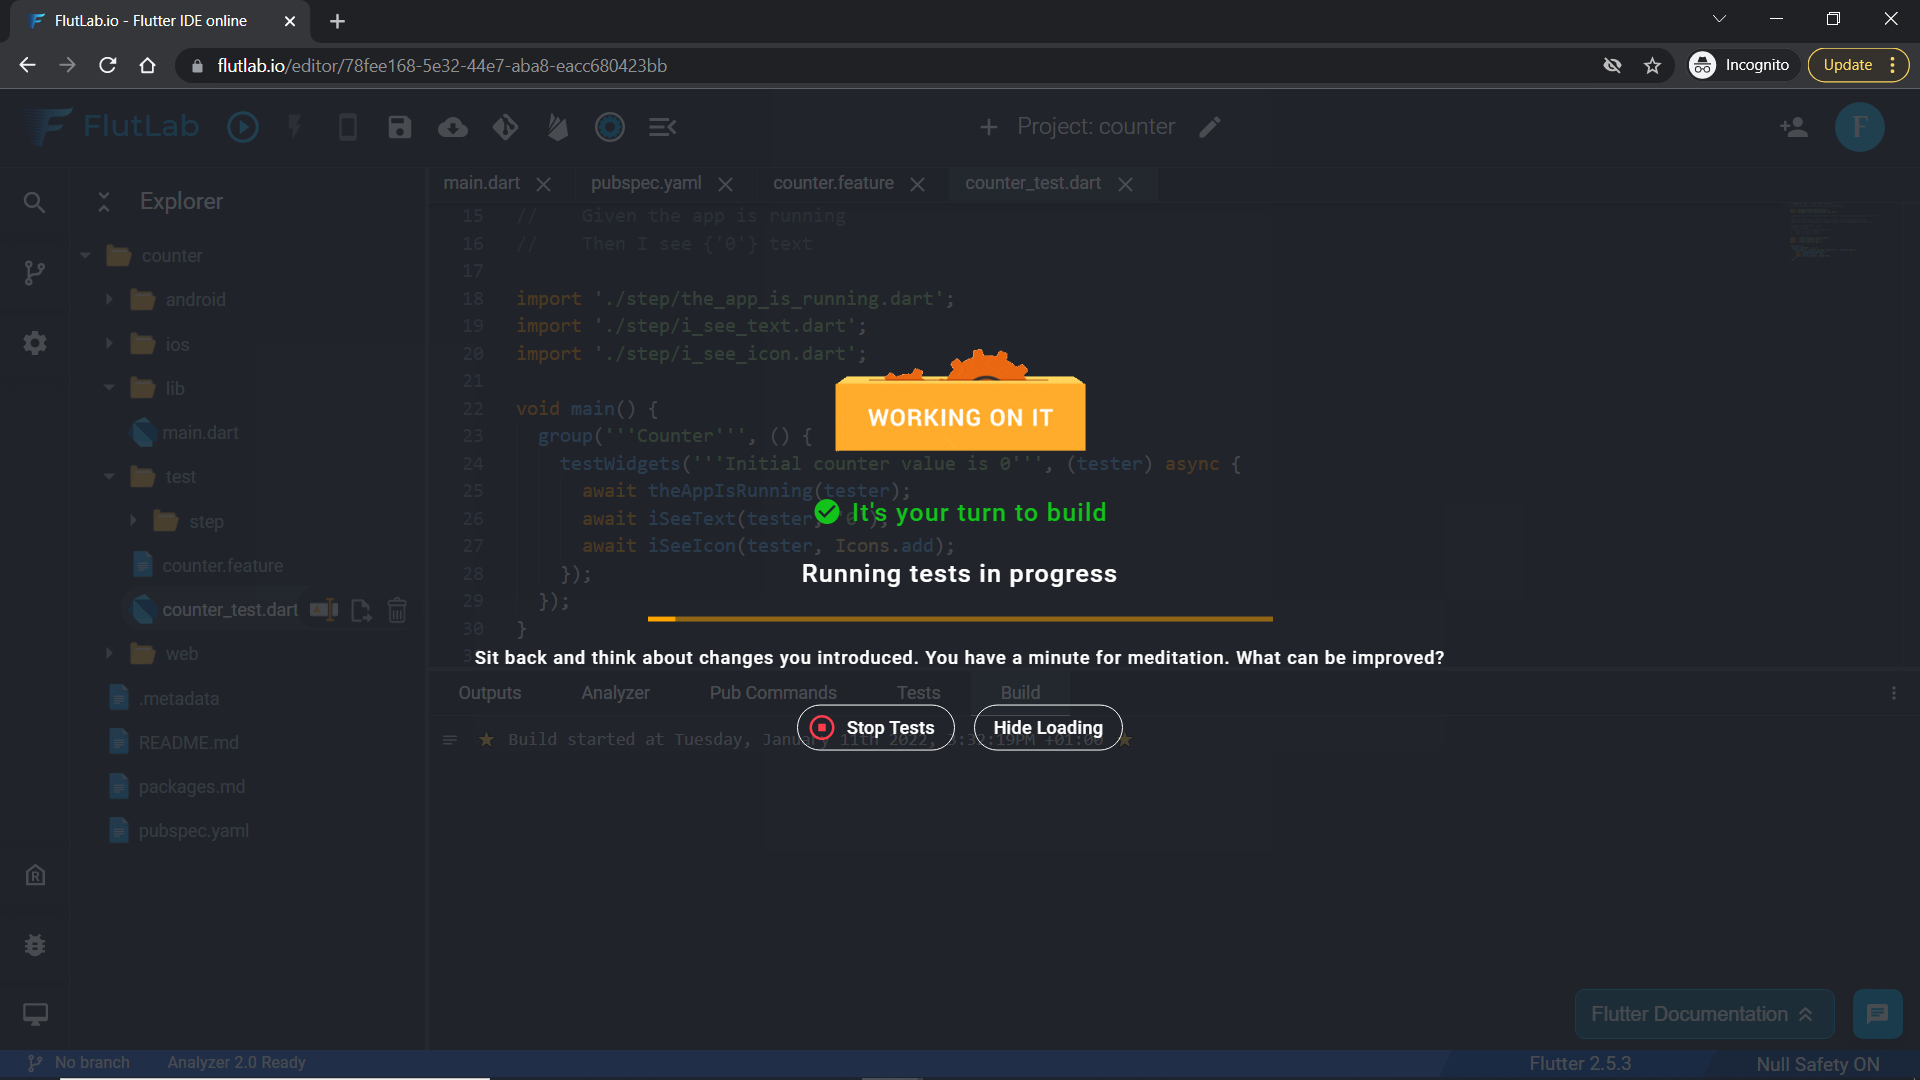
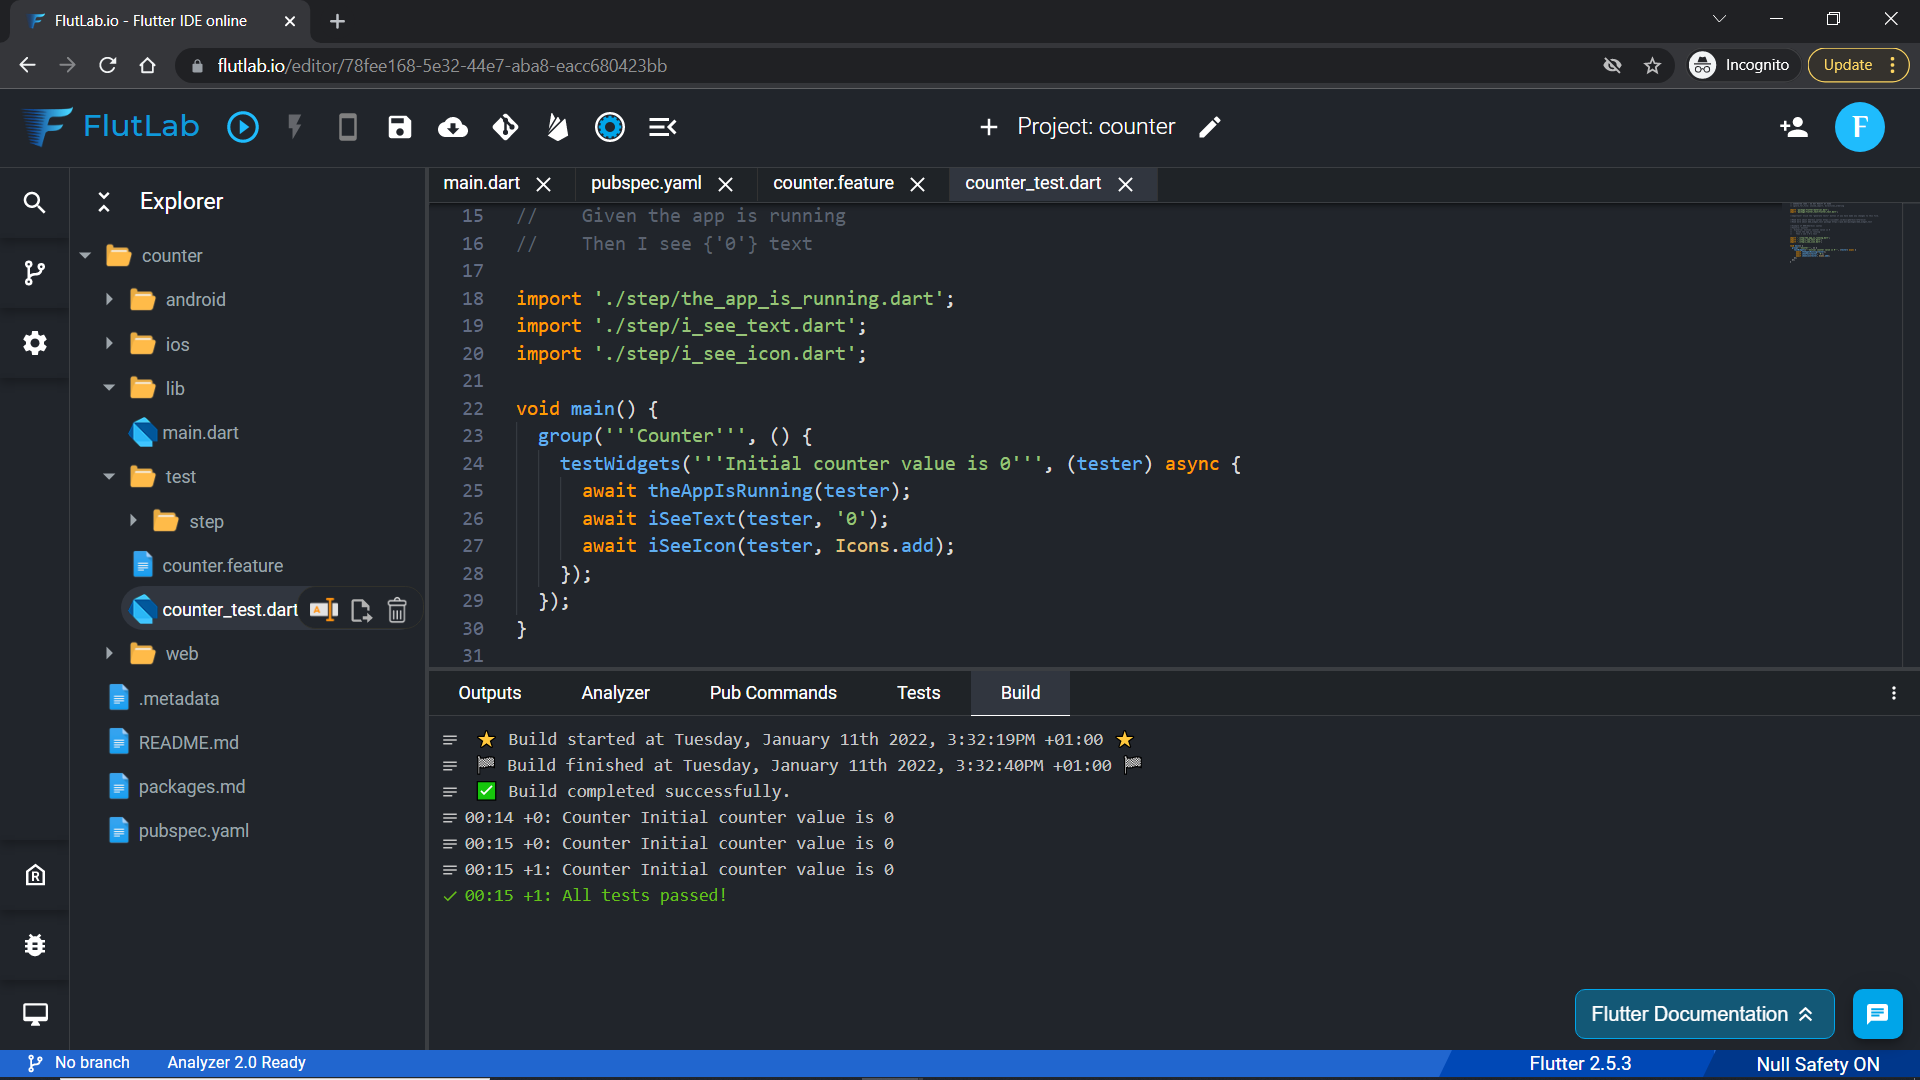
10. Click "run tests" button.
11. Great! All tests passed!
12. Let's add a new Scenario to the counter.feature file:
Scenario: Plus button increases the counter Given the app is running When I tap {Icons.add} icon Then I see {'1'} text
13. Click "generate tests" button and wait for a feedback from the tests generator.

14. Click "run tests" button.
Bingo! ... All tests passed!
15. Let's make some changes to our Scenario (line 22). Click the "generate tests" button and "run tests" then.
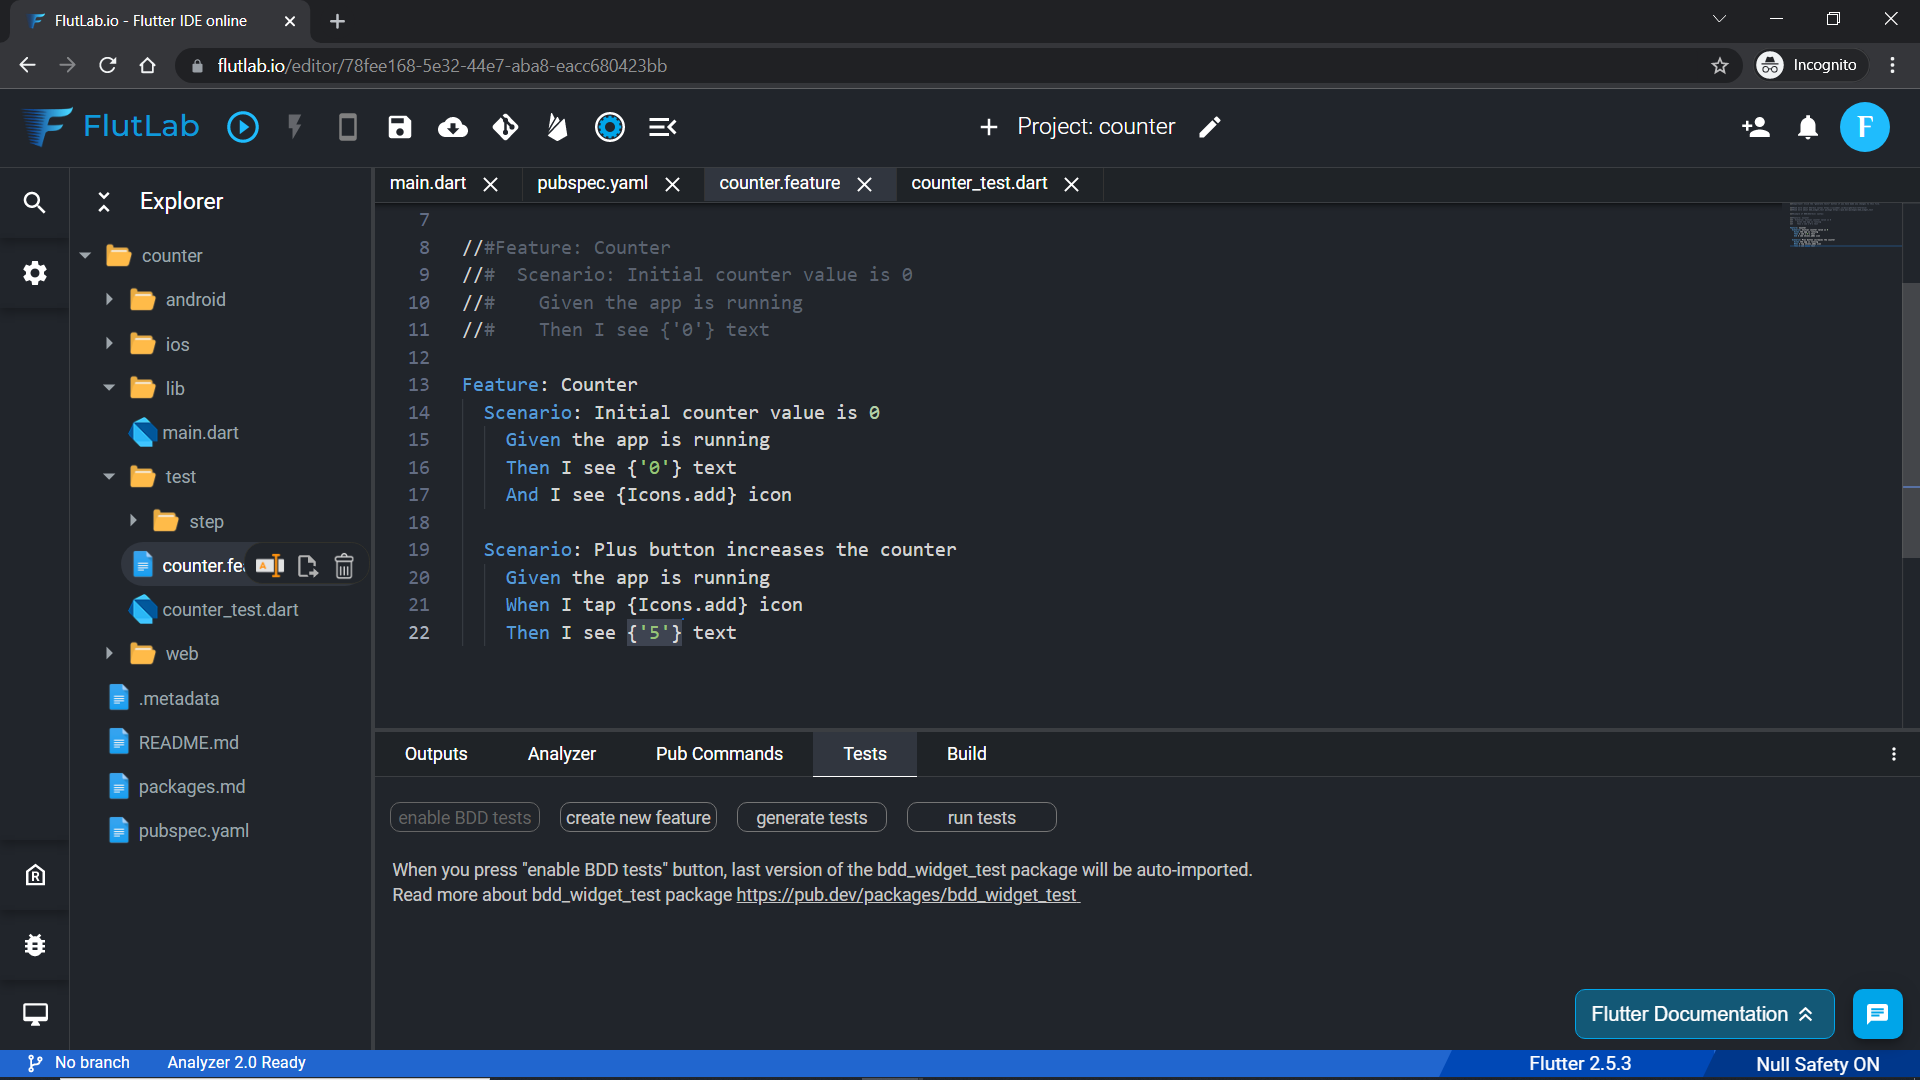
16. Oh, no! Our test failed :( Accept a small challenge and fix it on your own!

YouTube - How to create BDD tests in FlutLab