Educator: FlutLab Education Program
FlutLab provides computer science educators with a great opportunity to optimize their workflow with students. The teacher’s task is not only to give theoretical material but also to show some examples practically. Another important component of the learning process is students’ independent performance. All this you can do faster and easier with FlutLab Education Program.
All you need to start is:
- Create a FlutLab account
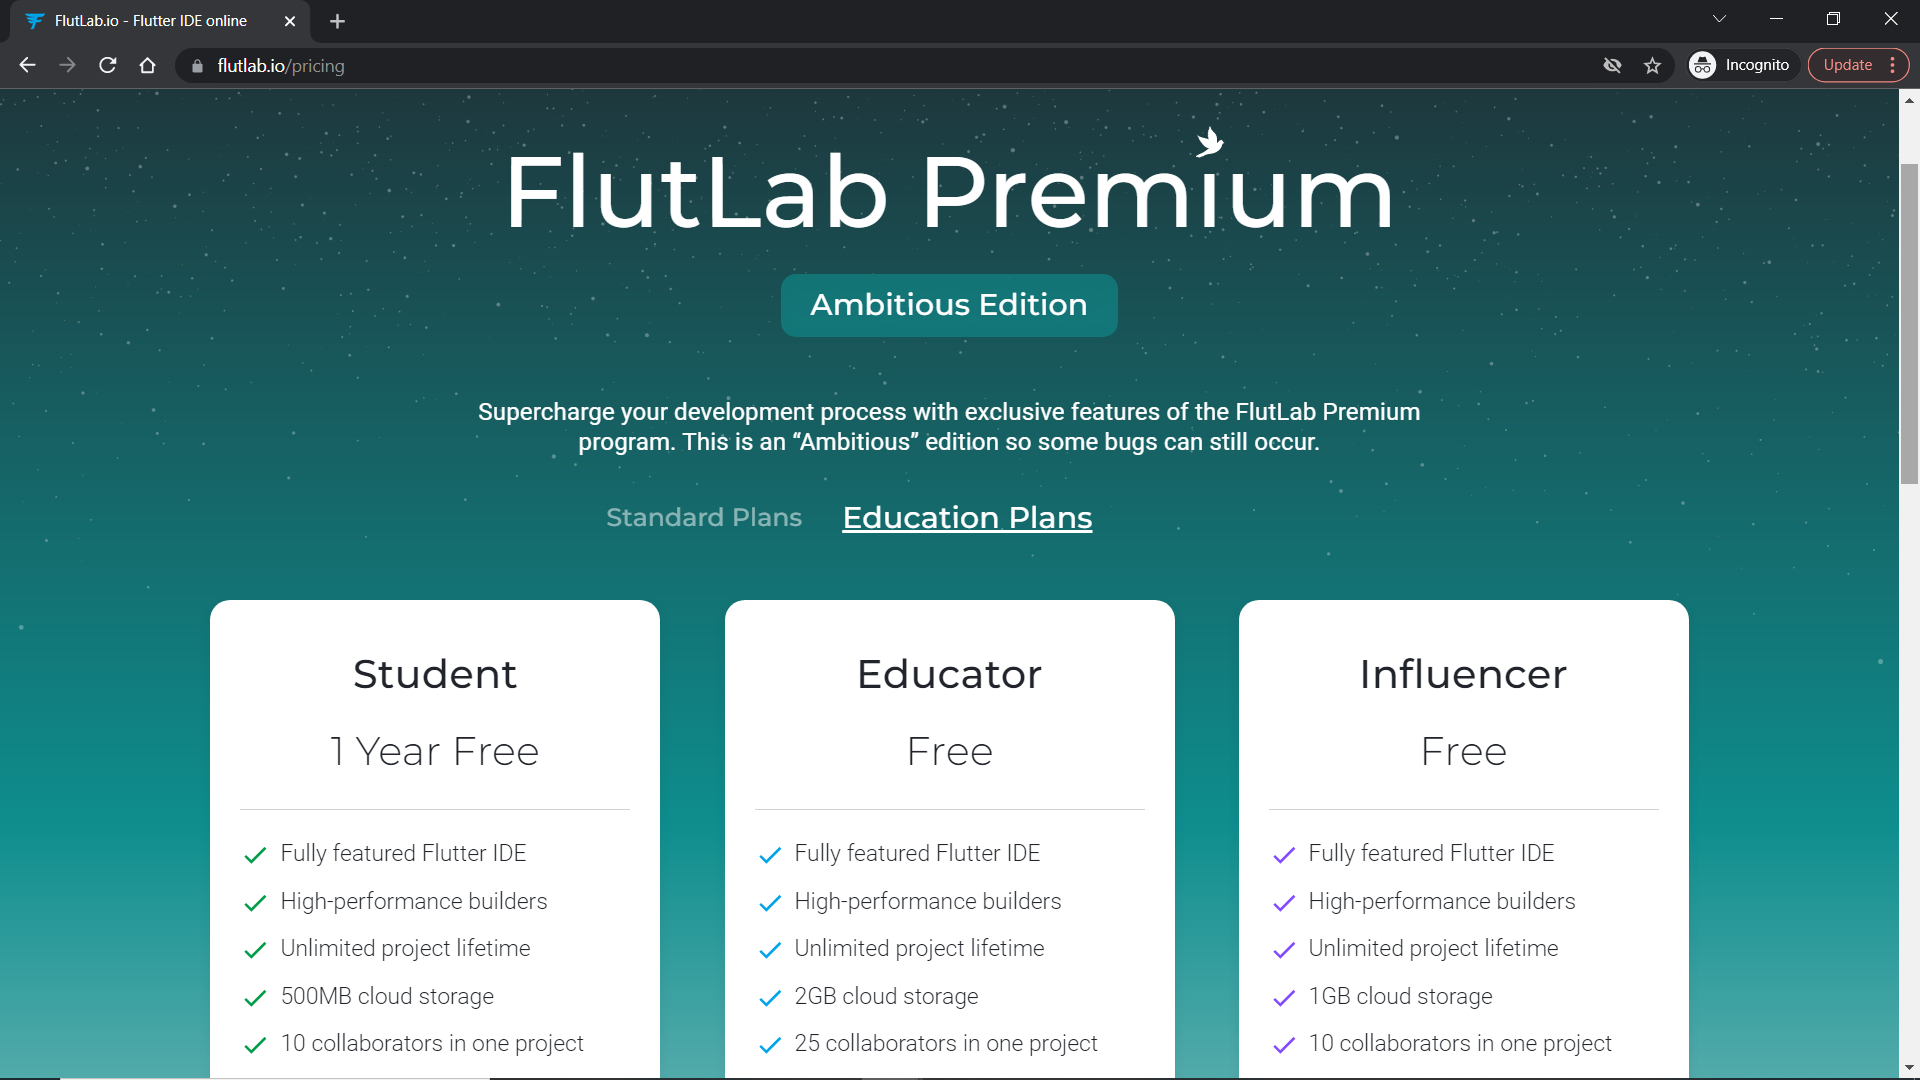
- Follow this link — https://flutlab.io/pricing
- Click the “Education Plans” tab and choose “Educator”
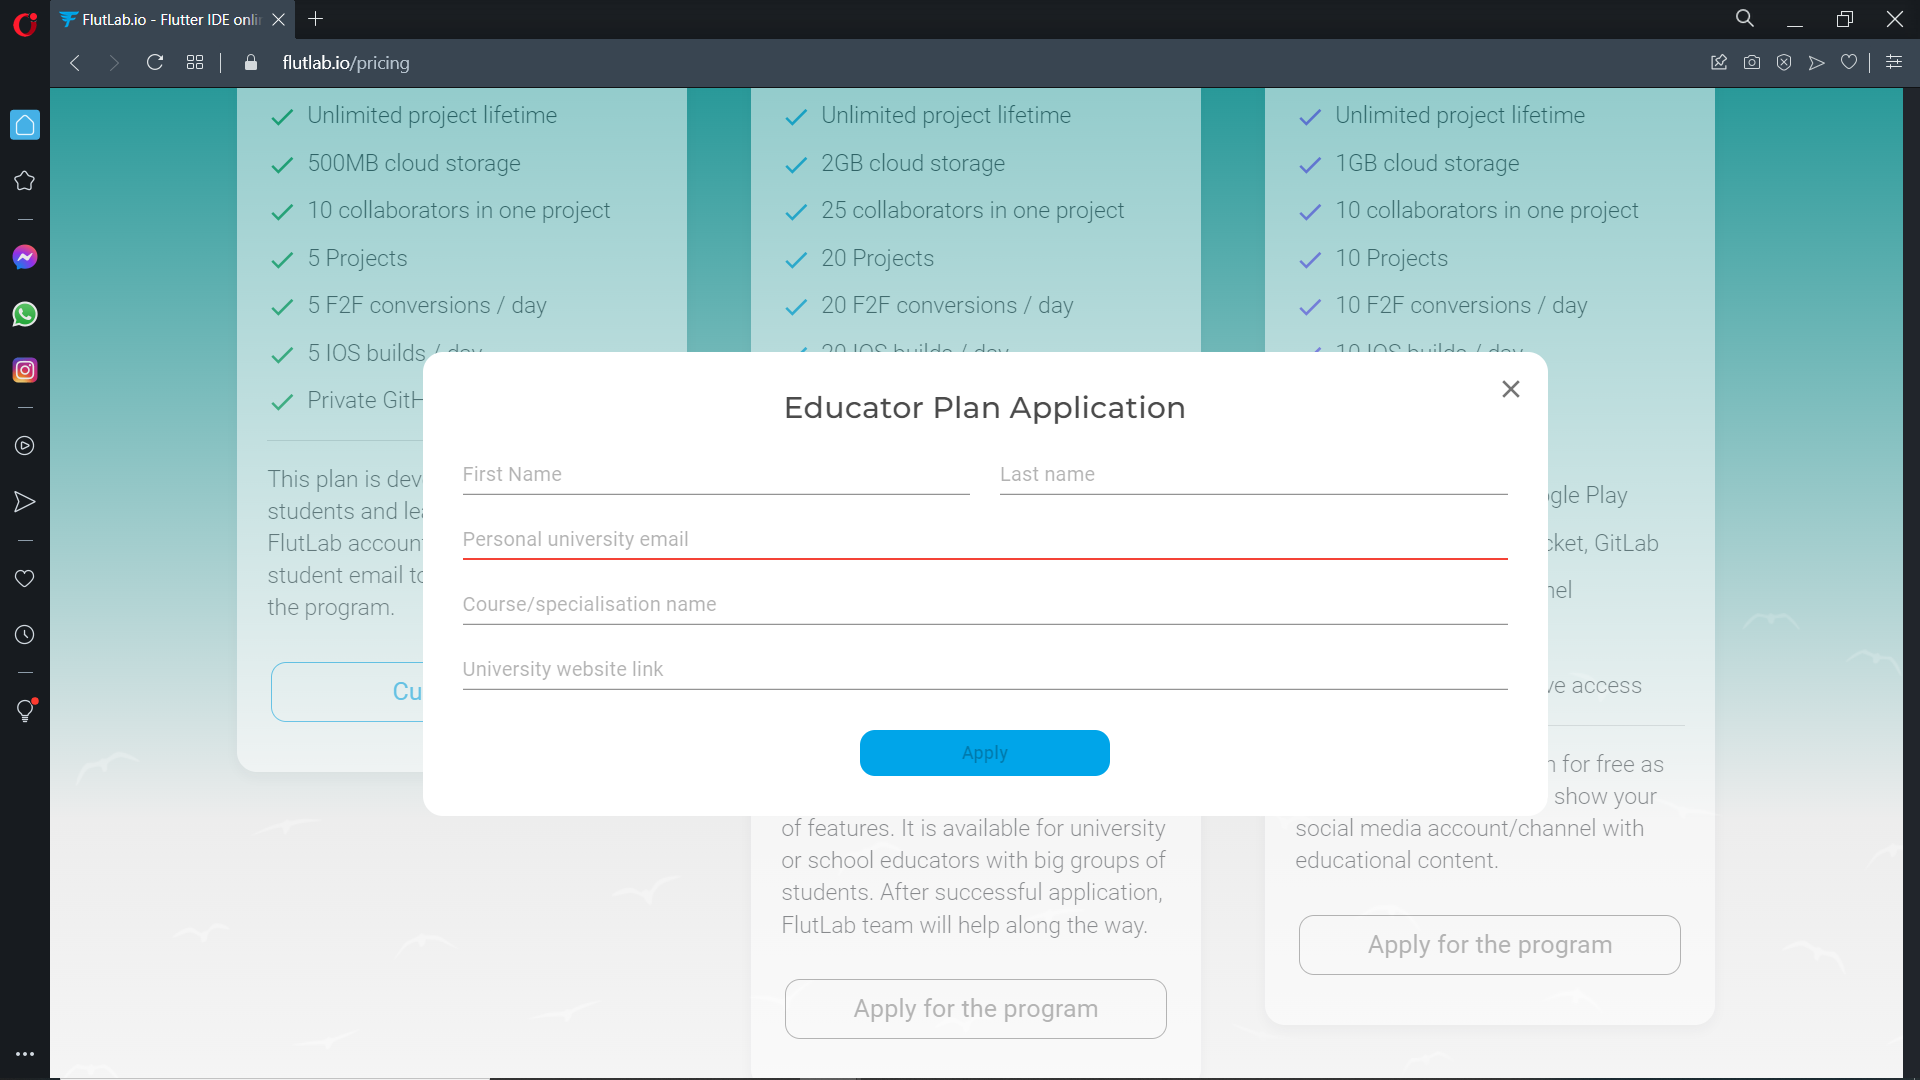
Fill out a small form.
Important: We accept all applications manually, so provide real information that we can check and verify, please.
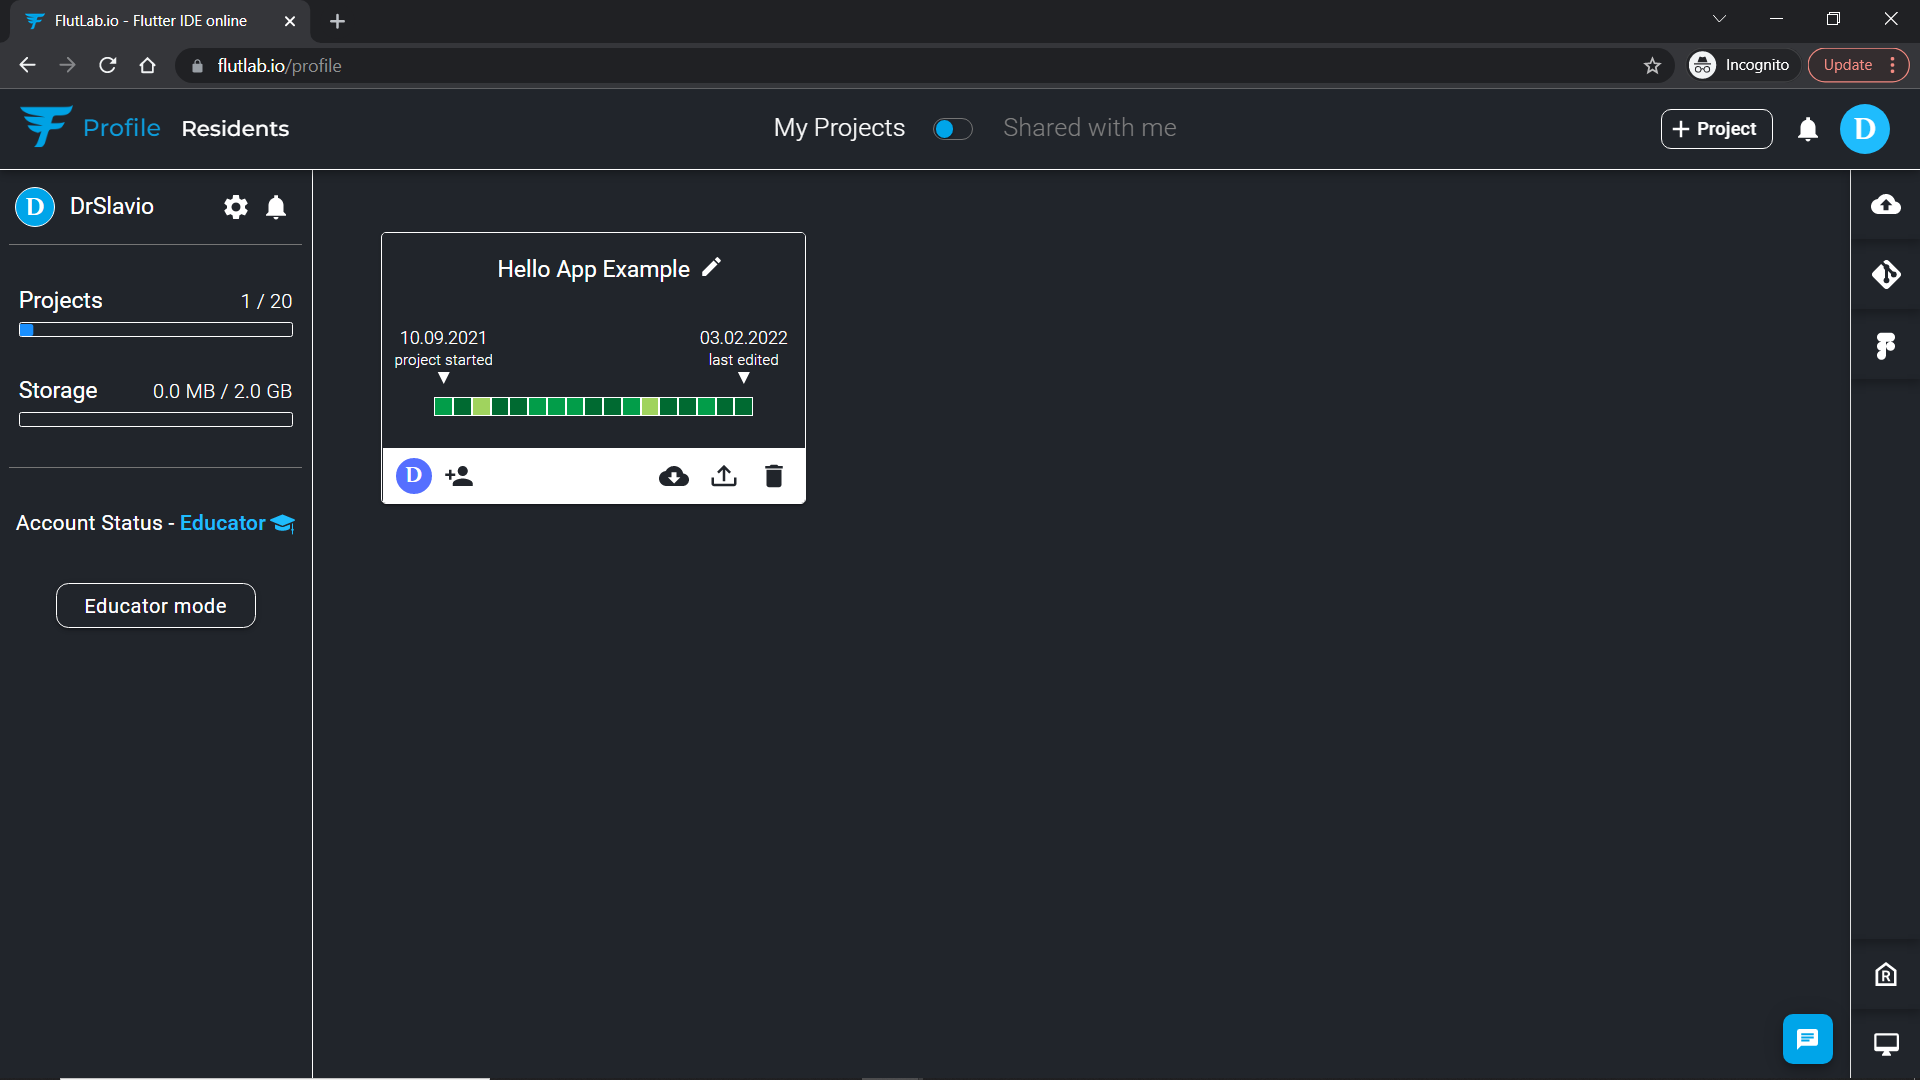
After the verification by one of our admins, your account will change its status from Starter to Educator. On the left side of the window, you will see the “Educator mode” button.
Educator Mode
Create and manage your classroom
Click the “Educator mode” button.
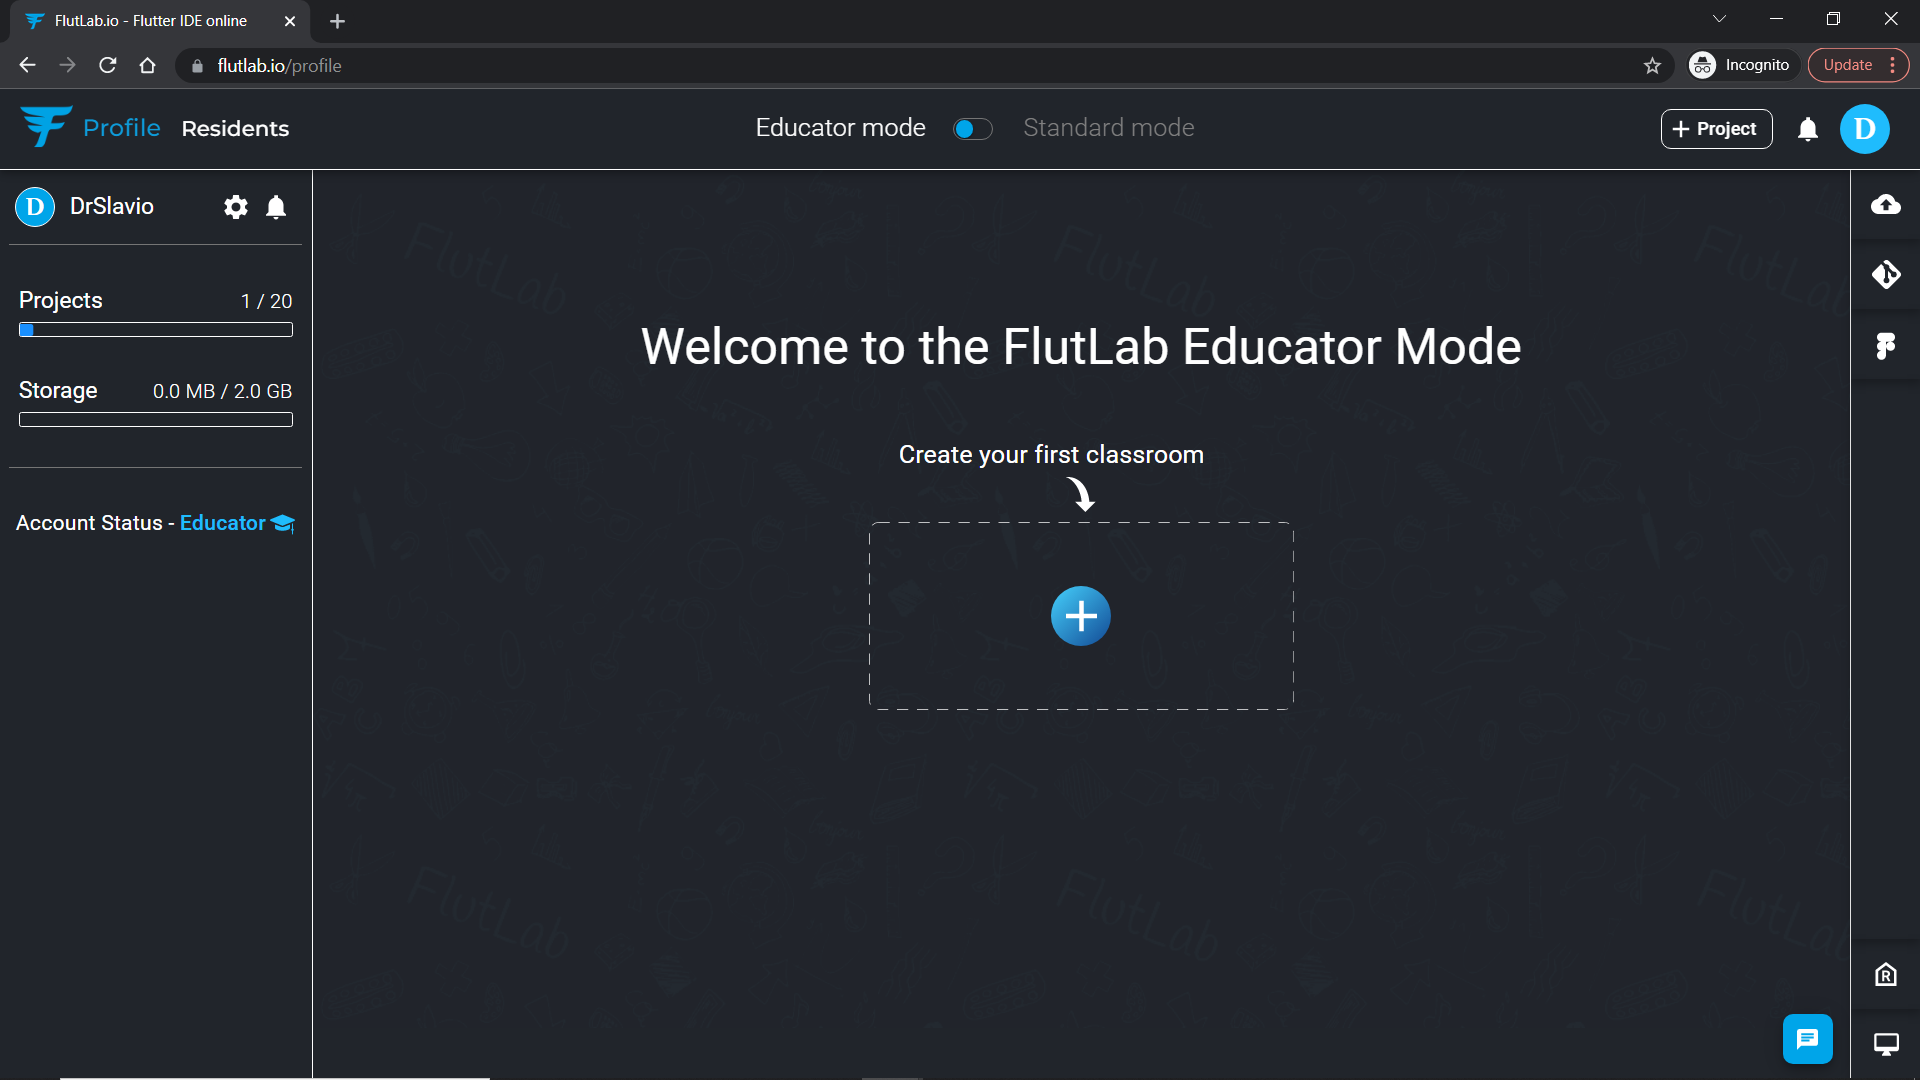
Classroom creation space will be turned on.
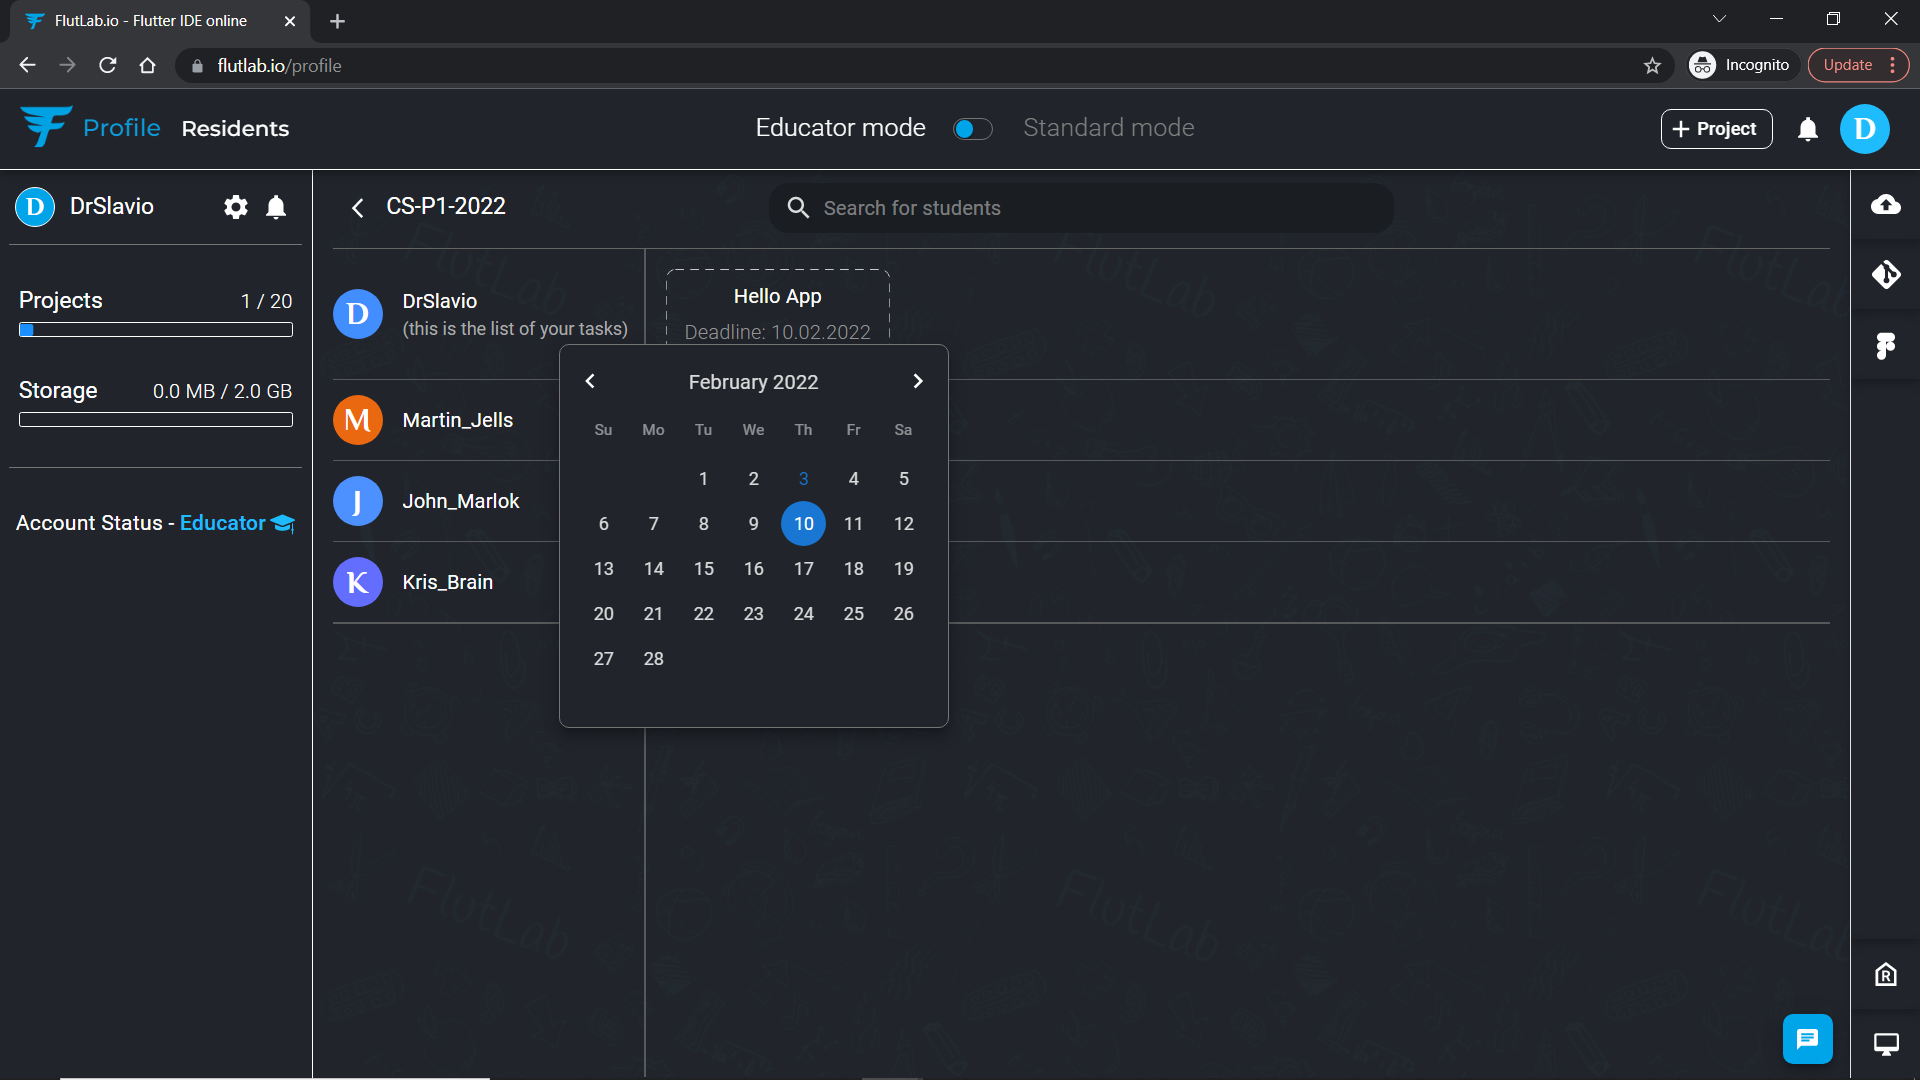
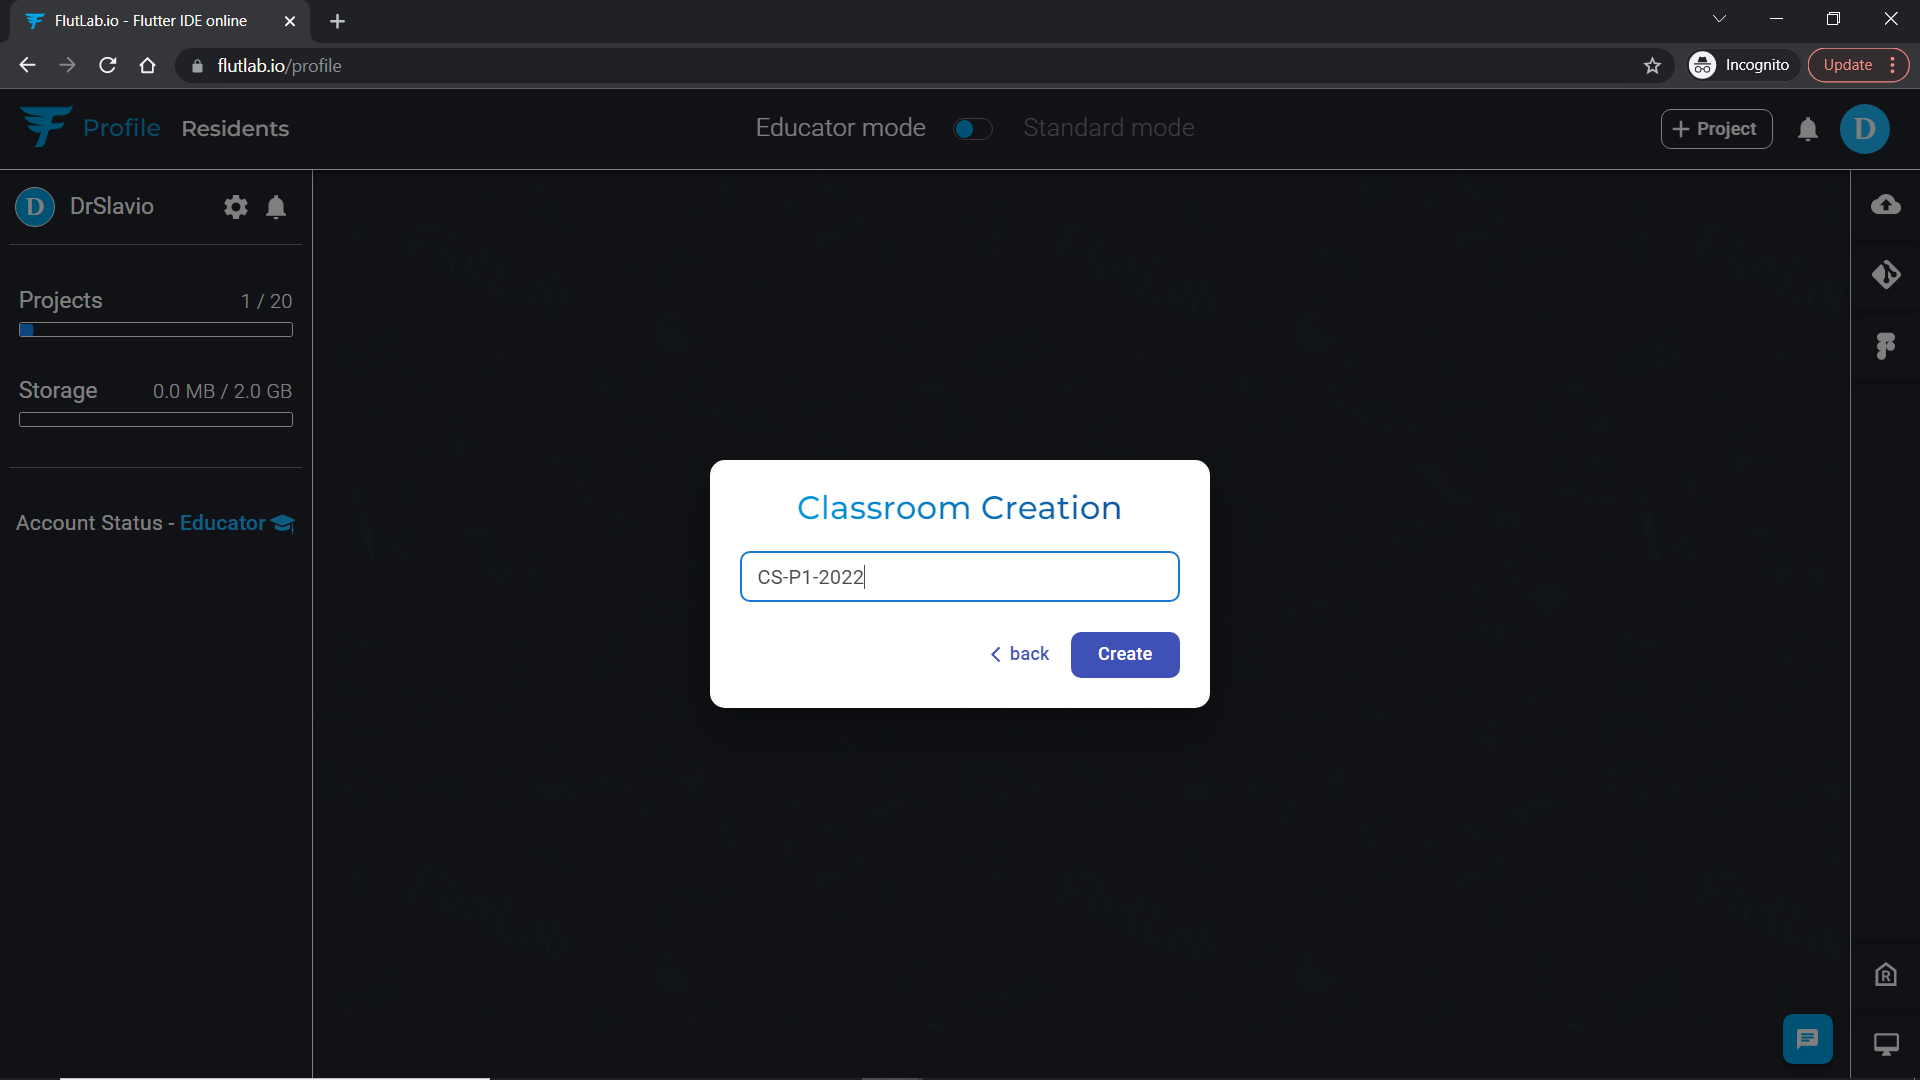
Create your first classroom. For example, if you work with Computer Science students and have a couple of groups, your classroom may be named like: “CS-P1–2022”.
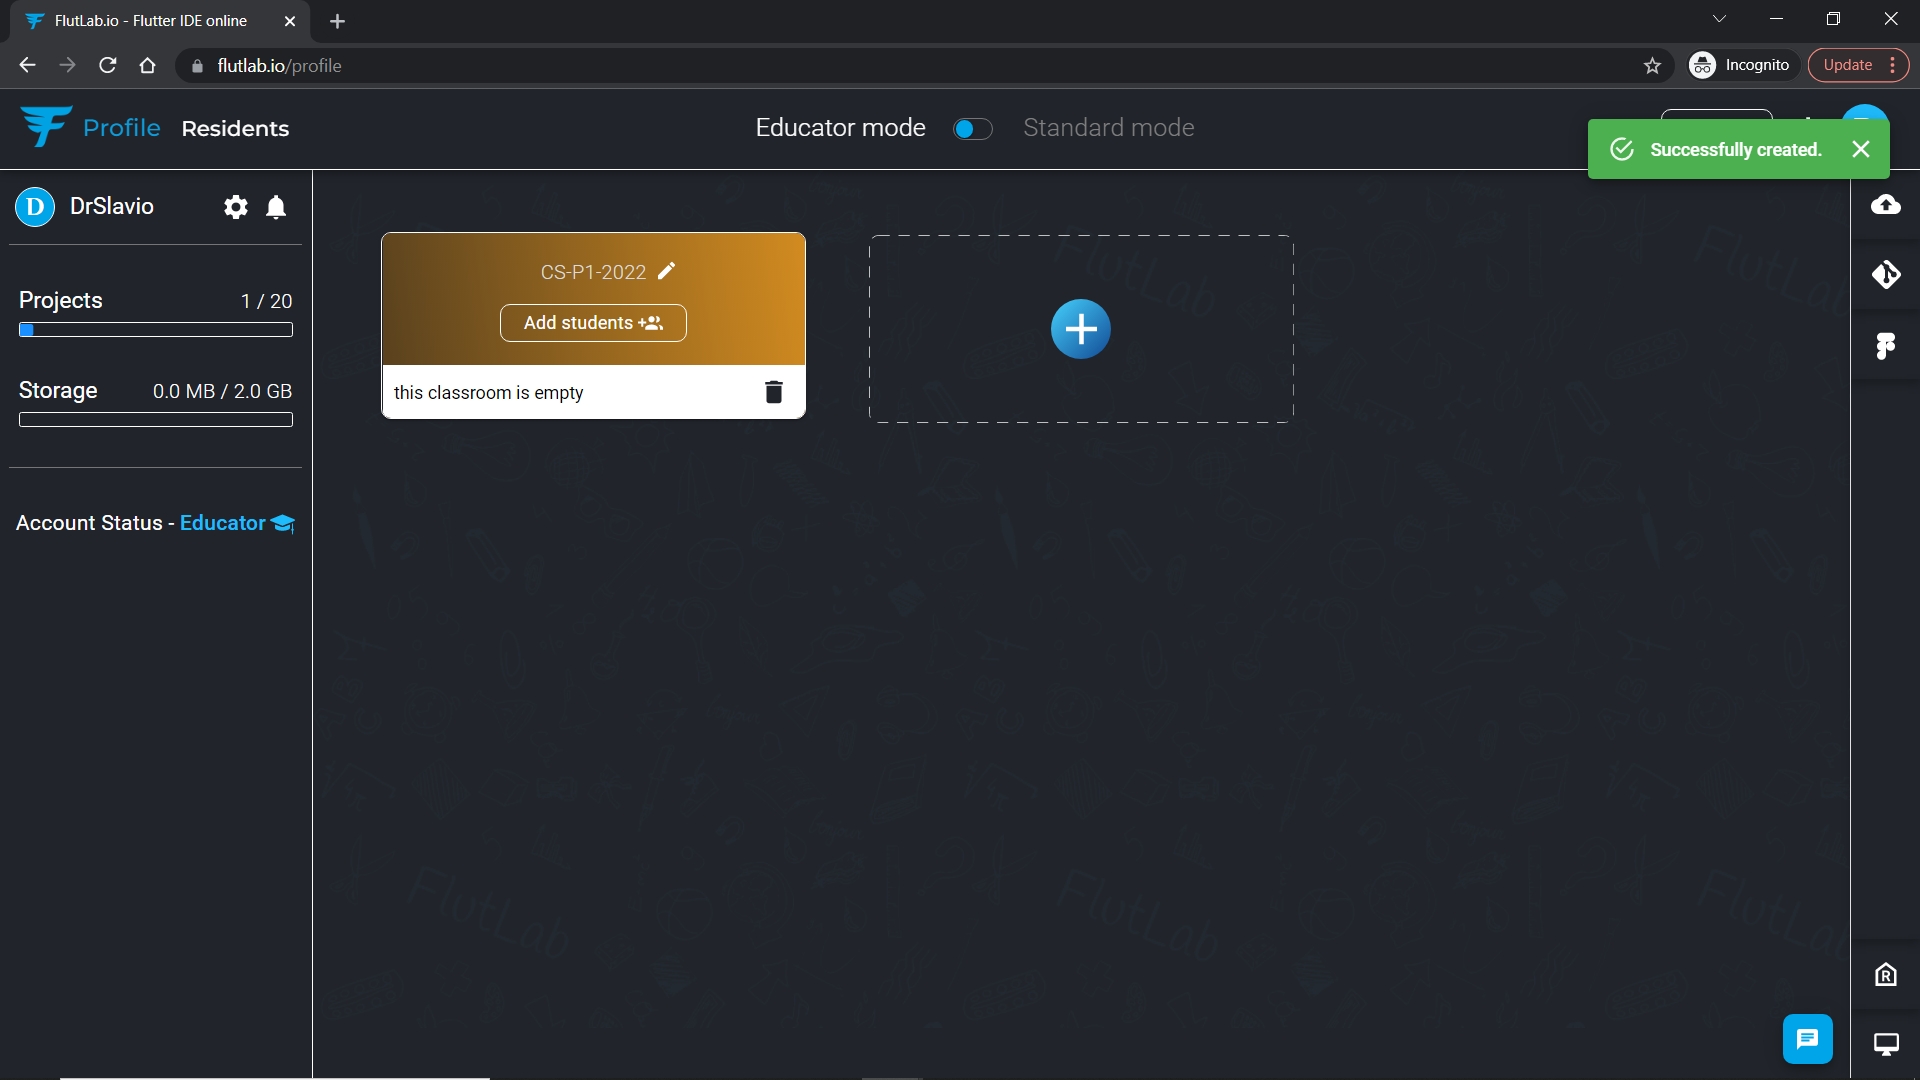
Great, you created the first classroom. Now you can add students here.
Start to search your students using a search bar.
Important: All your students must have the same email domain as you. For example, if your account has the “***@uzhnu.edu.ua” domain, you can add only students with the same email domain (uzhnu.edu.ua) to your classroom.
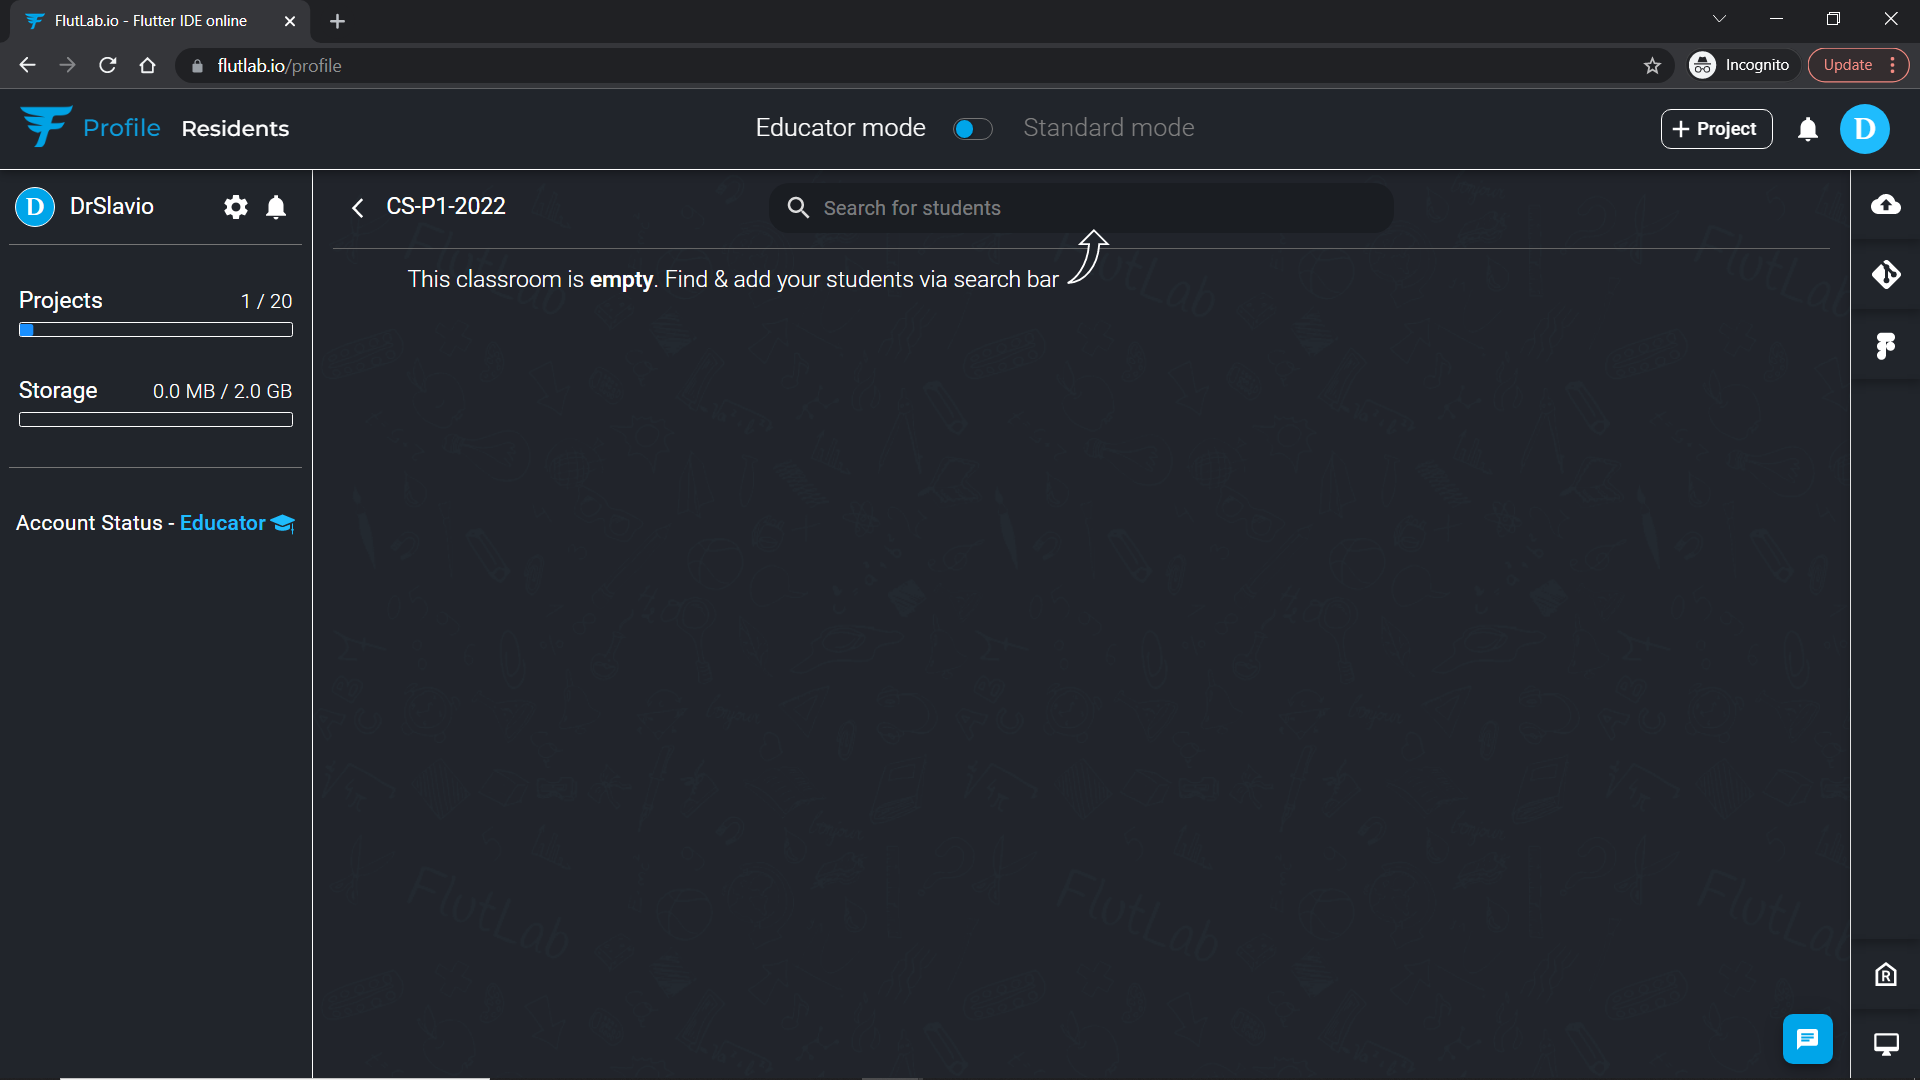
The search is very convenient — just start typing student’s name or surname.
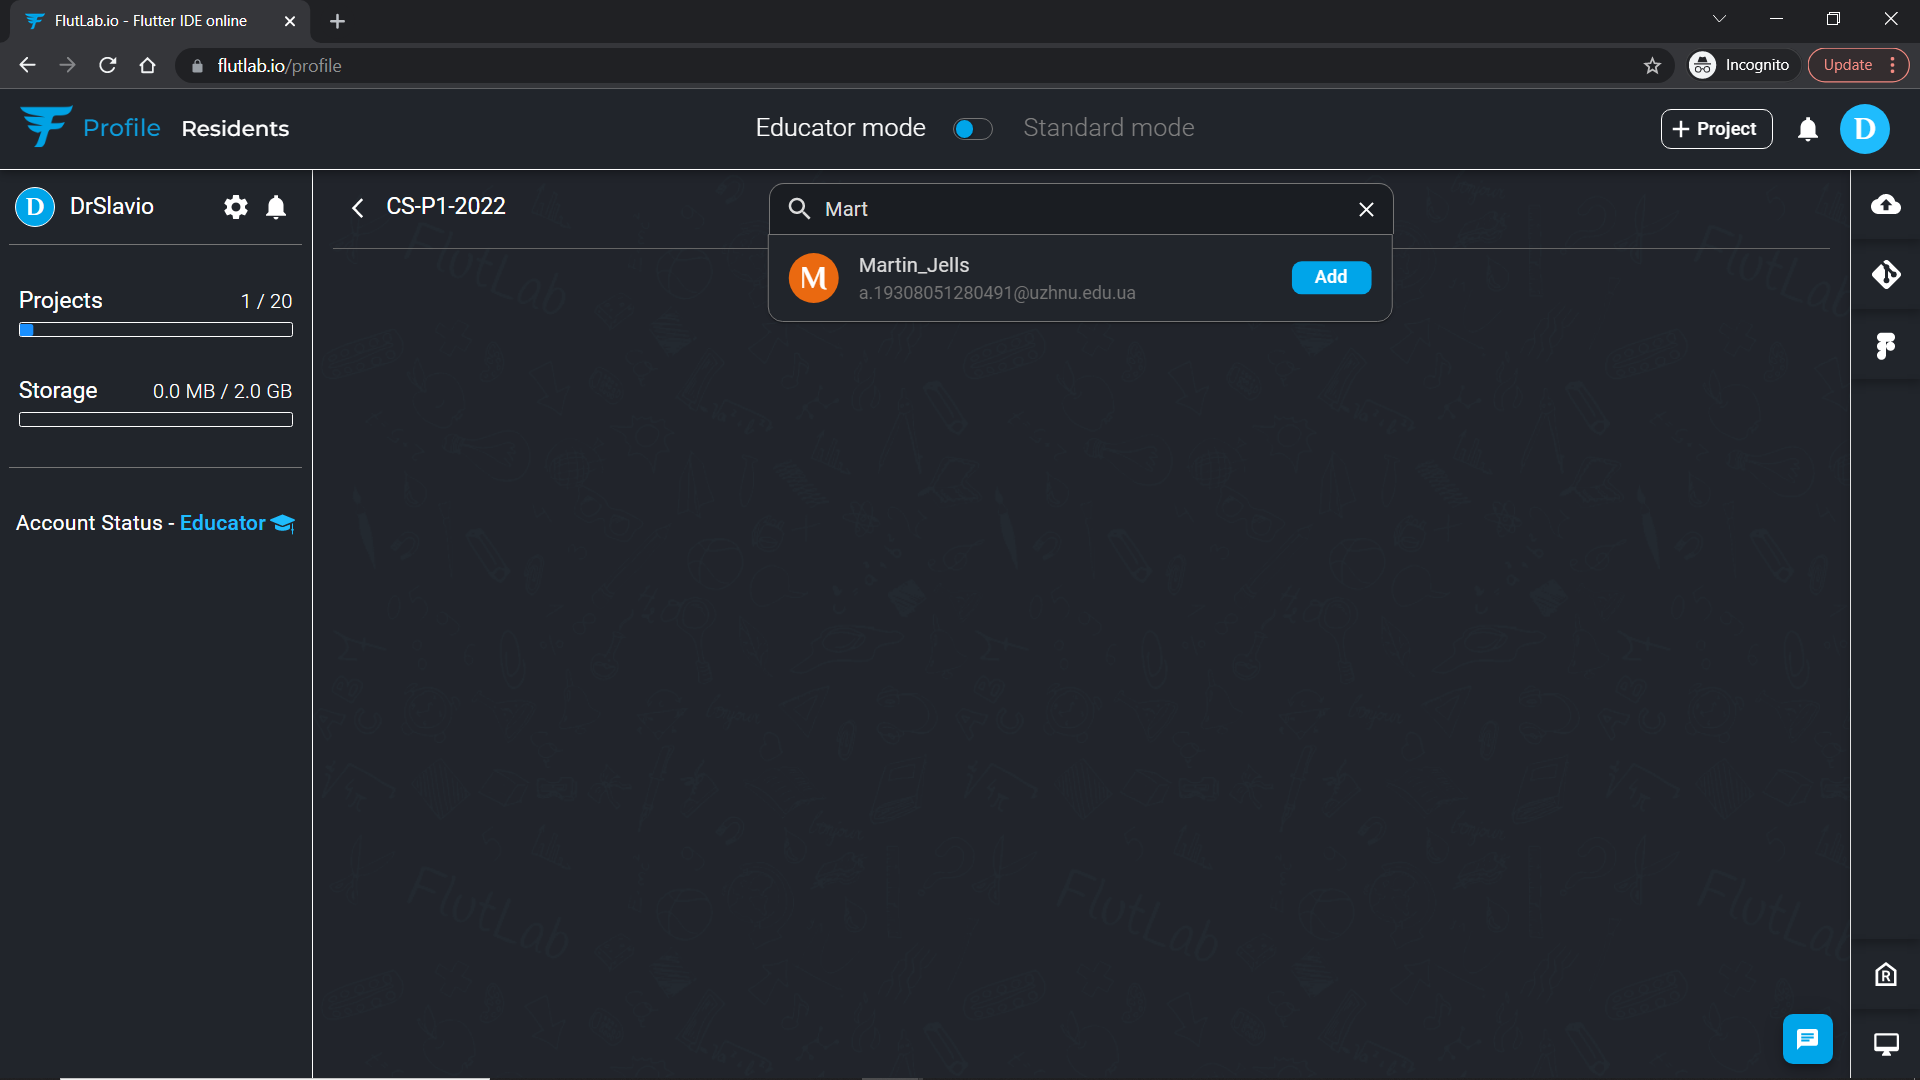
Add all students who study in this group.
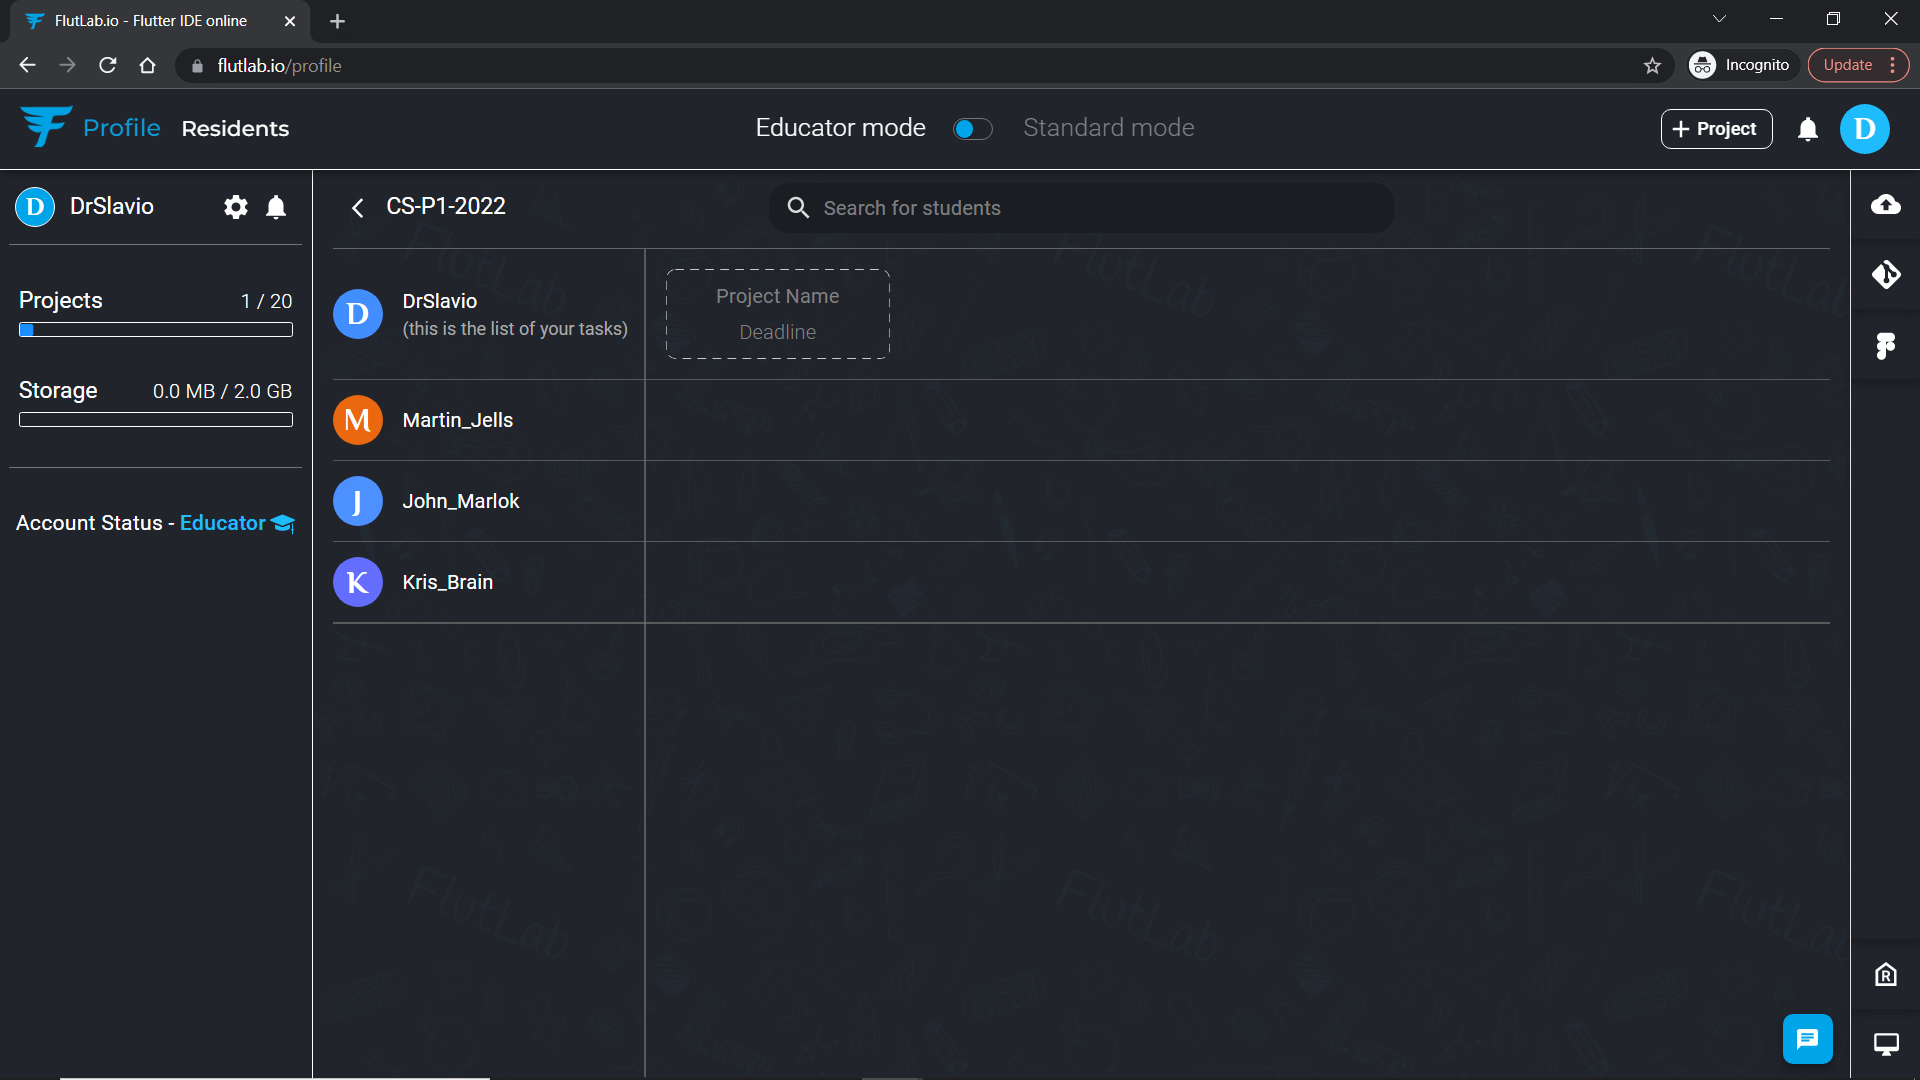
Students have to complete and submit work/projects. Create some tasks and set deadlines for them. For example, the first project students have to make is the “Hello App”.
Share projects with your Classrooms
Well, you’ve set up classrooms, so it’s time to start the learning process. Exit the Educator mode (click the switch at the top bar to return to the standard mode). Create an example project for your students.
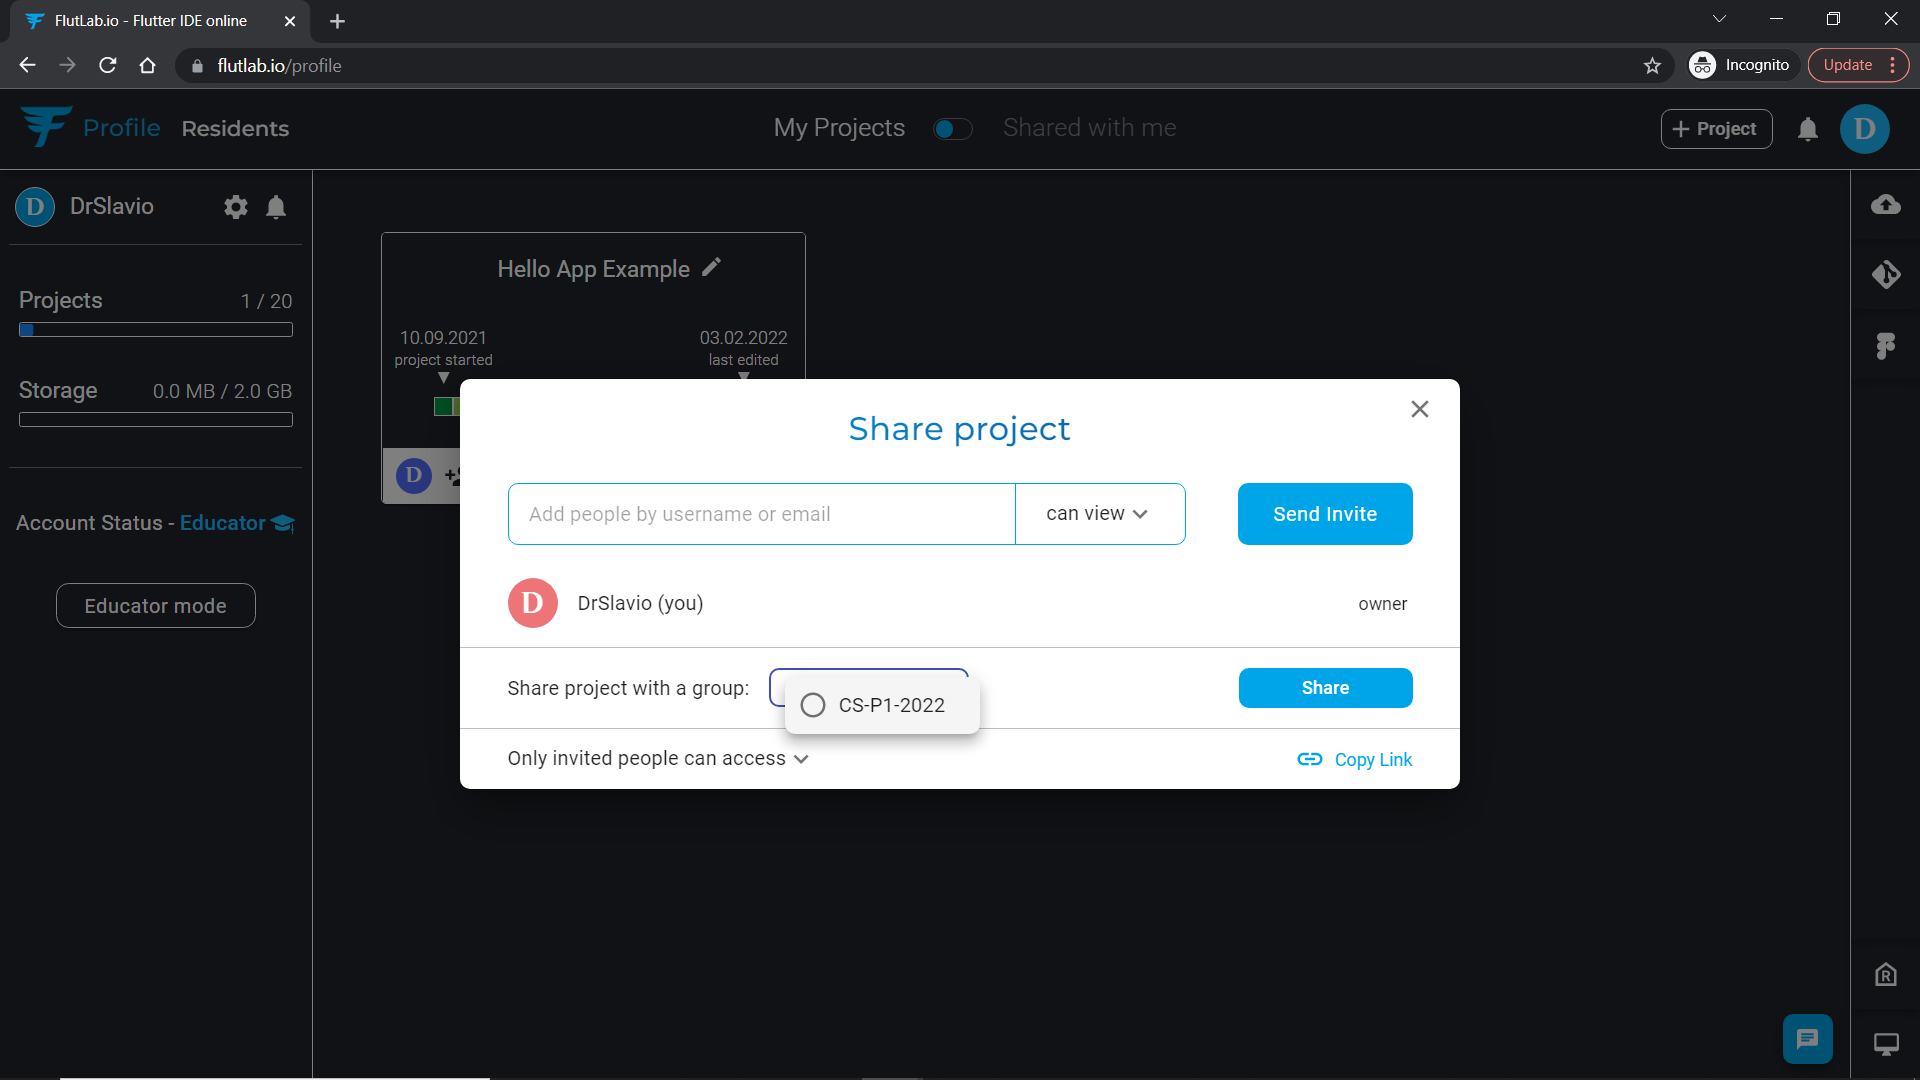
FlutLab for Educators allows you to share a project with the whole classroom in one click. Press the “Share project” button.
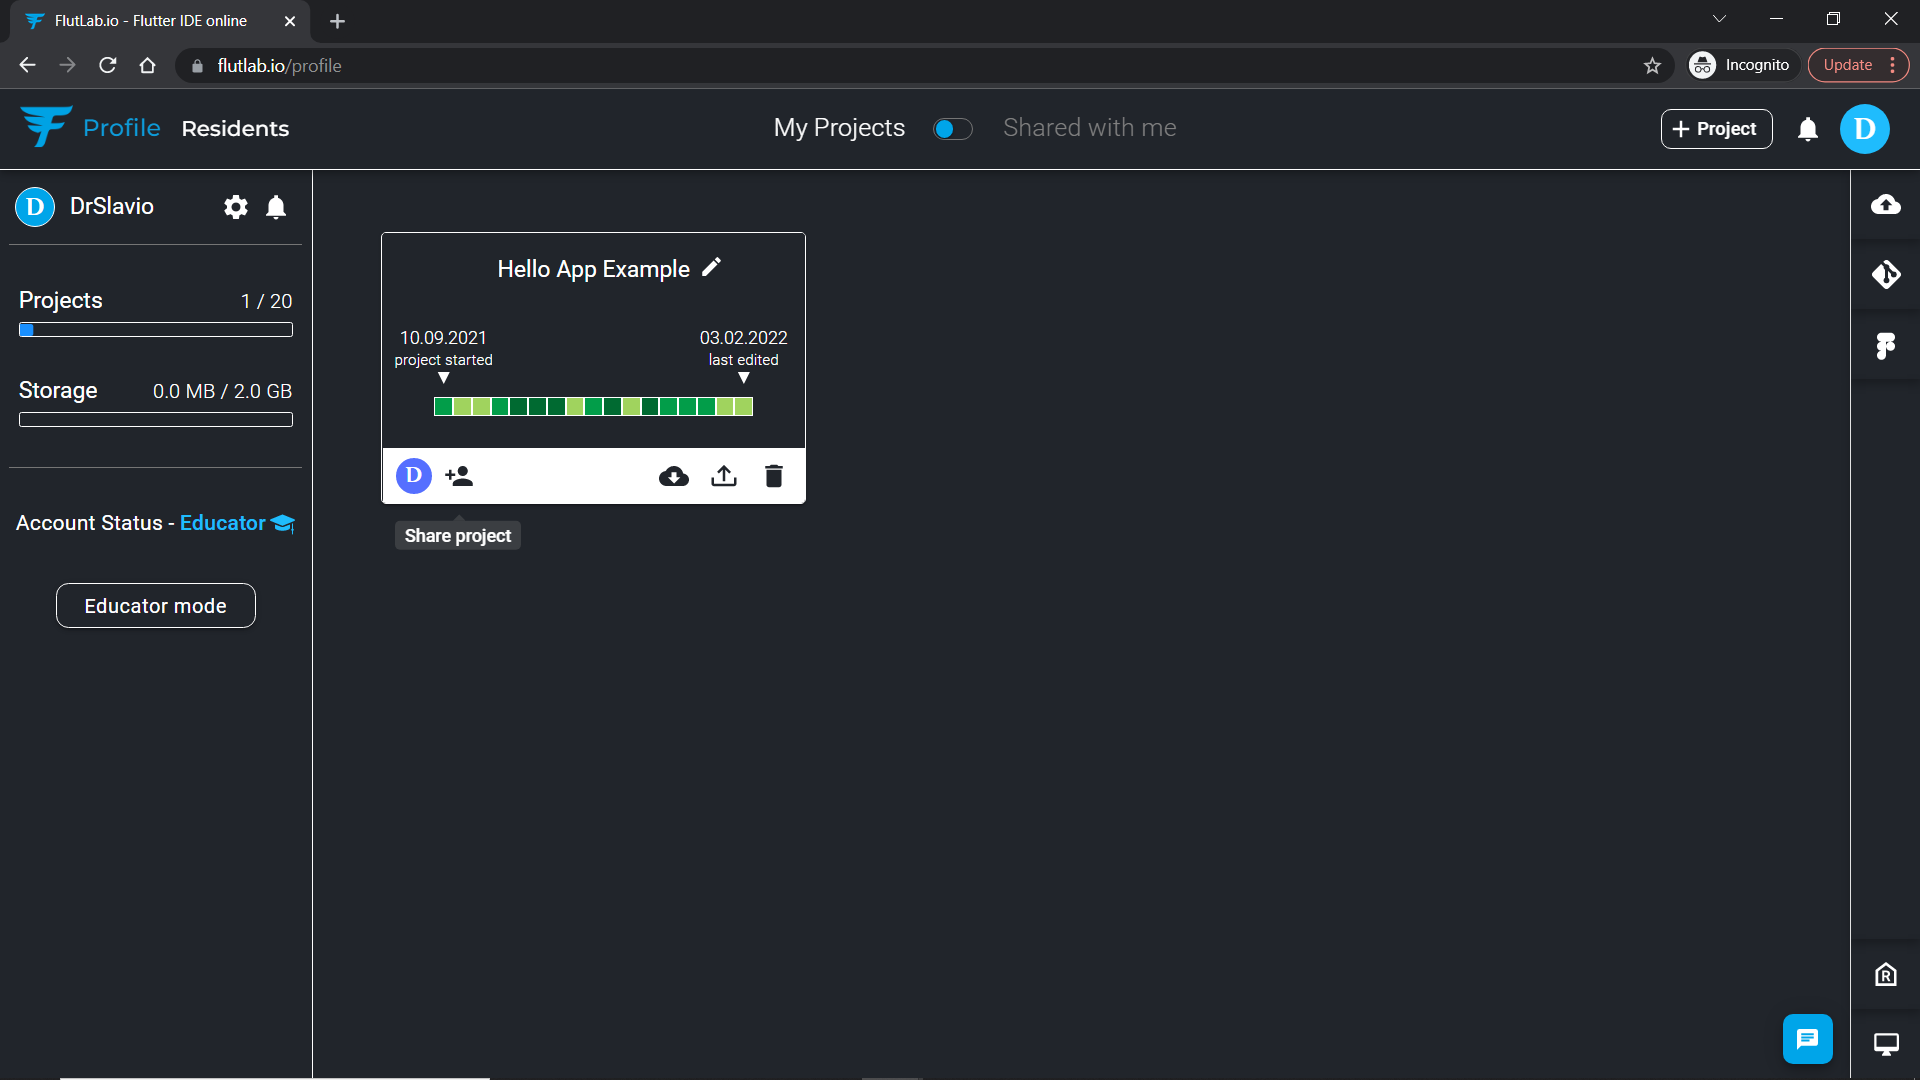
Select a classroom you want to share this project with. Click the “Share” button then.
Great, you see that the whole class can see this project in a “can view” mode. Students can’t make any changes to your code in this mode.
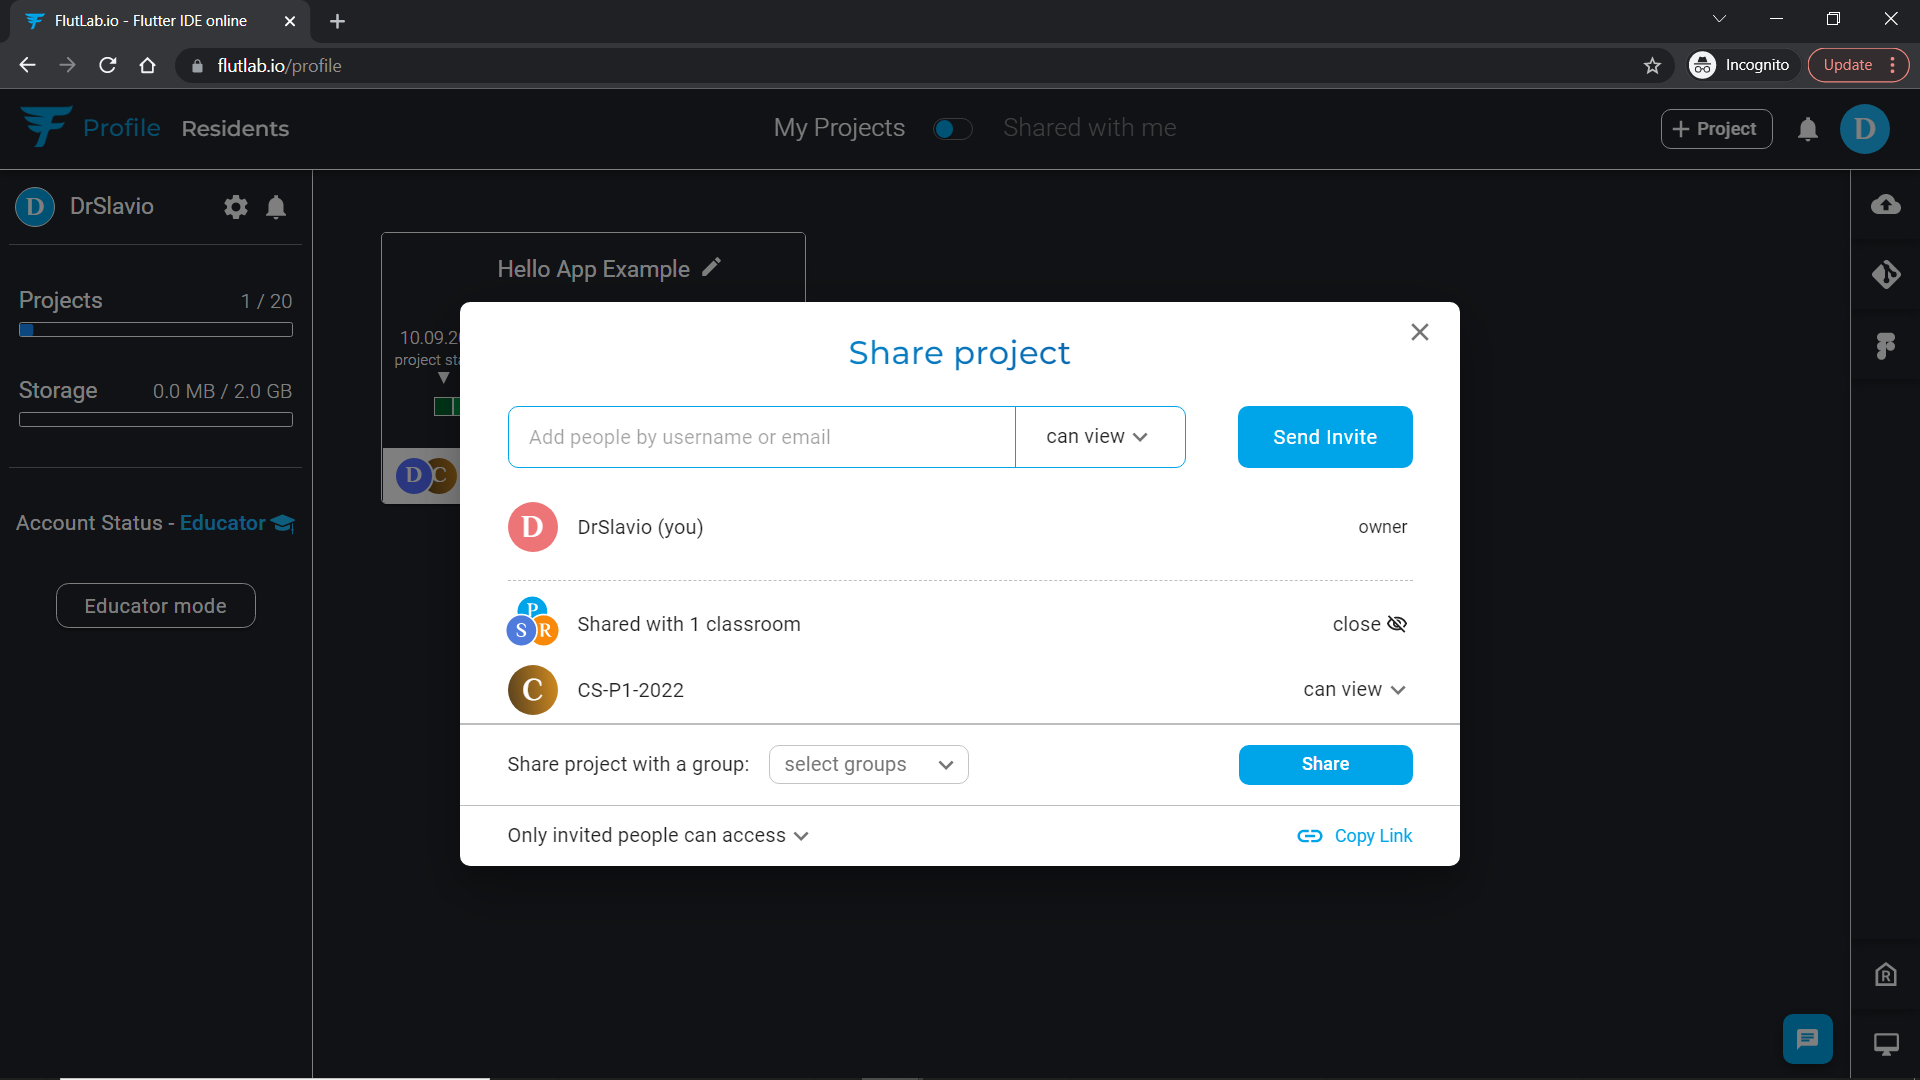
Also, you can always manage with who your project is shared.
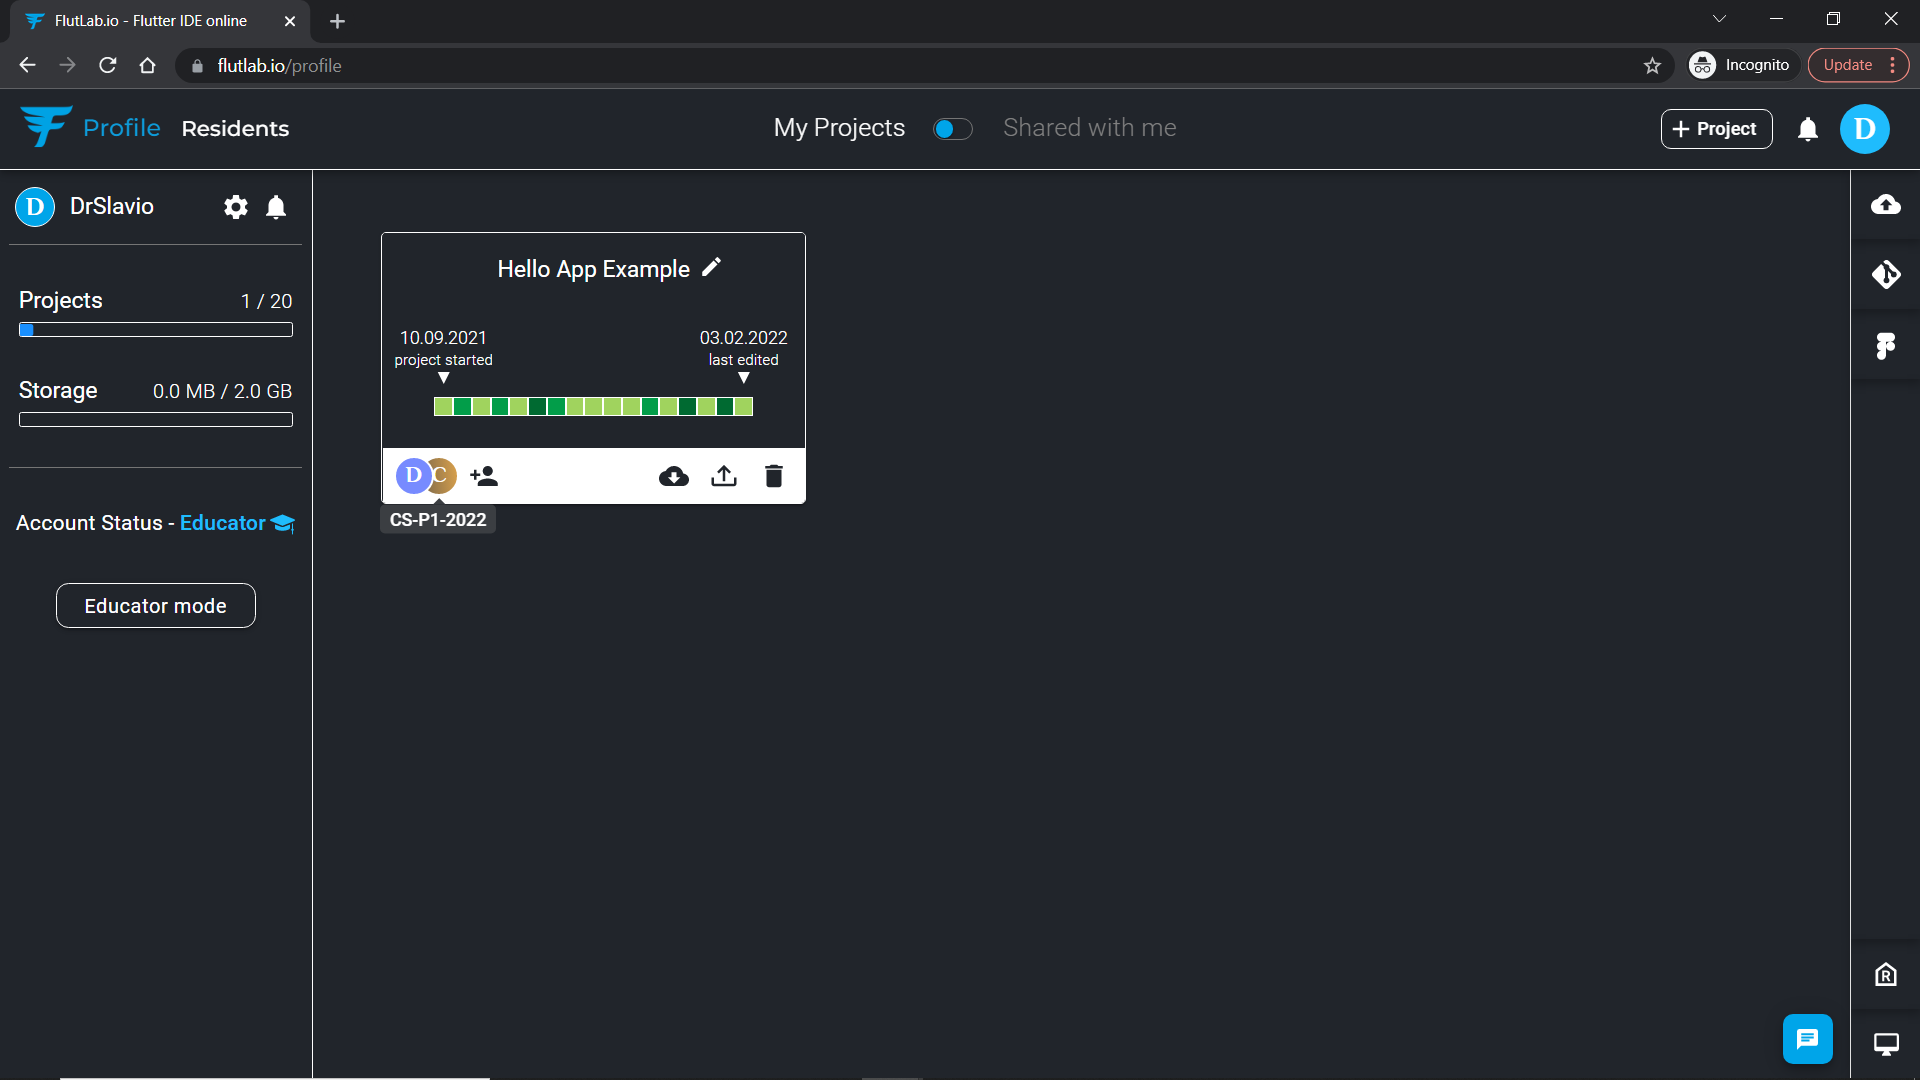
“That’s all great, but how my students will see this project?”, you might say. Let’s check how students see the shared project from their profiles.
From the student’s perspective
Your student has to create a FlutLab account and follow the link — https://flutlab.io/pricing
He/she has to select “Student” among the education plans, fill out a short form, and wait for verification.
Now your students can work with the projects you shared.
To see a project shared with the student’s classroom, they should click the switch at the top bar and open “Shared with me” tab. Now they see a project you’ve shared with the whole class. In case the student doesn't see a shared project, ask him/her to refresh the page (it happens sometimes).
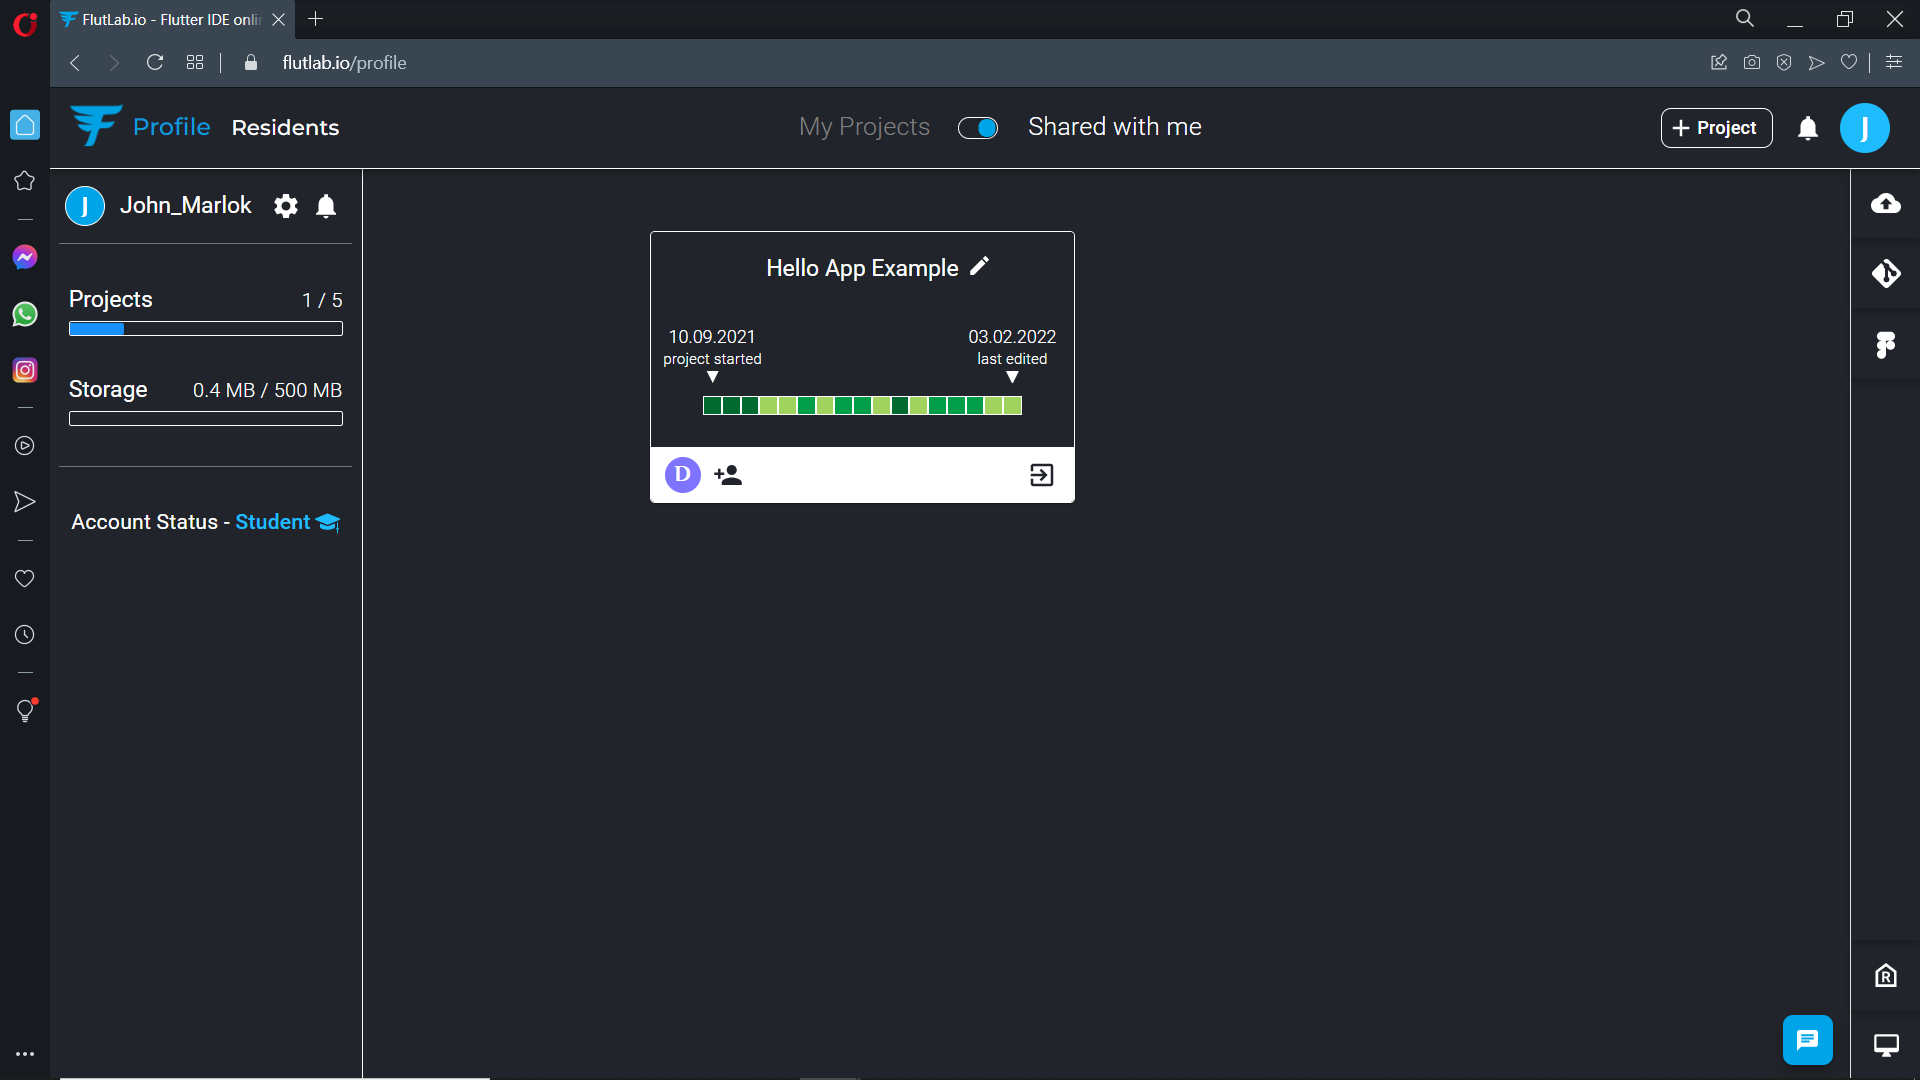
Students can open the project and see all code in the “read-only” mode. They can view code and learn. Moreover, students can see the changes you introduce to the project in real-time.
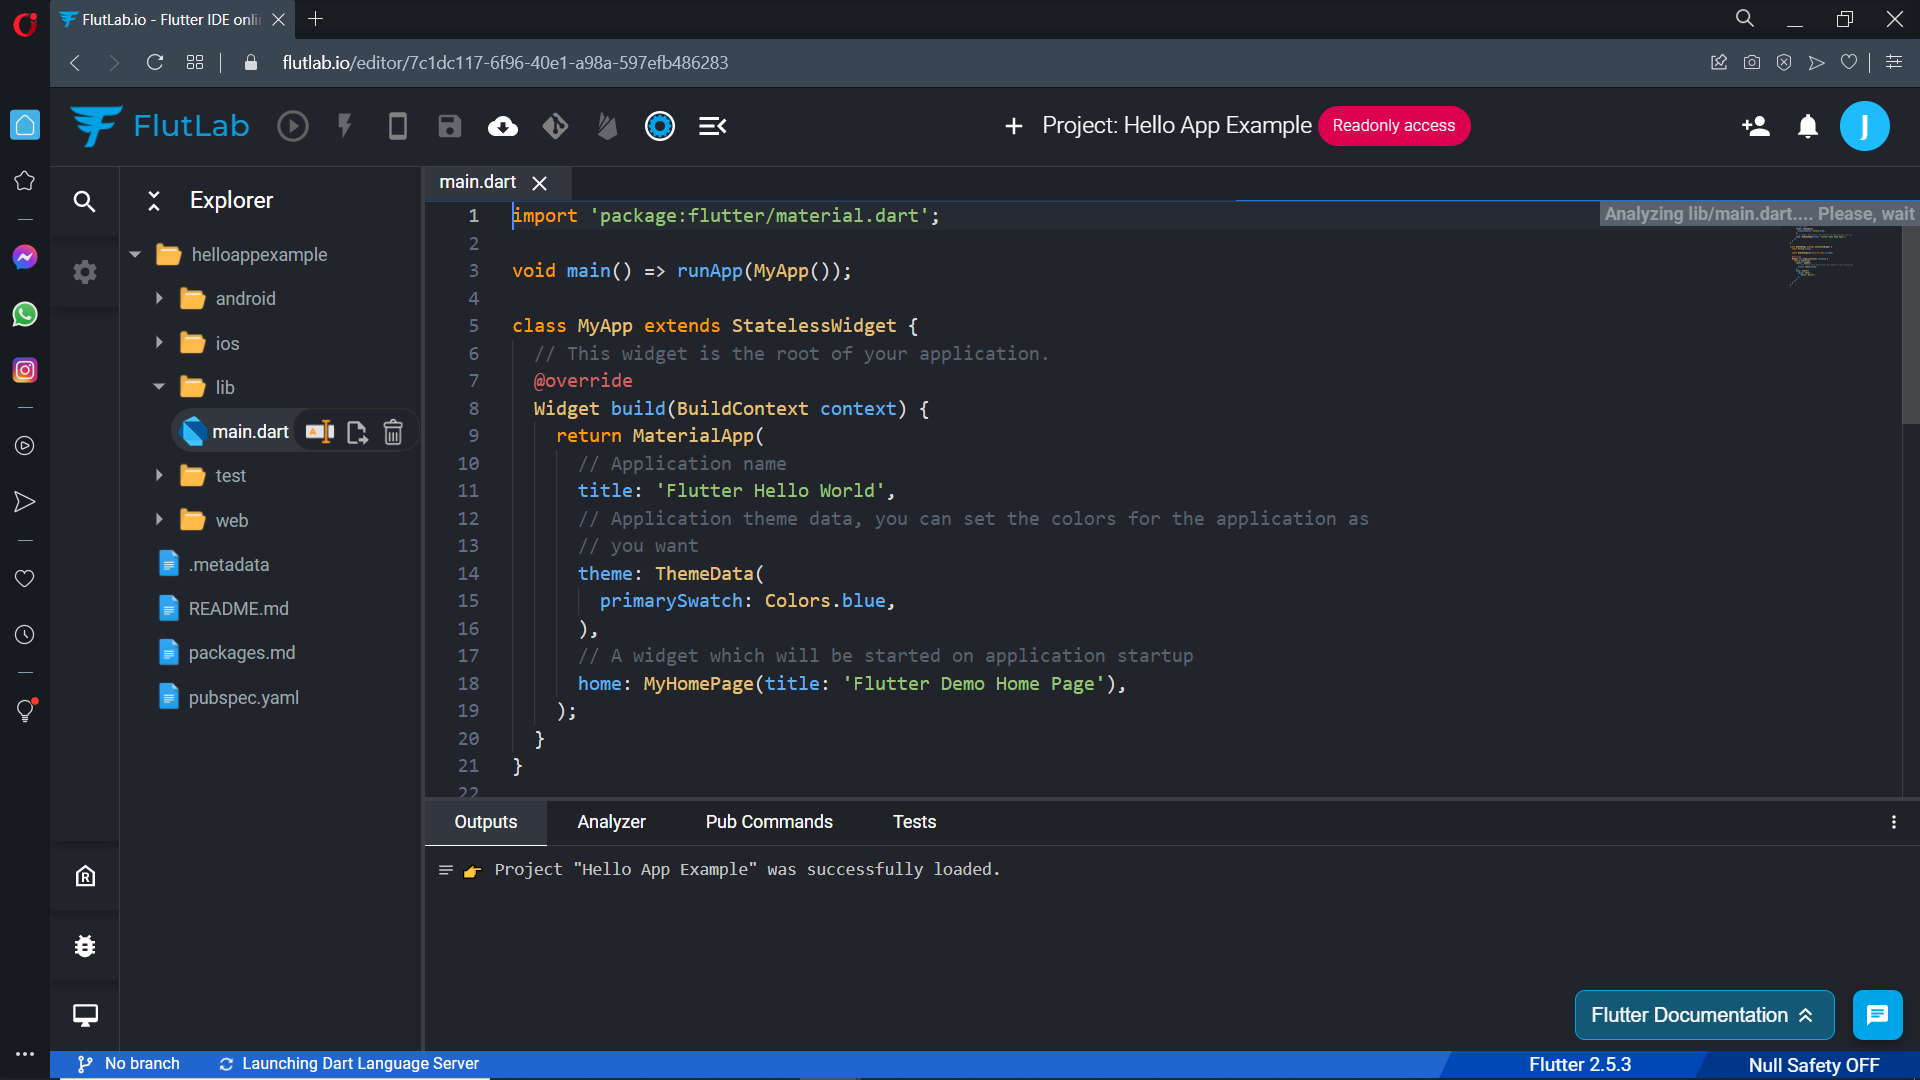
But real learning == training. As you remember, you’ve set a task for your students — to create their own “Hello App” projects. Students have to back to “My Projects” (Shared with me => My Projects) and create their own “Hello App”.
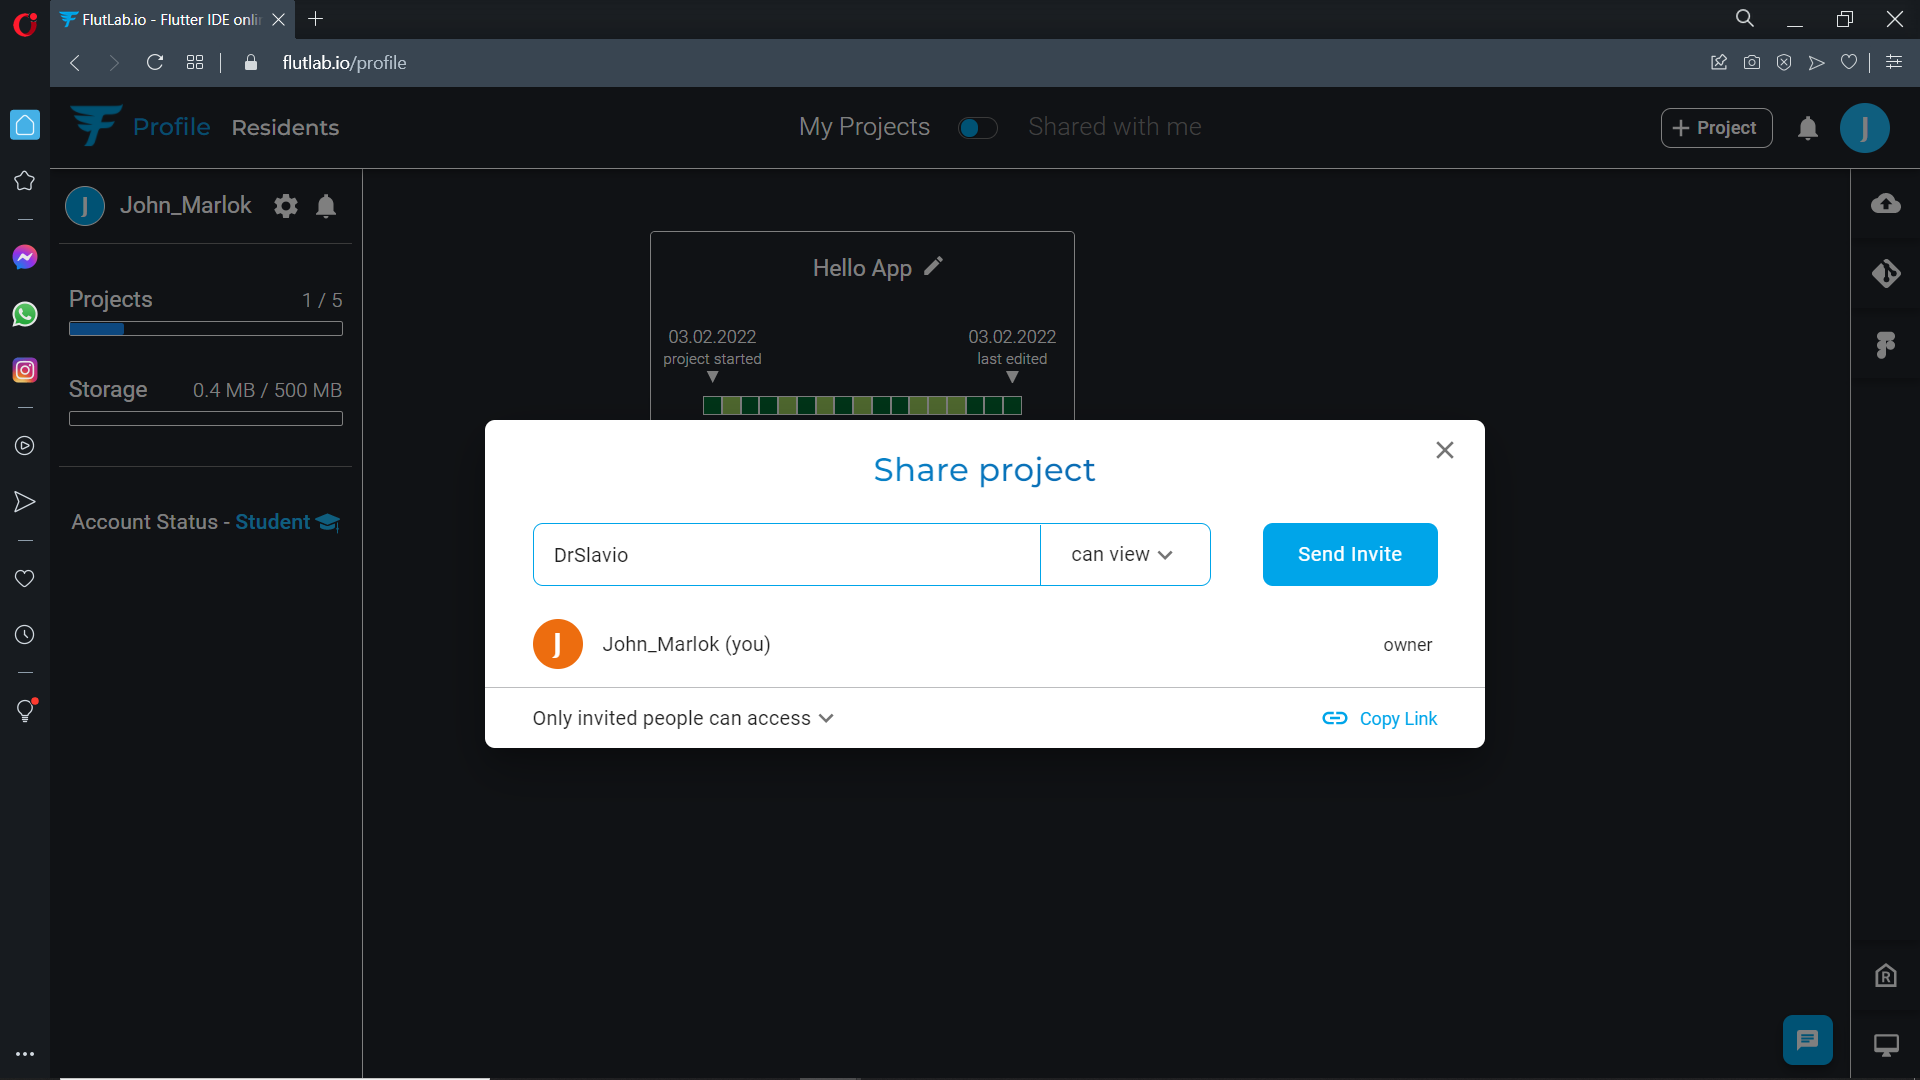
After completing the task, student has to click the “Share project” button.
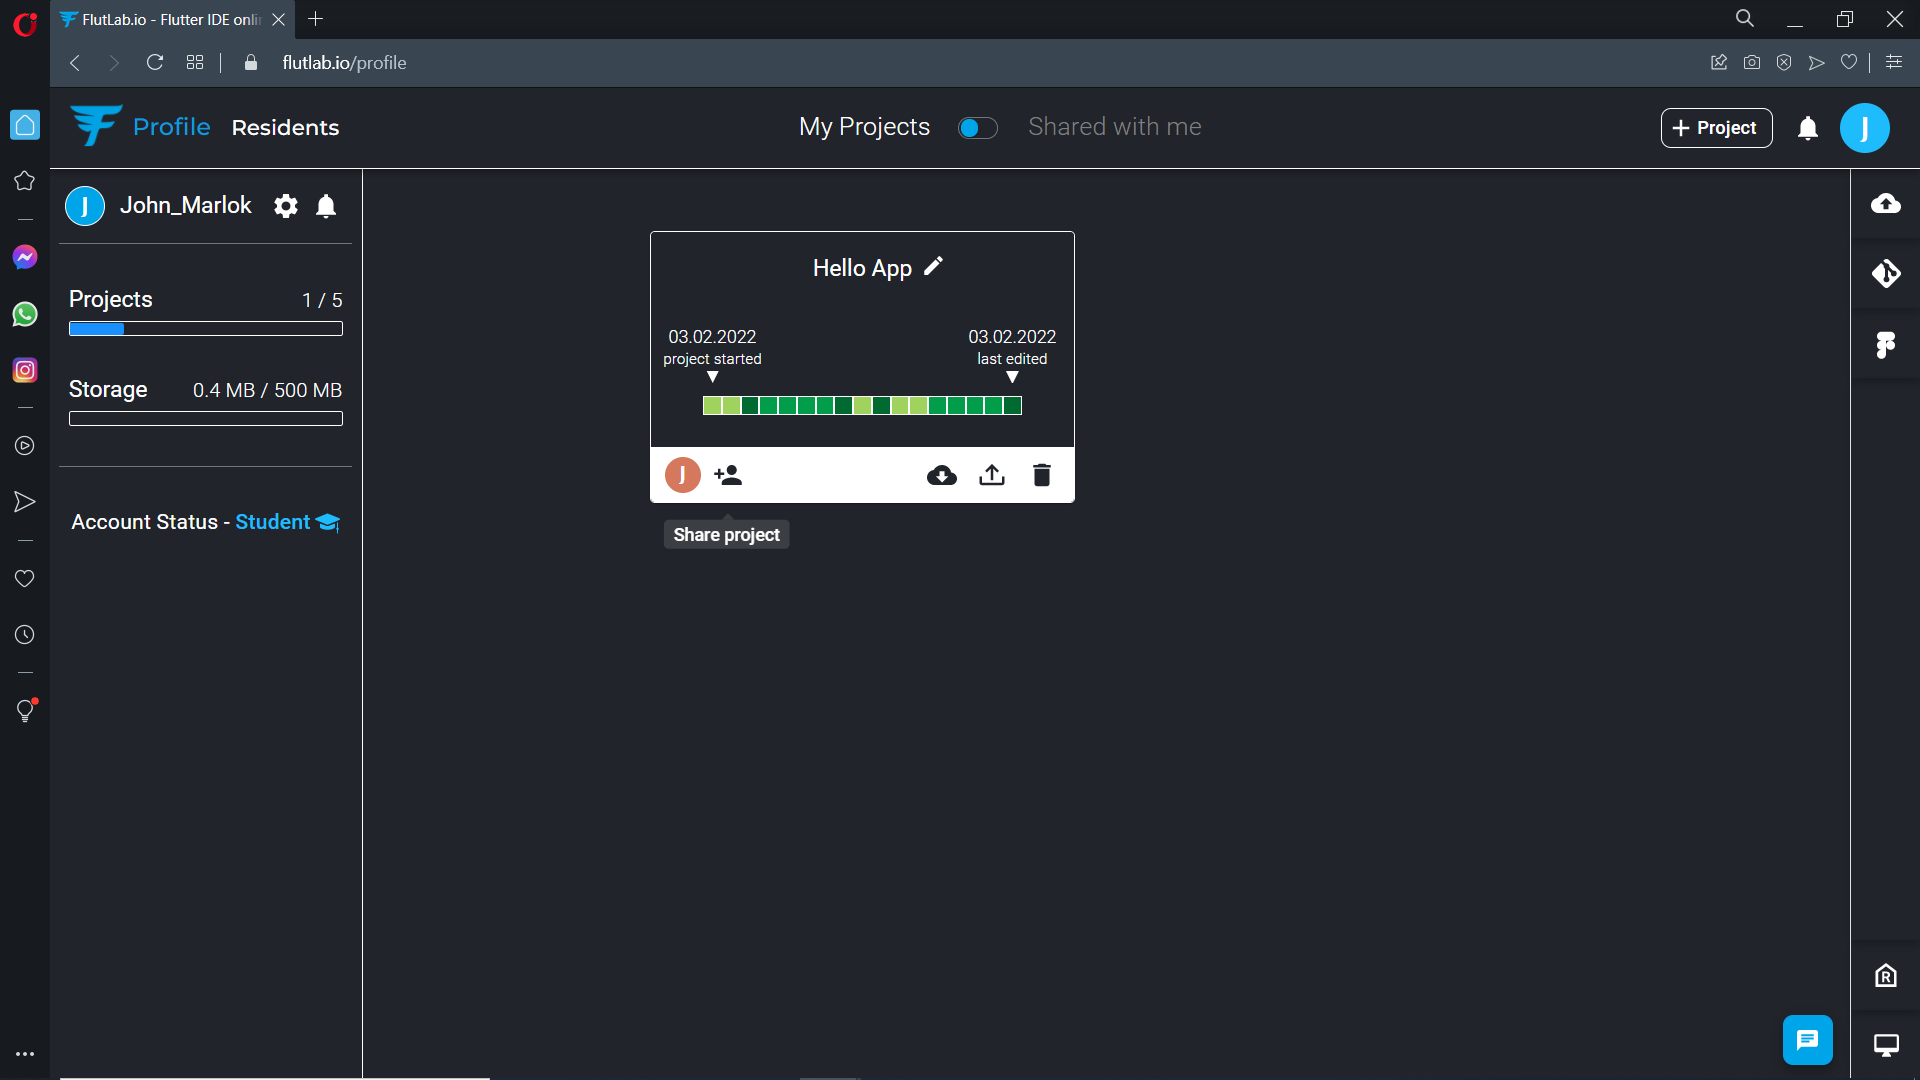
After that, student has to enter the teacher’s FlutLab account name or email and click the “Send Invite” button.
Back to Educator’s perspective
As a teacher, you will receive a notification that you have been added to the student’s project.
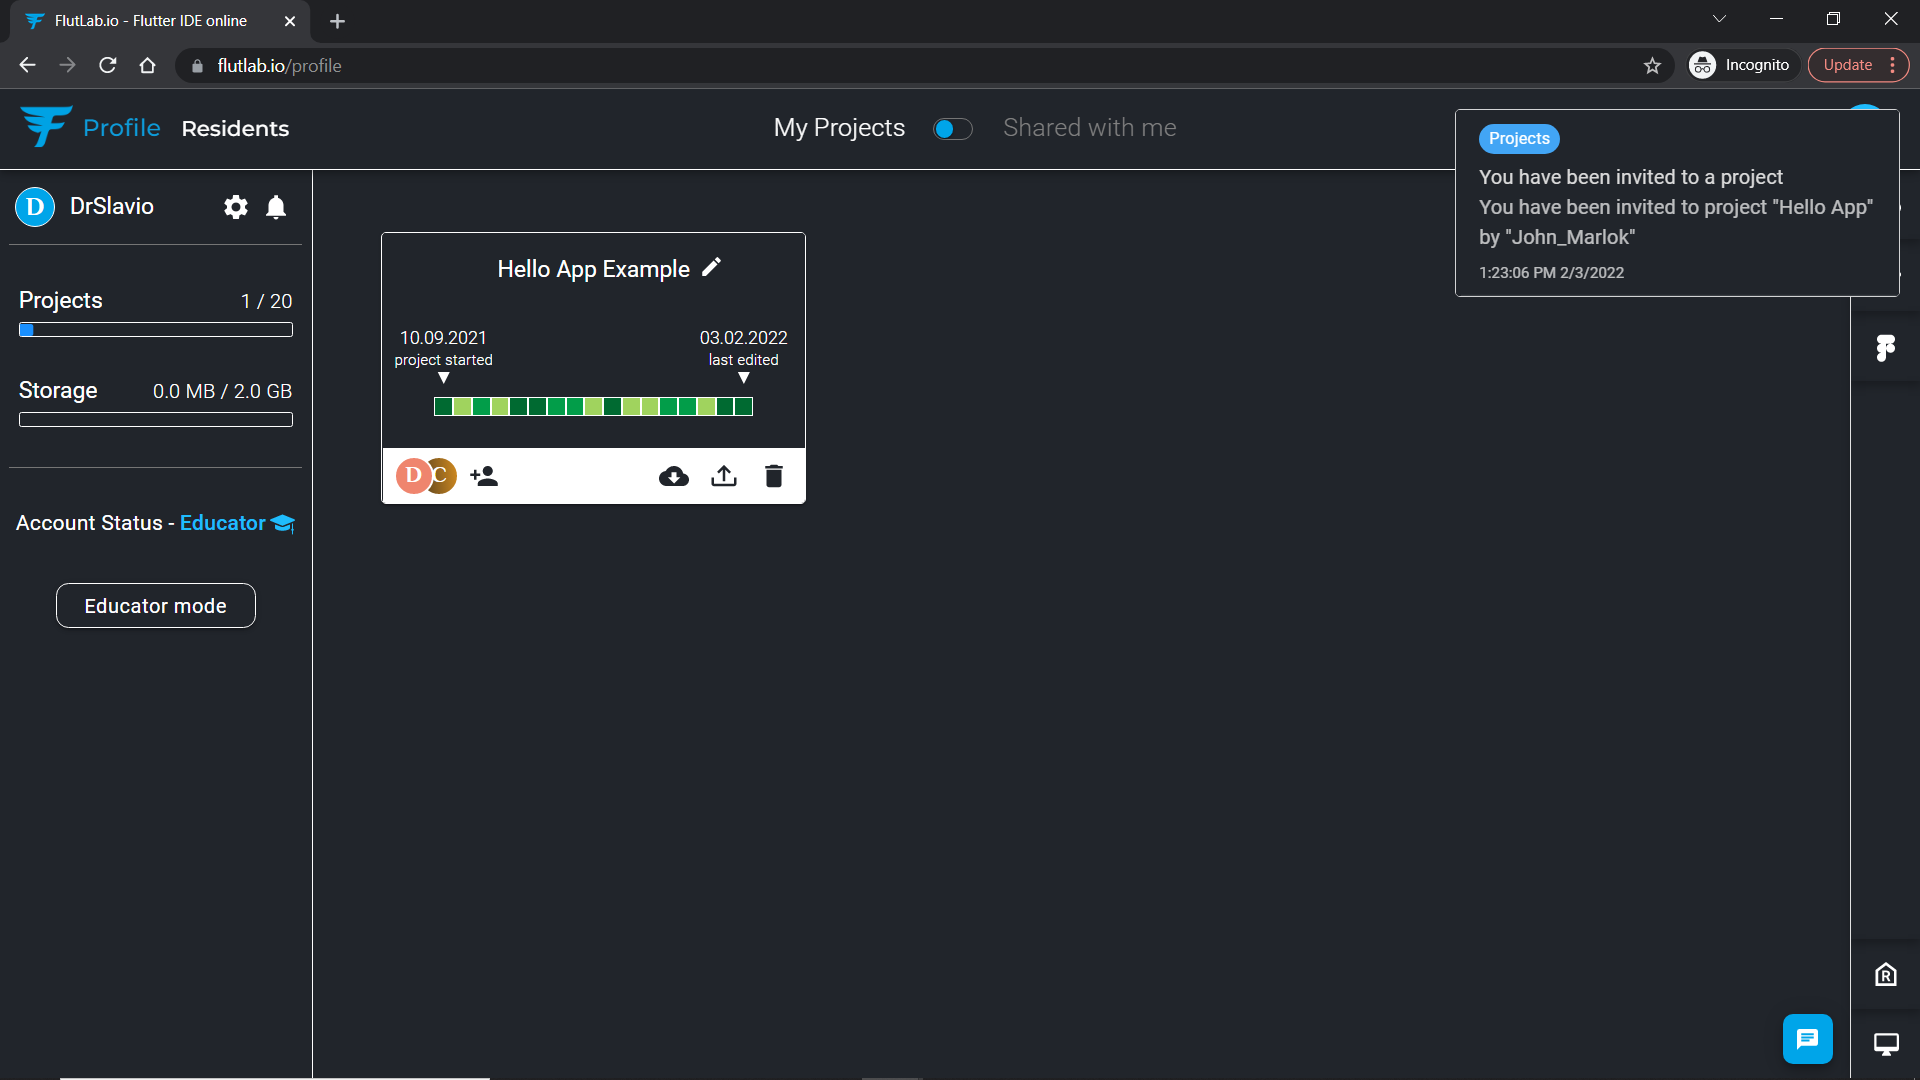
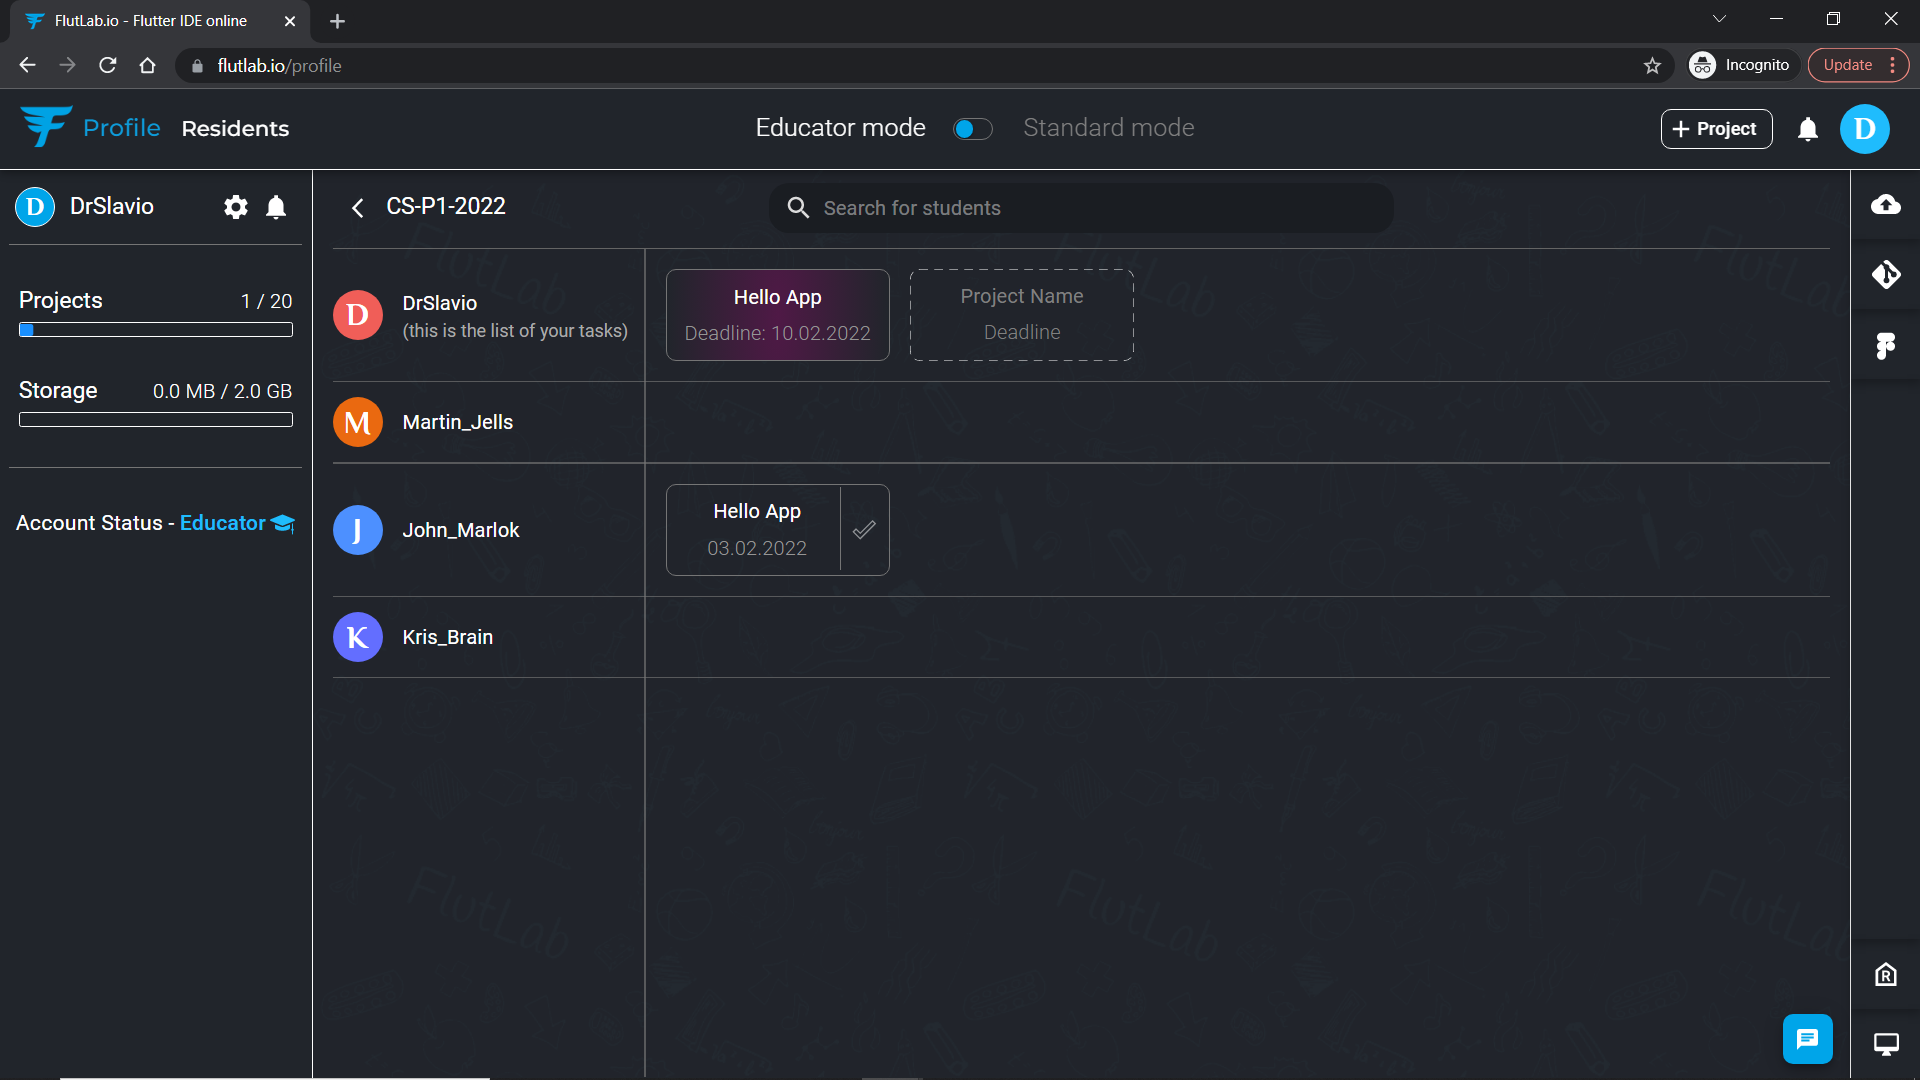
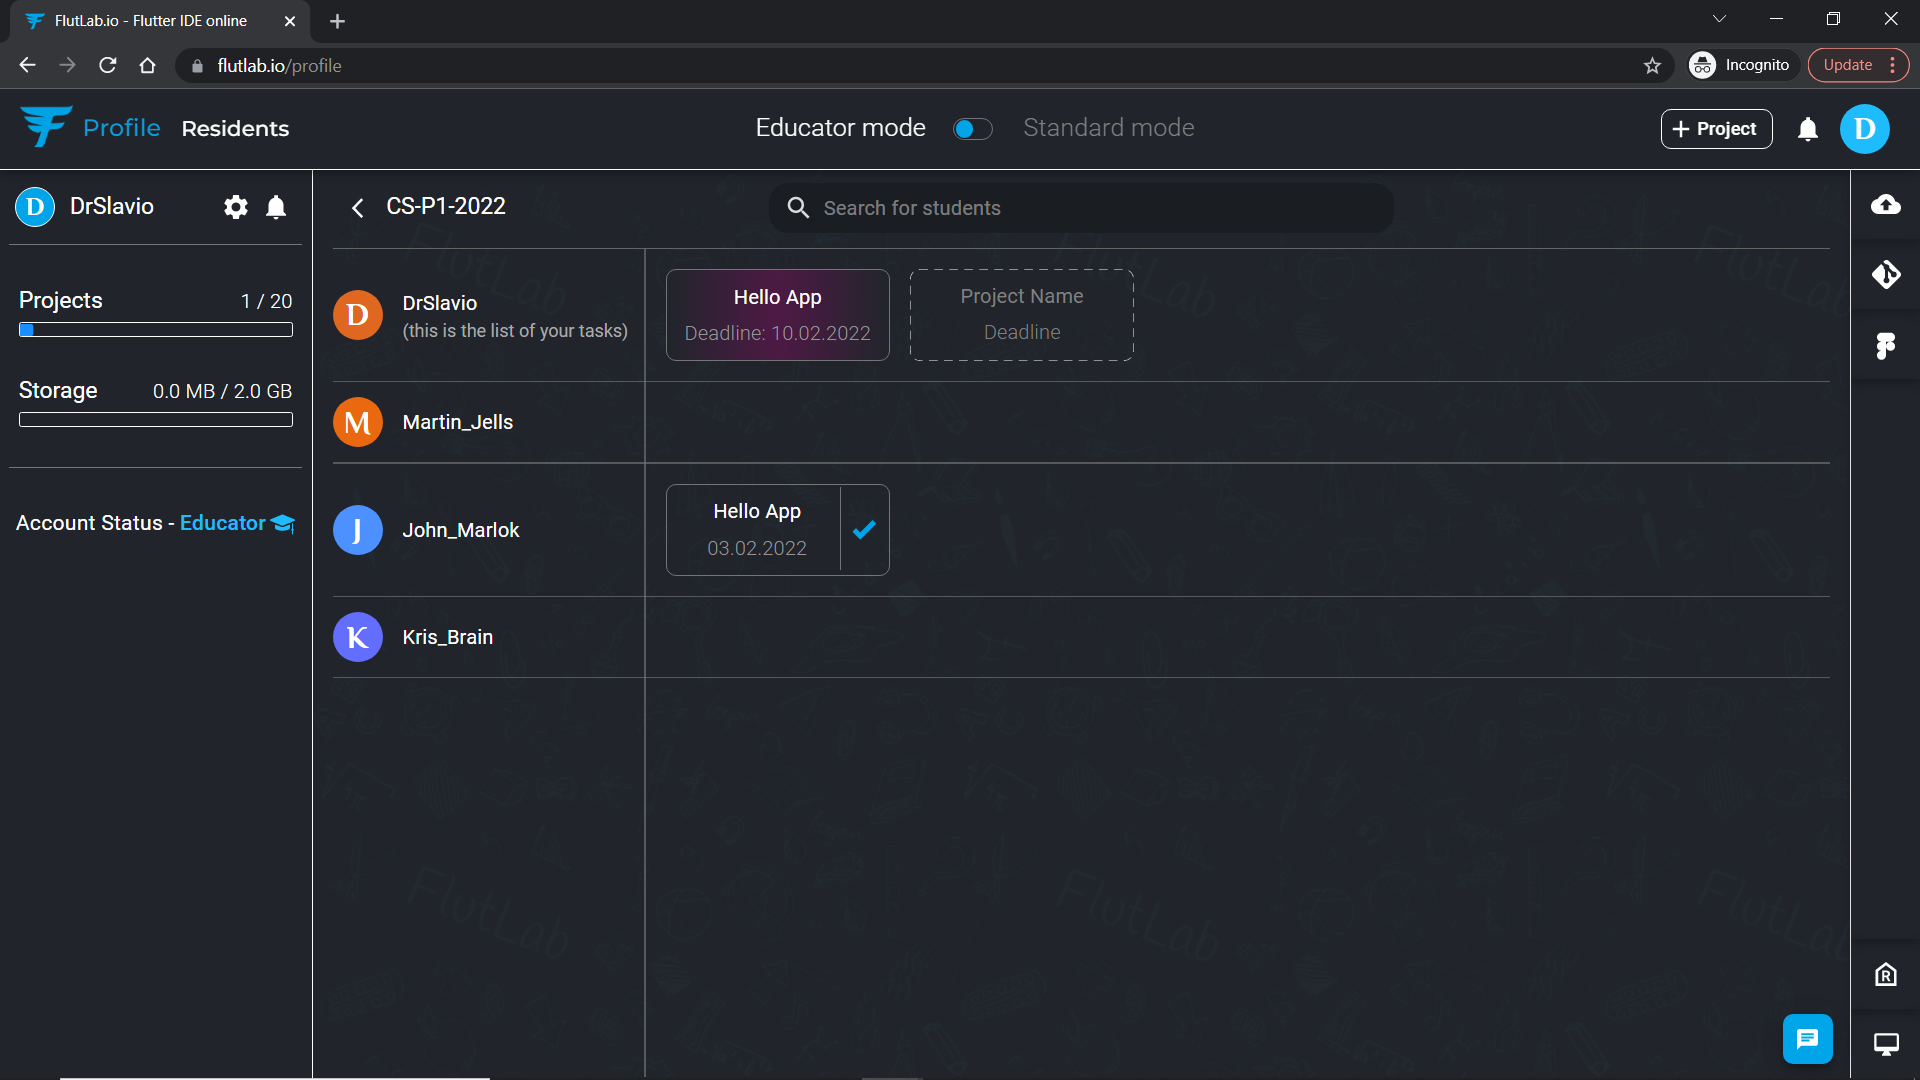
Enter the Educator Mode. Here you can see which students have already completed their task and shared it with you.
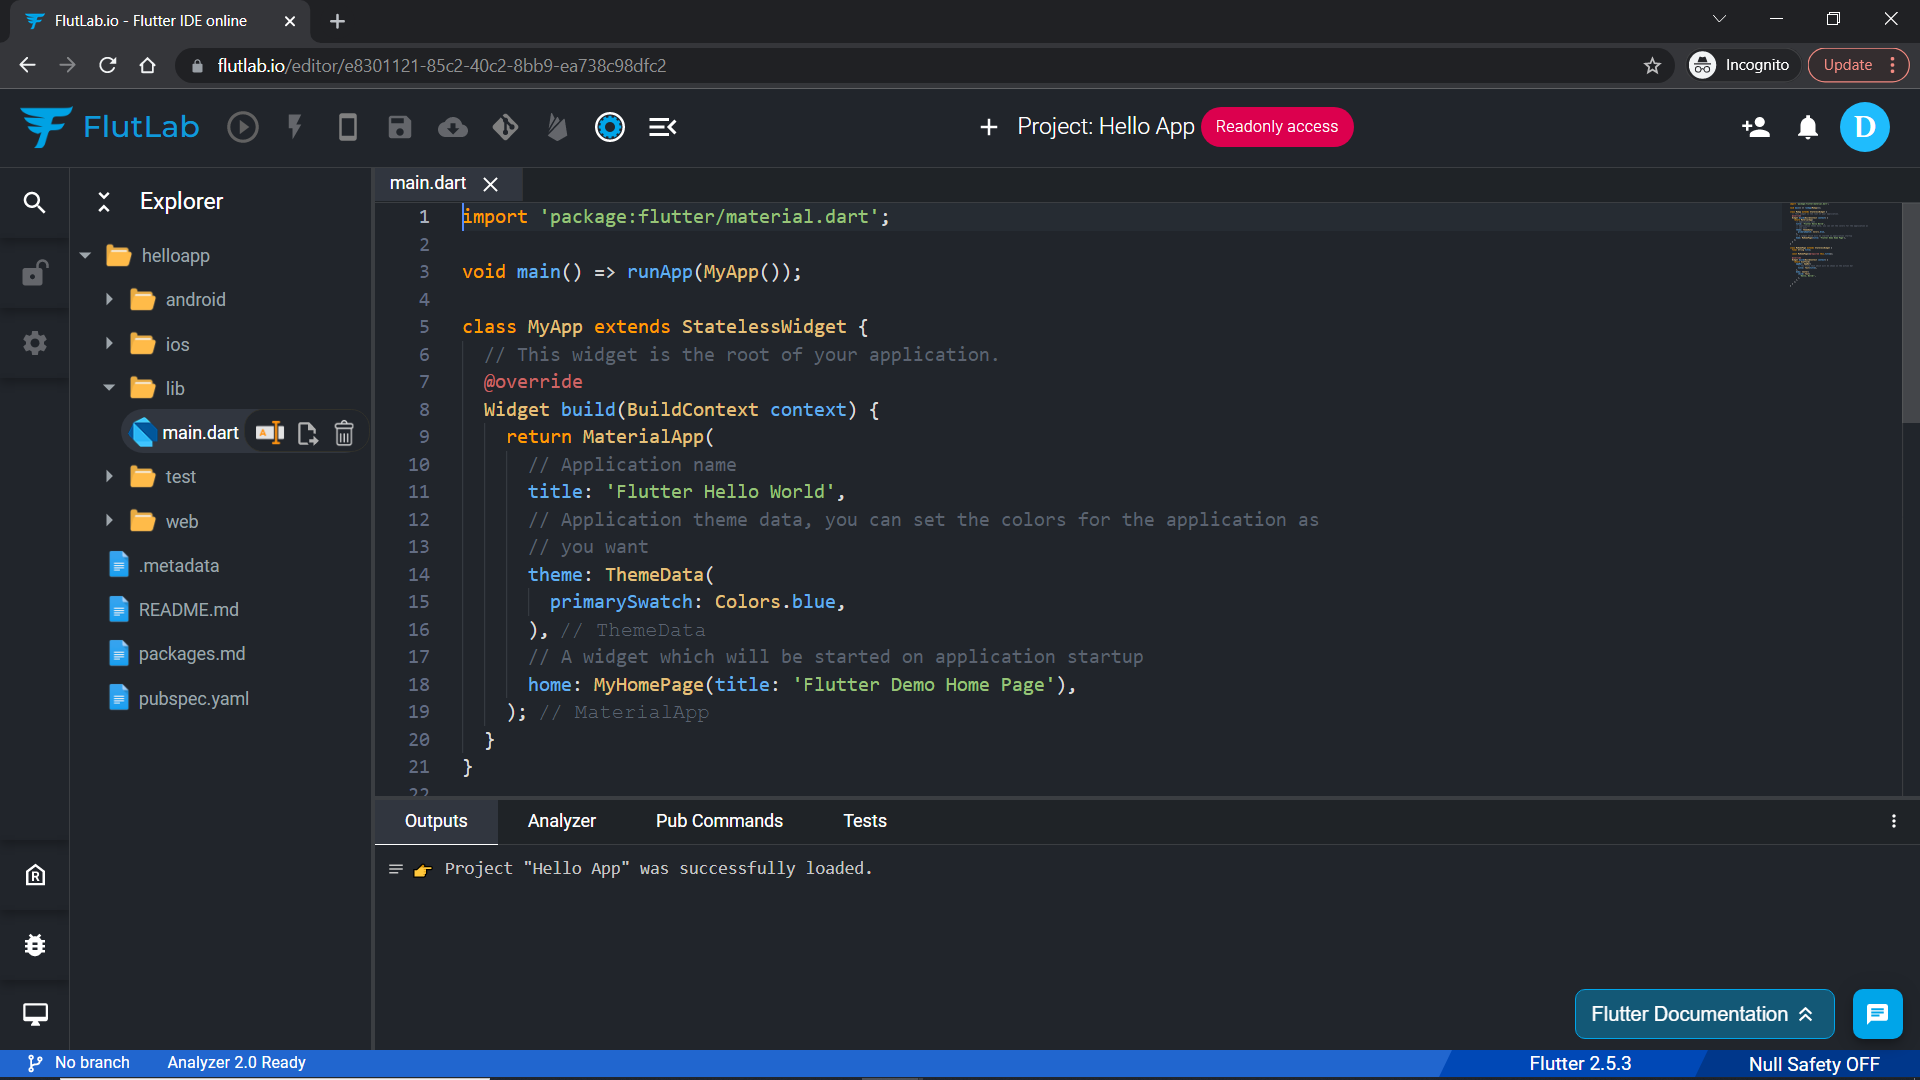
Click on the name of the project to see the code. You will see it in the “read only” mode (default mode). However, you can ask students to share their projects with the “can edit” rights. It’ll allow you to edit and run this project on the web emulator or device.
If you think that student accomplished the task — press the tick icon to mark it as done. You will always see whose work you have already reviewed and accepted.
Thats how FlutLab Education Program helps teachers and students to learn, create, collaborate, and build beautiful Flutter apps!
